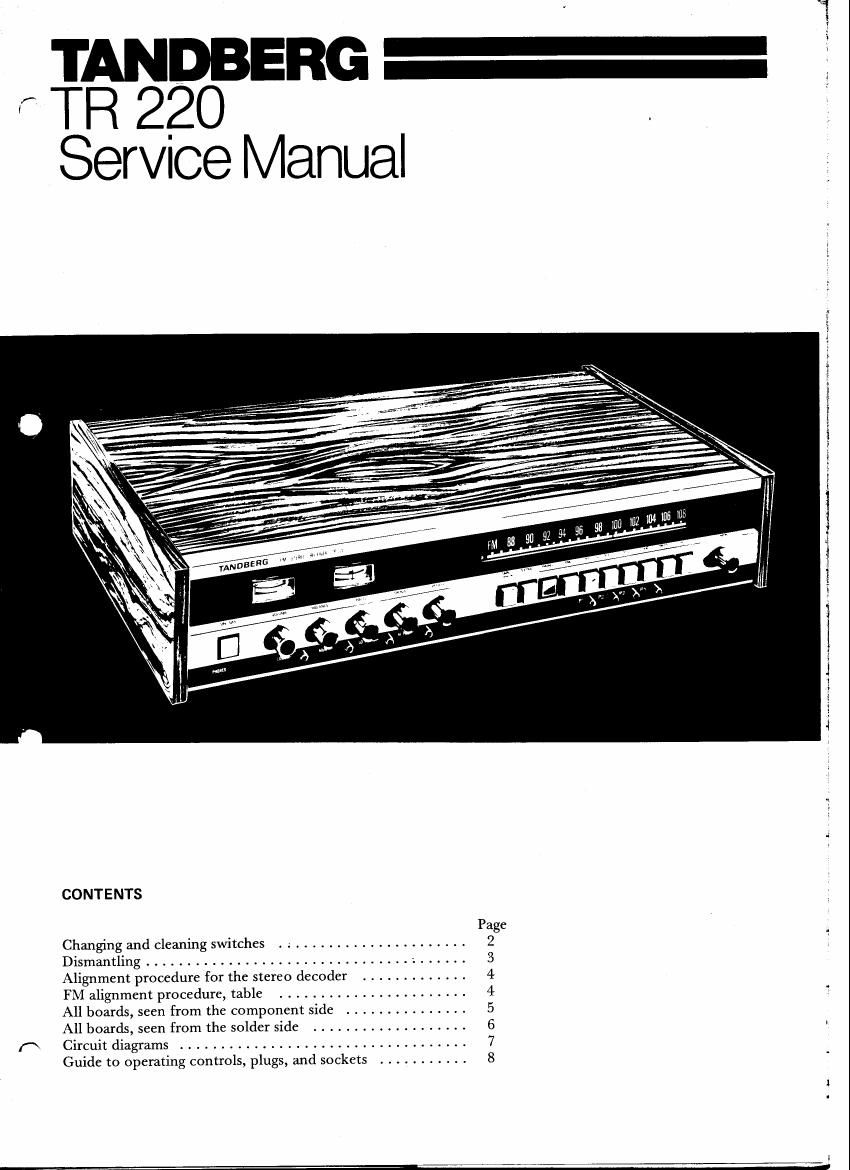
Tandberg TR 220 Service Manual

This is the 14 pages manual for Tandberg TR 220 Service Manual.
Read or download the pdf for free. If you want to contribute, please mail your pdfs to info@audioservicemanuals.com.

Page: 1 / 14
left right
Tandberg TR 220 Service Manual

Extracted text from Tandberg TR 220 Service Manual (Ocr-read)


Page 1

TANDBERG
" T R 220

Service Manual

. new. ,0.

CONTENTS
Page

Changing and cleaning switches . .- ..................... 2

Dismantling ................................ ~. ...... 3

Alignment procedure for the stereo decoder ............. 4.

FM alignment procedure, table ....................... 4

All boards, seen from the component side ............... 5

All boards, seen from the solder side ................... 6 .
r\ Circuit diagrams ................................... 7

Guide to operating controls, plugs, and sockets ........... 8

Page 2

CHANGING AND CLEANING SWITCHES

To ensure a satisfactory switching action, clean and
lubricate the switch contacts with a good cleaning
agent applied on a fine brush. We recommend
Tandberg Kliibcrfett or Wihlerfett which can
be supplied from our service department.

DISMANTLING

Petrick switch - interlocked

Switch arm

Pull the locking plate slightly forward and move it
across in the direction of the arrow (see diagram) so
that it clears the locking tag. When the locking is
moved in the direction of the arrow, all the switch
arms, interlocked and independent, will spring out
at the same time. Therefore hold your hand in
front to catch these parts.

When you are re-assembling, hold all the switch
arms in at the same time (with a plate) as the
locking tag is pushed into its locking position.

NOTE! It pays to set one end of the locking plate
up on the edge of the locking tag before you hold
the switch arms in.

Switch housing

Unsolder the switch housing from the solder side
of the board and any leads on the side of the
switch. Clamp tabs A together. The switch
housing will now be free.

Interlock return spring

To gain access to the interlock return spring you
must first free the switch housing as described
above. Interlock return spring are not always
fitted to switch houses of the interlocking type.

We also recommend pure alcohol or methylated
spirit for cleaning followed by a light application
of vaseline for lubrication.

NOTE! Do not touch the contacts with your
fingers because this can lead to corrosion.

Avoid using cleaning agents that could attack the
metal surfaces.

NOTE! We have developed our own cleaning]
lubricating agent, Tandberg Contact Spray in
aerosols, and we can recommend it for all types of
contacts. The aerosols can be supplied through our
district offices and subsidiary
companies.

Tandberg Contact Spray

LOCKING TAG TABS A

INTERLOCK RETURN
SURING

LOCKING PLATE \%

SWITCH ARM


SWITCH HOUSING

Petrick switch - independent

Switch arm

Dismantle in the same way as described above in
the paragraph Switch arm.

Switch housing

To remove the locking plate, return spring, and
locking pin, clamp tabs A together. Further dis~
mantling can be achieved by following the de-
scription given above in the paragraph Switch
housing.

NOTE! Take care with the return spring when
dismantling and re-assembling so that it does not
loose its tension.

LOCKING PLATE \ é

LOCKING SPRING --
TABS A

fil/ SWITCH HOUSING
.

LOCKING PIN

Free-standing Petrick switch - push button
switch with independent release

Switch arm

Pull the front locking plate forward at one end (the
left end seen from the front) so that it lies on the
edge of the switch carrier.

Push the back locking plate in the direction of

the arrow (see drawing) and at the same time

make sure that the switch arm does not spring out.

Switch housing

Dismantle as described in the Switch housing
paragraph for the independent and interlocked
switches.

2

BACK LOCKING PLATE SWlTCH HOUSING

\ .

FRONT LOCKING PLATE

SWITCH ARM