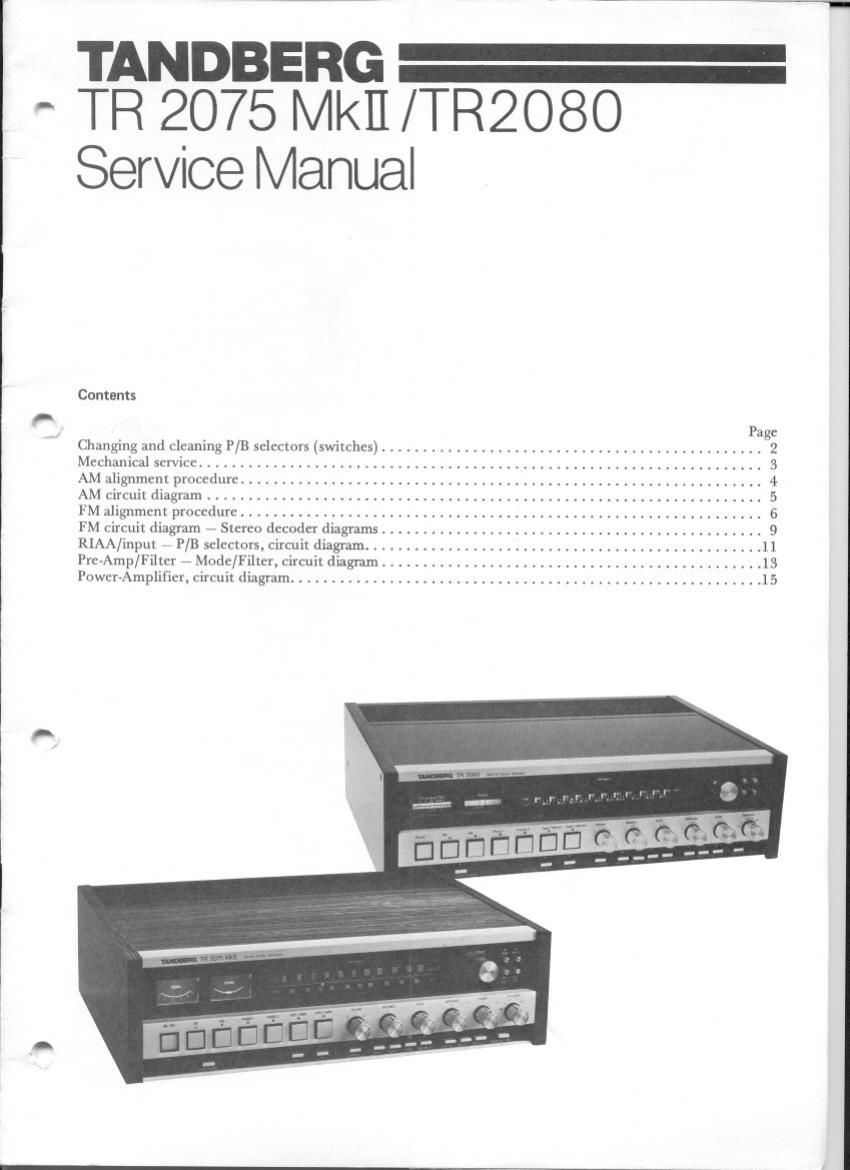
Tandberg TR 2075 Mk2 Service Manual

This is the 25 pages manual for Tandberg TR 2075 Mk2 Service Manual.
Read or download the pdf for free. If you want to contribute, please mail your pdfs to info@audioservicemanuals.com.

Page: 1 / 25
left right
Tandberg TR 2075 Mk2 Service Manual

Extracted text from Tandberg TR 2075 Mk2 Service Manual (Ocr-read)


Page 1

Contents

Page
Changing and cleaning P/B selectors (switches) .............................................. 2
Mechanical SLn'iCC .................................................................... 3
AM alignment procedure ............................................................... 4
AM circuit diagram ................................................................... 5
FM alignment procedure ............................................................... 6
FM circuit diagram Slercu decoder diagrams .............................................. 9
RIAA/inpul P/B sclccmrs. circuit diagram ................................................ 11
lrc-Amp/Filtcr - Mode/Filler, circuit diagram .............................................. l3
vacr-z\mplificr, circuit diagram ......................................................... 15

Page 2

CHANGING OR CLEANING PUSH BUTTON
SWITCHES

Occasionally the push button switches will need to
be cleaned and lubricated to maintain trouble free
action. A good cleaning agent should be applied
sparingly with a fine brush. We recommend
Tandberg Kliibcrfett" or "Wihlerfett" from our
Service Department.

Alcohol or methylated spirit may also be used for
cleaning, and vaseline may be used for lubrication
afterwards.

NOTE! Avoid touching the contacts with your
finger - it could cause corrosion.

Avoid using cleaning agents that could attack the
metal parts.

NOTE! We have developed our own cleaning/
lubricating agent, Tandberg Contact Spray in
aerosols, and we recommend it for all types of
contacts. These aerosols an be supplied from our
district offices and subsidiary companies.

/6

Tandberg Contact Spray

NOTE! Slide switches (mode selectors) are avaiable
complete as a replacement part.

If necessary, the switch can be cleaned. and the
plunger or the contact unit can be changed. For
these operations the switch must be dismantled.

DlSMANTLlNG THE PLUNGER

0 Pull the spring slightly forward so that the
locking clip is free at the edge.

C Use tweezers as shown in the figure.

O Press the plunger right in. Push the locking clip
backwards and lift it up.

NB! The locking pin lies loose in the locking clip.

0 The plunger can be pulled out.
NB! The spring contact on the plunger are loose.

The spring is slightly conical so that if you
remove it from the plunger, take care to replace
it with the smallest end against front of the
plunger.

LOCKING CLIP

SPRING

PLUNGER TWEEZERS