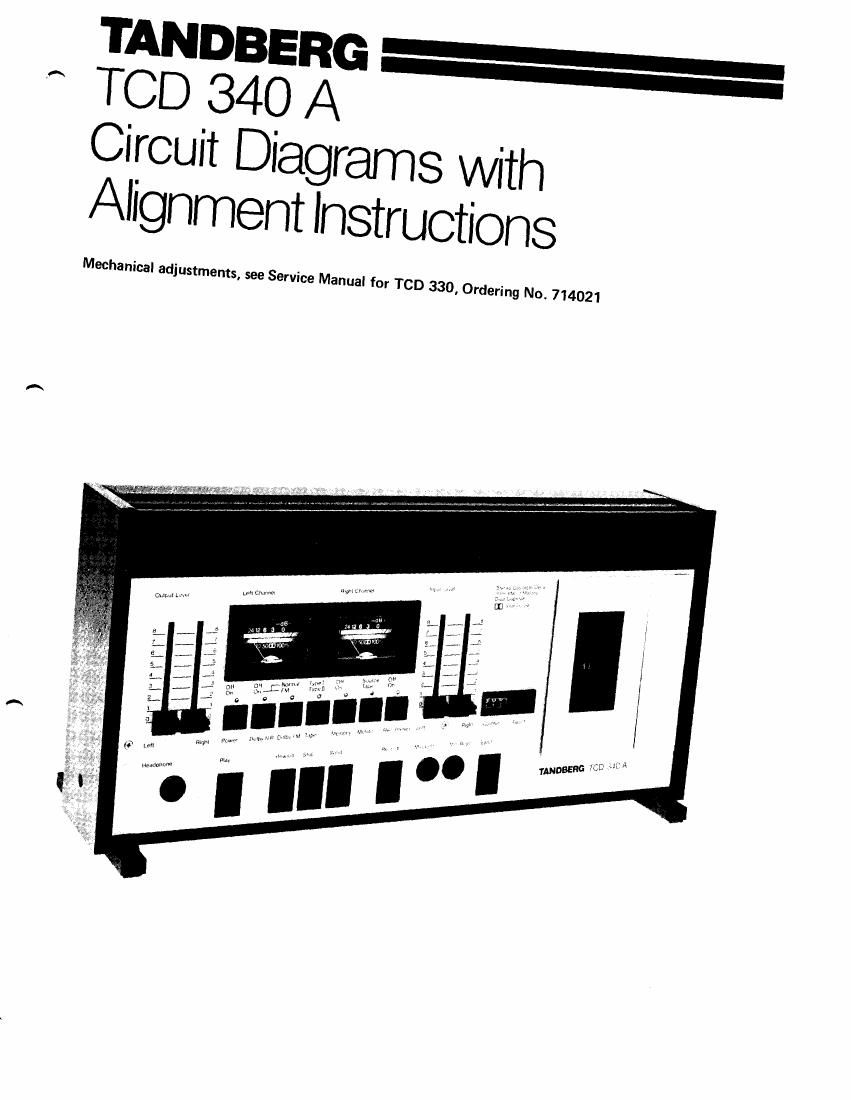
Tandberg TCD 340 A Service Manual

This is the 16 pages manual for Tandberg TCD 340 A Service Manual.
Read or download the pdf for free. If you want to contribute, please mail your pdfs to info@audioservicemanuals.com.

Page: 1 / 16
left right
Tandberg TCD 340 A Service Manual

Extracted text from Tandberg TCD 340 A Service Manual (Ocr-read)


Page 1

Electrical adjustments for the TCD 3404 General Before adjusting, the tape path must be cleaned and demagnetized. It is necessary that the tape path is correctly adjusted, consult the service manual for the TCD 330, part No. 714021. Carry out the adjustments in the order described because the adjustments affect each other. Remove the top panel, base panel, and right side panel. Equipment required - 2 volt meters - Audio signal generator - Frequency counter - Distortion meter - Wow and flutter meter - Tandberg test cassettes - No. 21 (Speed check, 1000 Hz) - No. 22 (Wow and flutter check, 3150 Hz) - No. 23 (Azimuth adj. playb. head, 6300 Hz) - No. 24 (Playback level adj., 1000 Hz) - Measuring cassettes - Maxell UD XL I (Type I) - Maxell UD XL Il (Type II) Before adjusting, set the buttons to: - MPX-FILTER (situated at the back of the deck) to OFF. - Dolby NR* to Off. - Tape to Type I. - Output Level controls to max. * The word "Dolby" is registered trade marh of Dolby Laboratories Inc., USA. NR stands for l'{oise Reduction. Oscillator The oscillator frequency is between 80 and 100 kHz. The voltage measured on the erase head should be between 25 and 32 volts. Sensitivity adiustment - Set the Monitor button to Source position, and Input and Output Level controls to maximum. - Apply 8mV,1000 Hz to the RADIO socket (DIN) or 80 mV,l000 Hz to the INPUT sockets (Phono) from the audio signal generator. - Adjust the SENSITIVITY ADJ. pots. Rl01-R201 to obtain 77 5 mY measured on a voltme ter con- nected to the Dolby encoder output, see Figure 1. - Move the measure probe to the Dolby decoder output, see Figure 2. - Adjust the SOURCE LEVEL ADJ. pots. Rl18- R218 to obtain 7 7 5 mV . - Check the frequency response in Source. Dolby encoder output Right channel meas.point Left channel meas.point _ | RroBP I Prosr. .:.,P)lI P I RTL LLvtL T'Pf I TAPI REc METER J- - - -l R2rg R RrrB L R2oq Ra agrog ! aori*aa a?ura REc LEV-‚¬L aoJ TYPE tl TAPE TRIMMING POIS ON MAIN AOARD SE-‚¬N FAOM SOLOER SIDE Figure 1 Trimming pots. and Dolby encoder rneasurement points

Page 2

Figure 2 Dolby decoder measurern,ent points Playback, azimuth Playback, height Record, azimuth Record, height Figure 3 Adjustments for the heads Azimuth adjustment, playback head - Insert a Tandberg test cassette No. 23 or a standard azimuth cassette. - Set the Monitor button to Tape and connect a voltmeter to each channel of the OUTPUT sockets. - Press the Play button. Adjust the playback azimuth screws shown in Figure 3 to obtain maximum reading on each channel. Playback level - Insert test cassette No. 24. - Connect a voltmeter to each channel of the Dolby decoder output shown in Figure 2. - Adjust the PLAYBACK LEVEL pots. Rl19 and R219 until you read 775 mV on each channel. Level meter adjustment, playback - Insert Tandberg test cassette No. 24. When the playback level is correct, adjust the level meter to 0 dB with PLAYBACK METER Rl14 and R214. Azimuth and height, record head - Use Maxell UD XL I or an equivalent tape. - Applf' 1000 Hz to the INPUT sockcts both channels. - Set the Monitor button to Tape and connect a voltmeter to the OUTPUT sockets both channels. - Press the Record button and turn the two record head height screws shown in Figure 3 by equal amounts (the same number of degrees) to obtain the maximum reading on both channels of the OUTPUT sockets, or the best compromise. - Adjust the azimuth (10 kHz) and the height alternatively, until the head sits correctly. - Azimuth can also be adjusted with the built-in control oscillator (10 kHz). NOTE! The record height screws must be adjusted by equal amounts to ensure that the head paral- lelism does not change. Overall frequency response with Type I Tape (bias) - Set the Monitor button to Tape. - Apply 1000 Hz from the signal generator to one of the inputs. - Re duce the level at the signal generator by 35 dB or reduce the level by a similar amount on the Input Level controls. - Press the Record button, and adjust the BIAS ADJ. TYPE I TAPE, C1502 and Cl602 to obtain maximum reading at the outputs. - Sweep the audio generator throush the full fre- quency range and check that the response curve is correct. - If necessary, adjust the curve with C1502 and C1602 to obtain the correct response, t 3 dB, 30 to 18000 Hz. -'.\ Dolby decoder outpul Left channel meas, point Or measure on 81303 Right channel meas. point Or measure on R1403 i^ .. ^O o^v^^Va .J n.': -v/- o<-o ^ Bias adjustments