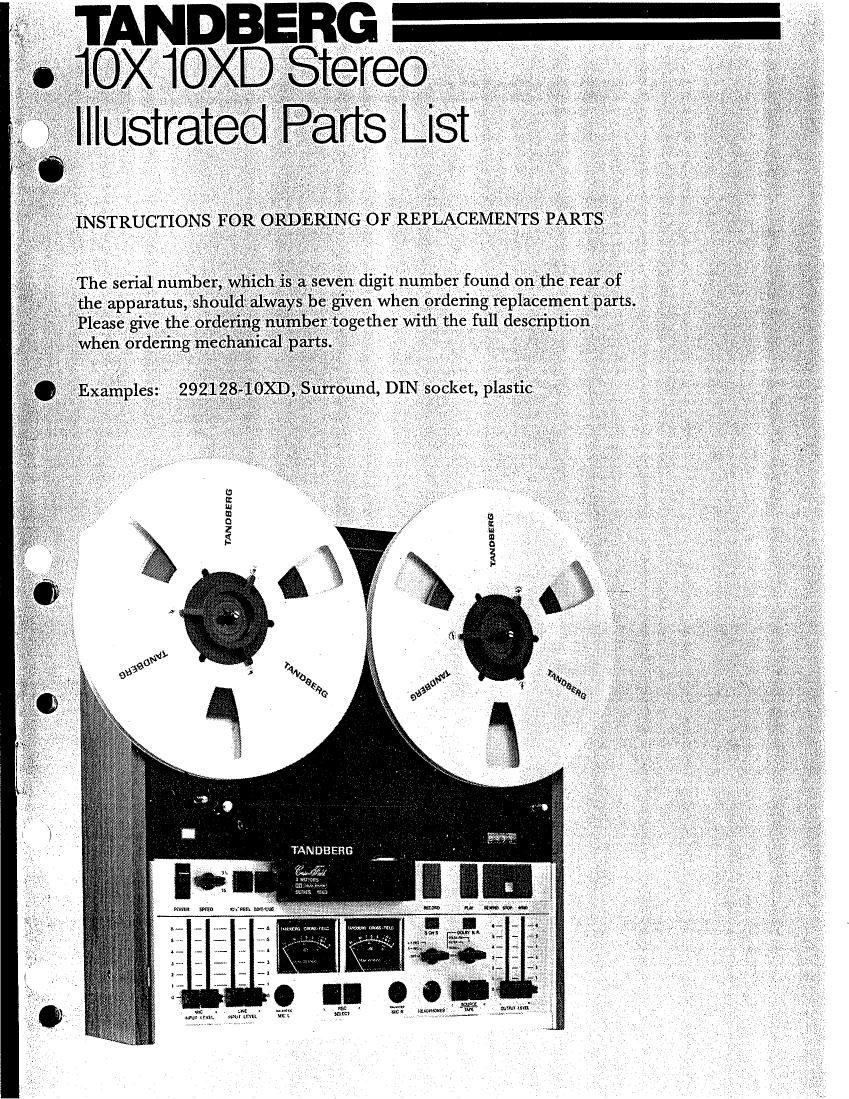
Tandberg 10X 10XD Parts List

This is the 22 pages manual for Tandberg 10X 10XD Parts List.
Read or download the pdf for free. If you want to contribute, please mail your pdfs to info@audioservicemanuals.com.

Page: 1 / 22
left right
Tandberg 10X 10XD Parts List

Extracted text from Tandberg 10X 10XD Parts List (Ocr-read)


Page 2

MECHANICAL PARTS

Deck assembly

Parts belonging together are arranged in order with the main part first followed by the associated parts.

Descriptions of the associated pans are indented and descriptions of the sub-group of parts are

further indented.

* These parts are not available as replacement pans.

16 309050 - 10x0
17 313112 - 10x0
13 310102A - loxn
19 301215 - 10x0
20 292128 - loxn
21 300195 - 10x0
22 307229 - 10x0
23 313298 - 10x0
24 316043 - 10x0
25 307990 - 10x0
25 307738 - 10x0

Screw, plate, 1/4 No. 6 pan hd

Knob, black, plastic, with snrinq

Button, push, black, plastic

Surround, push button, plastic

Surround, DIN socket; plastic

Mask, felt

Knob, black, plastic

Window, turquoise, plastic
Moulding, front

Screw, plate, 3/8" No. 6 ask hd

Foot, rubber

REC SELECT, SOURCE/TAPE

5 ON 5, DOLBY N.R.
5 ON S, DOLBY N.R.

Index Ordering No. Descrintion per assv imtal Notes
DECK ASSEMBLY
1 300080 - 10x0 Cover, heads 1 ]
2 331631 - 10x0 Cover, nressure roller arm 1 1 10x0
333312 - 10X Cover, nressure roller arm 1 1 10X
3 994579 - 10x0 Plate, deck 1 1
4 215951 - lOXD Screw, 3 x 5 mm ch ha 2 18
5 319865 - 10x0 Bracket, angle, deck plate 2 2
6 309060 - 10x0 Screw, plate, 1/4" No. 6 pan hd 2 34
7 303471 - 10x0 wlndow, plastic 1 1
5 303370 - IOXD window, turquoise, ulastic 1 1
9 315905 - 10x0 Moulding 1 1
10 309060 - 10x0 Screw, n1ate, 1/4" No. 6 Dan hd 5 -
11 237553 - 10x0 Switch, rocker 1 1 powen
12 307229 - 10x0 Knob, black, plastic 1 1 SPEED
13 310102A - 10x0 Button, push, black, plastic 2 a log" REEL, EDIT/CUE
14 301215 - lOXD Surround, push button, nlastic l 3
15 994578 - 10x0 Plate, instrument 1 1 10x0
994577 - 10x Plate, instrument 1 1 10x
2 _
6 s
4 _
2 _
2 2
3 3
2 2
2 2
l 1
2 2
2 2

Page 18

m- - u..- m... u-v.

I TANDBERG PITCH CONTROL

' Installation

To modify a. 10XD recorder for use with the Pitch Control unit, modify the recorder as
' explained below.

1. Remove the connector panel at the bottom of the recorder.

2. Punch or cut a hole for the Pitch Control socket 1n the middle of the connector panel
and fasten the socket.

3. Connect the 8 plug (see diagram) to the Motor Control board.

4. Recorders with serial No. below approximately 2 371 800 must be modified as follows:

- Short circuit R50 (33 k ohms) and R49 (1 k ohm)
-- Change R51 from 8. 2 k ohms to 5. 6 k ohms.

. 5. Replace the connector panel.

Adjustments

. Connect the Pitch Control unit, and set the control knob' 1n centre position.
. Set IOXD for 15' 1ps and set OUTPUT LEVEL to maximum.

. Load the IOXD with Tandberg Test Tape No.11 (speed control)

. Connect a frequency counter to LINE OUT.

. Start the recorder in PLAY and note the frequency counter reading. '

. Depress the ON/OFF button on the Pitch Control unit. '

. Adjust the potentiometer accessible from the bottom of the Pitch Control unit to obtain
the same frequency reading as in step 5.

8. Rotate the control knob fully clockwise and fully anti-clockwise and check that the
frequency reading varies by at least.. + 8%.

9. Check that the frequency varies by the same amount from maximum to minimum at the tape
tape speeds 33A and 71/2 ips.

\lQUALfiNH

1328- 11- 75 Part No. 350481
\ Printed' In Norway