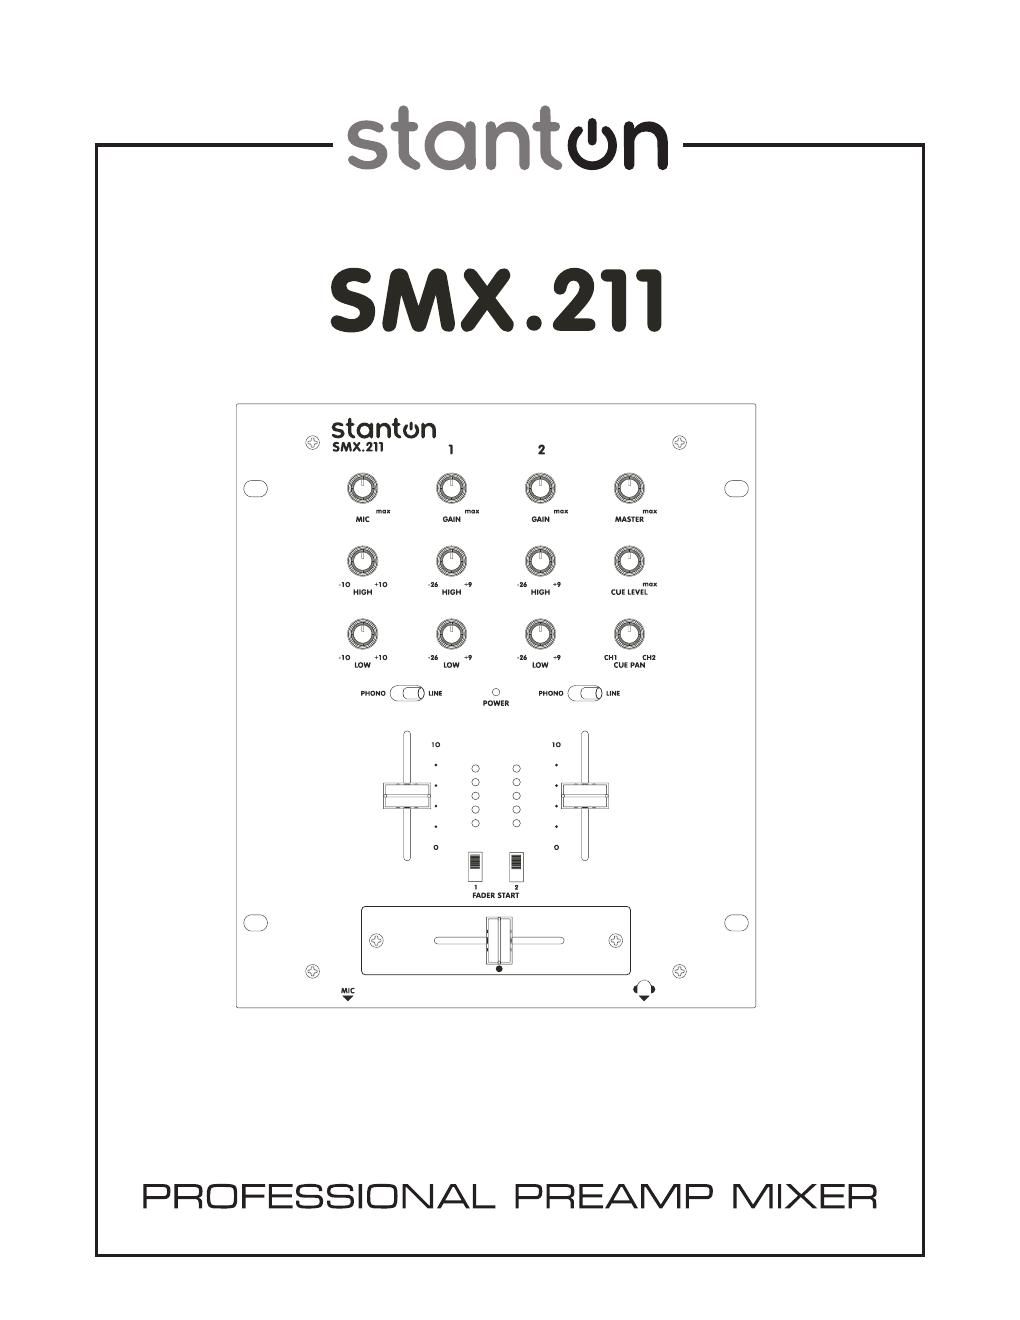
Stanton smx 211 owners manual

This is the 9 pages manual for stanton smx 211 owners manual.
Read or download the pdf for free. If you want to contribute, please mail your pdfs to info@audioservicemanuals.com.

Page: 1 / 9
left right
stanton smx 211 owners manual

Extracted text from stanton smx 211 owners manual (Ocr-read)


Page 1

IMPORTANT SAFETY INSTRUCTIONS 1. Read Instructions -“ A ll the safety and operating instructions should be read before this product is operated. 2. Retain Instructions ยกร The safety and operating instructions should be retained for future reference. 3. Heed Warnings ยกร All warnings on the appliance and in the operating instructions should be adhered to. 4. Follow Instructions ยกร All operating and use instructions should be followed. 5. Water and Moisture ยกร The appliance should not be used near water - for example, near a bathtub, washbowl, kitchen sink, laundry tub, in a wet basement, or near a swimming pool, and the like. 6. Carts and Stands ยกร The appliance should be used only with a cart or stand that is recommended by the manufacturer. An appliance and cart combination should be moved with care. Quick stops, excessive force, and uneven surfaces may cause the appliance and cart combination to overturn. 7. Wall or Ceiling Mounting ยกร The product should be mounted to a wall or ceiling only as recommended by the manufacturer. 8. Heat ยกร The appliance should be situated away from heat sources such as radiator s, heat registers, stoves, or other appliances (including amplifiers) that produce heat. 9. Power Sources -“ This product should be operated only from the type of power source indicated on the rating label. If you are not sure of the type of power supply to your home, consult your pr oduct dealer or local power company. For products intended to operate from battery power, or other sources, refer the operating instructions. 10. Grounding or Polarization -“ This product may be equipped with a polarized alternation-current line plug (a plug having one blade wider than the other). This plug will fit into the power outlet only one way. This is a safety feature. If you are unable to in sert the plug fully into the outlet, try reversing the plug. If the plug should still fail to fit, contact your electrici an to replace your obsolete outlet. Do not defeat the safe ty purpose of the polarized plug. 11. Power-Cord Protection ยกร Power-supply cords should be routed so that they are not likely to be walked on or pinched by items placed upon or against them, paying particular attention to the cord in correspondence of plugs, convenience receptacles, and the point where they exit from the appliance. 12. Cleaning - The appliance should be cleaned only as recommended by the manufacturer. Clean by wiping with a cloth slightly damp with water . Avoid getting water inside the appliance. 13. For AC line powered units - Before returning repaired unit to user, use an ohm-meter to measure from both AC plug blades to all exposed metallic parts. The resistance should be more than 100,000 ohms. 14. Non-use Periods ยกร The power cord of the appliance should be unplugged from the outlet when left unused for a long period of time. 15. Object and Liquid Entry ยกร Care should be taken so that objects do not fall and liquids are not spilled into the enclosure through openings. 16. Damage Requiring Service ยกร The appliance should be serviced by qualified service personnel when: A. The power-supply cord or the plug has been damaged; or B. Objects have fallen, or liquid has been spilled into the appliance; or C. The appliance has been exposed to rain; or D. The appliance does not appear to operate normally or exhibits a marked change in performance; or E. The appliance has been dropped, or the enclosure damaged. 17. Servicing ยกร The user should not attempt any service to the appliance beyond that de scribed in the operating instructions. All other servicing should be referred to qualified service personnel. 18. Ventilation -“ Slots and openings in the cabinet are provided for ventilation and to ensure reliable operation of the product and to protect it from overheating, and these openings must not be blocked or covered. The openings should never be blocked by placing the product on a bed, sofa, rug, or other similar surface. This product should not be placed in a built-in installation such as a bookcase or rack unless proper ventilation is the manufactu rers instructions have been adhered to. 19. Attachments -“ do not use attachments not recommended by the product manufacturer as they may cause hazards. 20. Accessories -“ Do not place this product on an unstable cart, stand, tripod, bracket, or table. The product may fall, causing serious injury to a child or adult, and serious damage to the product. Use only with a cart, stand, tripod, bracket, or table recommended by the manufacturer, or sold with the product. Any mounting of the product should follow the manufacturers instructions, and should use a mounting accessory recommended by the manufacturer. 21. Lightning -“ For added protection for this product during a lightning storm, or when it is left unattended and unused for long periods of time, unplug it from the wall outlet and disconnect the antenna or cable system. This will prevent damage to the product due to lightning and power-line surges. 22. Replacement Parts -“ When replacement parts are required, be sure the service technician has used replacement parts specified by the manufacturer or have the same characteristics as the original part. Unauthorized substitutions may result in fire, electric shock, or other hazards. 23. Safety Check -“ Upon completion of any service or repairs to this product, ask the service technician to perform safety checks to determine that the product is in proper operating condition.

Page 2

FEATURES Compact design User replaceable crossfader 2 phono, 2 line, 1 microphone input Gain, Treble, and Bass Controls on Channels Powerful stereo headphone output Cue Pan Selector (Ch.1-Ch.2) Bright LED Output Indicators Selectable Fader Start (Ch.1-CH.2) MIXER FEATURES - - - - - - - - MIC1 2 3 4 5 6 7 811 10 9