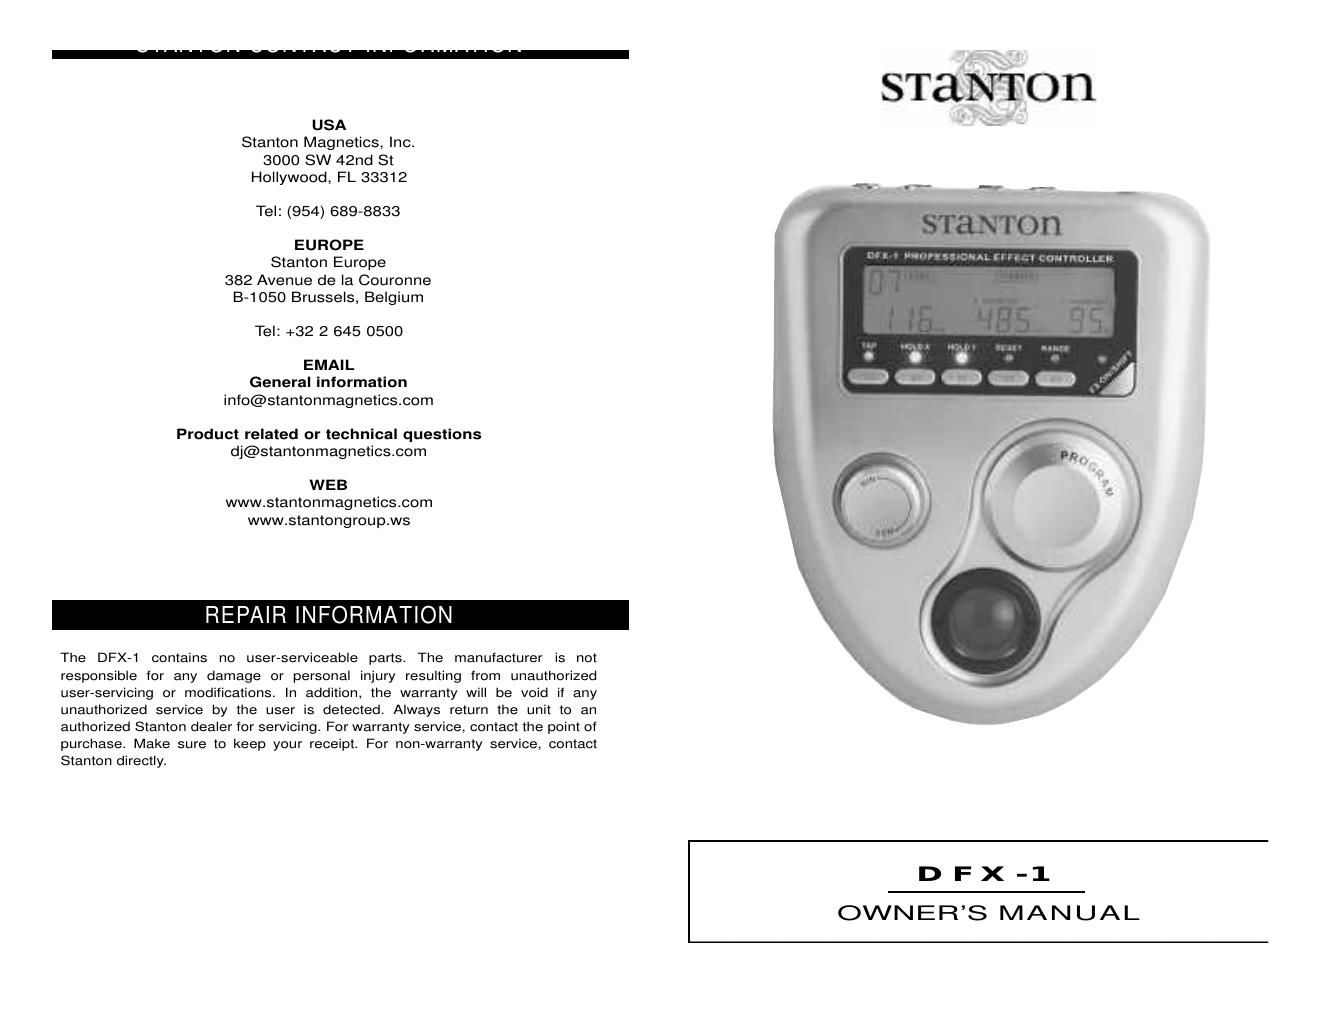
Stanton dfx 1 owners manual

This is the 8 pages manual for stanton dfx 1 owners manual.
Read or download the pdf for free. If you want to contribute, please mail your pdfs to info@audioservicemanuals.com.

Page: 1 / 8
left right
stanton dfx 1 owners manual

Extracted text from stanton dfx 1 owners manual (Ocr-read)


Page 1

- 2 -- 15 -Thank you for making Stanton your first choice in professional DJ equipment. This innovative instrument has been developed with input from the professional DJ community, bringing to the marketplace a previously unavailable, affordable combination of user-friendly, functional design, rugged construction, and professional quality features. Stanton and your authorized Stanton dealer are dedicated to your complete satisfaction by offering benchmark service and support throughout the long life of your Stanton product. Again, we appreciate your patronage, and look forward to many years of making music together. Follow all security advice printed on the unit. - When removing the unit's AC plug from he power source, grasp and pull the plug, NEVER the cord itself! Avoid placing the unit near heat sources, such as power amplifiers. - When in use, place the unit on a stable surface, away from vibration. Always use care when carrying the unit. Impact, or heavy vibration may compromise the unit's mechanical integrity.The manufac- urer is not responsible for damage result- ng from an impact, or misuse. - When in use, place the unit away from sources of hum or noise, such as trans- ormers, or electric motors. To prevent overheating, always providethe unit with adequate ventilation air space. -Avoid stepping on the unitsAC cord. Repeated compression of the cord may lead to electrical shorting. -To avoid damage due to AC voltage peaks, always disconnect your mixer from the power source during electrical storms. Use a surge protector if possible. -The unit contains no user-serviceable parts. The manufacturer is not responsi- ble for any damage or personal injury resulting from unauthorized user-servicing or modifications. In addition, the warranty will be void if any unauthorized service by the user is detected. Always return the unit to an authorized Stanton dealer for servicing.PLEASE READ CAREFULLYBEFORE USE FAILURETOFOLLOWTHEINSTRUCTIONSPRINTEDBELOWMAYVOIDWARRANTY T R A C K B A L LC L E A N I N G CLEANING THE TRACKBALL Remove the protective ring around the trackball by turning counter-clock- wise until you feel it snap (about 1/10th of a turn). Remove the ring and trackball. You can use cotton swab with alcohol or a soft tissue to rub off the dust that has accumulated on the 2 rubber rings that pick up the trackball movements. The rings are located on 2 metal bars at the bottom and left side of the opening., To clean the trackball: 1. Turn ring counter-clockwise to remove. 2. Remove ring and trackball. 3. Clean mechanism with soft tissue or cotton swab. 4. Re-assemble trackball and ring.

Page 2

- 14 -- 3 -This unit has been designed and manufactured using quality compo- nents. Therefore, it is warranted to be free from defects in materials (lim- ited as specified below), and workmanship for a period of twelve (12) months from the original purchase date. During this period, all service and parts necessary to repair a defect will be free of charge. This limited warranty applies to mechanical parts which are subject to wear and tear as specified: -Trackball and mechanism, specified durability: 15,000 cycles - Rotary potentiometers, specified durability: 10,000 cycles - Switches, specified durability: 10,000 cycles Consequently, the parts listed above are warranted to be free from defects in materials and workmanship for a period of thirty days (30) days from the original purchase date. FOR THE WARRANTYTO BE VALID, PLEASE COMPLETE THE ONLINE WARRANTYREGISTRATION FORM FOUND AT WWW.STANTONMAGNETICS.COMDFX-1 USER MANUA L C O N N E C T I O N S . . . . . . . . . . . . . . . . . . . . . . . . . . . . . . . . . . . . . . . . . . . . . . . . . . . . . . . . . . . . . . . . . . . 4 F E AT U R E S . . . . . . . . . . . . . . . . . . . . . . . . . . . . . . . . . . . . . . . . . . . . . . . . . . . . . . . . . . . . . . . . . . . . . . . . . . . 5 PROGRAM LIST...................................................................6 F U N C T I O N S . . . . . . . . . . . . . . . . . . . . . . . . . . . . . . . . . . . . . . . . . . . . . . . . . . . . . . . . . . . . . . . . . . . . . . . . . 7 T R O U B L E S H O O T I N G . . . . . . . . . . . . . . . . . . . . . . . . . . . . . . . . . . . . . . . . . . . . . . . . . . . . . . . . 1 3 WA R R A N T Y. . . . . . . . . . . . . . . . . . . . . . . . . . . . . . . . . . . . . . . . . . . . . . . . . . . . . . . . . . . . . . . . . . . . . . . . 1 4 CONTACTINFO..................................................................15 WA R R A N T Y TABLE OF CONTENTS To get started quickly: If you think you can figure this thing out on your own and you just dont feel like reading the whole manual, just look at the text boxes like this one for quick instructions.