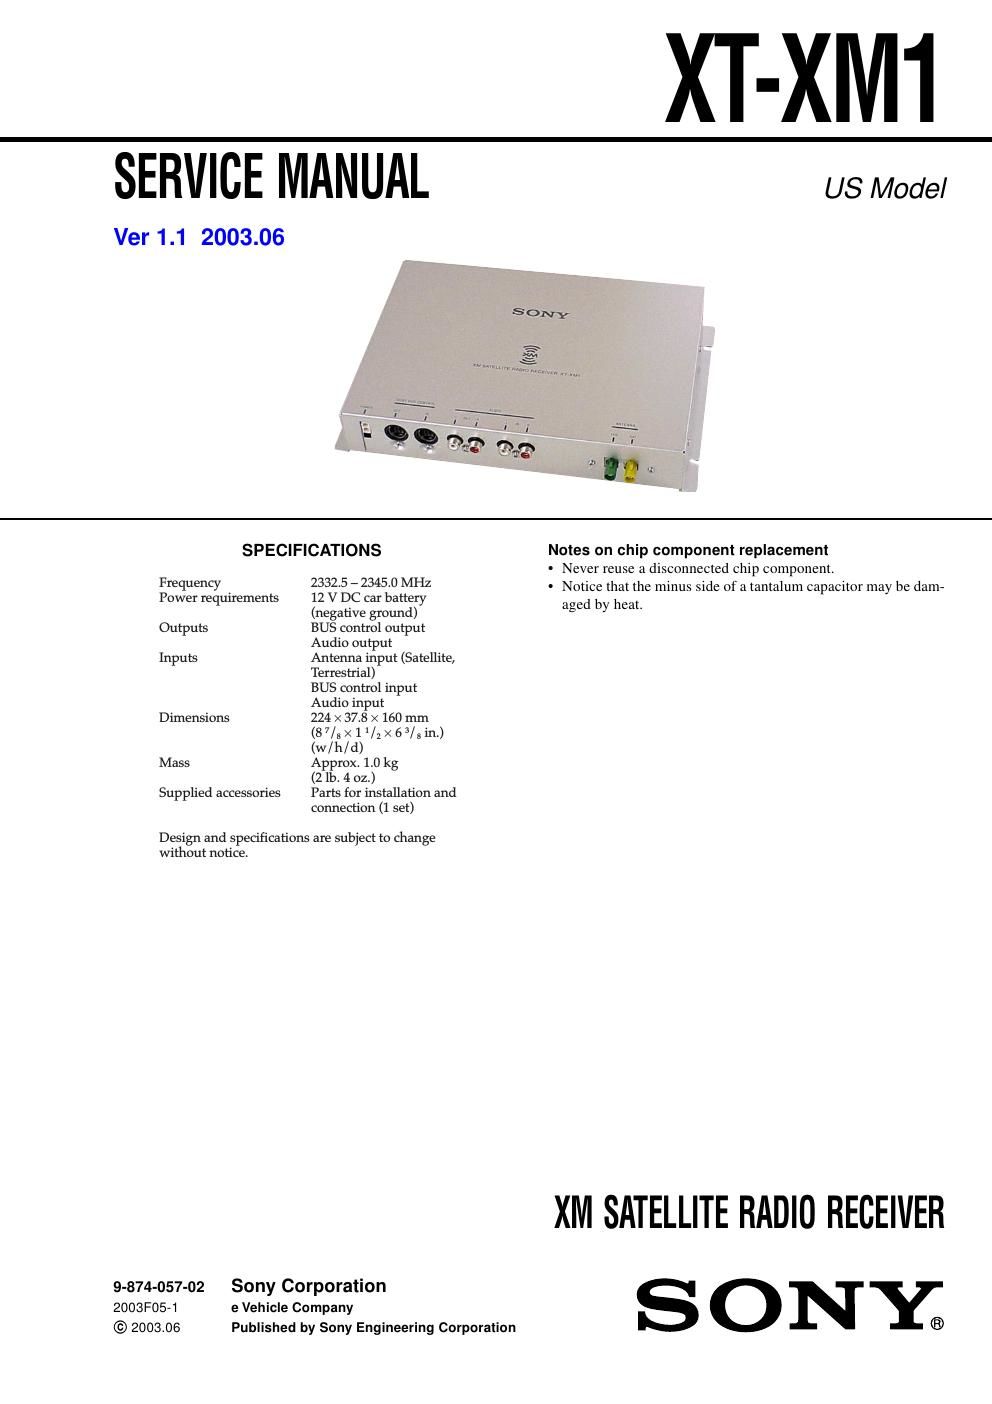
Sony xt xm 1 service manual

This is the 14 pages manual for sony xt xm 1 service manual.
Read or download the pdf for free. If you want to contribute, please mail your pdfs to info@audioservicemanuals.com.

Page: 1 / 14
left right
sony xt xm 1 service manual

Extracted text from sony xt xm 1 service manual (Ocr-read)


Page 1

2 XT-XM1 POSITION OF THE ID LABEL The ID label is stuck on the following position. ABOUT THE MASTER UNIT T his unit is compatible only with the master unit (car audio system compatible with SONY \ BUS SYSTEM) released year 2000 or afte r. Connect the master unit as shown below to activate this unit. ABOUT TYPE A/B IC107 of the TRANSLATOR board has been changed in the midway the production. Pa rt No. of the TRANSLATOR board and instruction manual have been also changed accompanying the above change. When you repair or replace parts indicated in the table, please be sure \ to check the serial No.. TRANSLATORIC701Instruction board manual TYPE A A-3274-400-A 6-801-746-02 3-243-168-12 (Serial No. 128500 or before) MN101C49GYB1 TYPE B A-3274-779-A 6-801-453-01 3-243-168-21 (Serial No. 128501 or after) MN101C49GYG XT-XM1 master unit released in year 2000 or after (compatible with SONY BUS SYSTEM) SONY BUS CONTROL OUT SONY BUS CONTROL IN SECTION 1 SERVICING NOTES ID label -“ SIDE VIEW -“ V er 1.1

Page 2

3 XT-XM1 SECTION 2 GENERAL This section is extracted from instruction manual. Connection Connection example Cautions-This unit is designed for negative ground 12 V DC operation only. -Before making connections, turn the car ignition off to avoid short circuits. - Connect the yellow power input cord only after all other cords have been connected. - Run all ground leads to a common ground point. Connection diagram XM Antenna*Sony BUS Compatible Car Audio* XT-XM1 CD/MD changer* *not supplied POWER SONY BUS CONTROLOUT IN L R L R OUT IN AUDIO TER SATANTENNA Yellow To a +12 V power terminal which is energized at all times Be sure to connect the black ground lead to it first.Fuse (3 A) Black To a metal point on the car First connect the black ground lead, then connect the yellow power input leads.CD/MD changer (not supplied) Sony BUS Compatible Car Audio (not supplied) 4 3 XM antenna (not supplied) OUT OUT IN IN Green Yellow Connect as the connector hook facing down Connect with BUS cable to the XM Satellite receiver, aligning the v marks. RCA pin cord (not supplied) BUS cable (not supplied) 2 Note When you use an optional BUS cable, note that a BUS cable with an 8-pin plug (L-type) cannot be used because of its shape. (Curry) Installing the unit -Mount the unit either inside the trunk or under a seat. -Choose the mounting location carefully so the unit will not interfere with the normal movements of the driver and it will not be exposed to direct sunlight or hot air from the heater. -Do not install the unit under the floor carpet, where the heat dissipation from the unit will be considerably impaired. First, place the unit where you plan to install it, and mark the positions of the four screw holes on the mounting surface. Notes - Use only the supplied screws. - Be sure not to damage the fuel tank or brake line with the tapping screws. Fuse replacementIf the fuse blows, check the power connection and replace the fuse. If the fuse blows again after replacement, there may be an internal malfunction. WarningUse a fuse with the specified amperage rating. Use of a higher amperage fuse may cause serious damage.Screw hole: ø3.3 mm ( 5/32 in.) 1 1