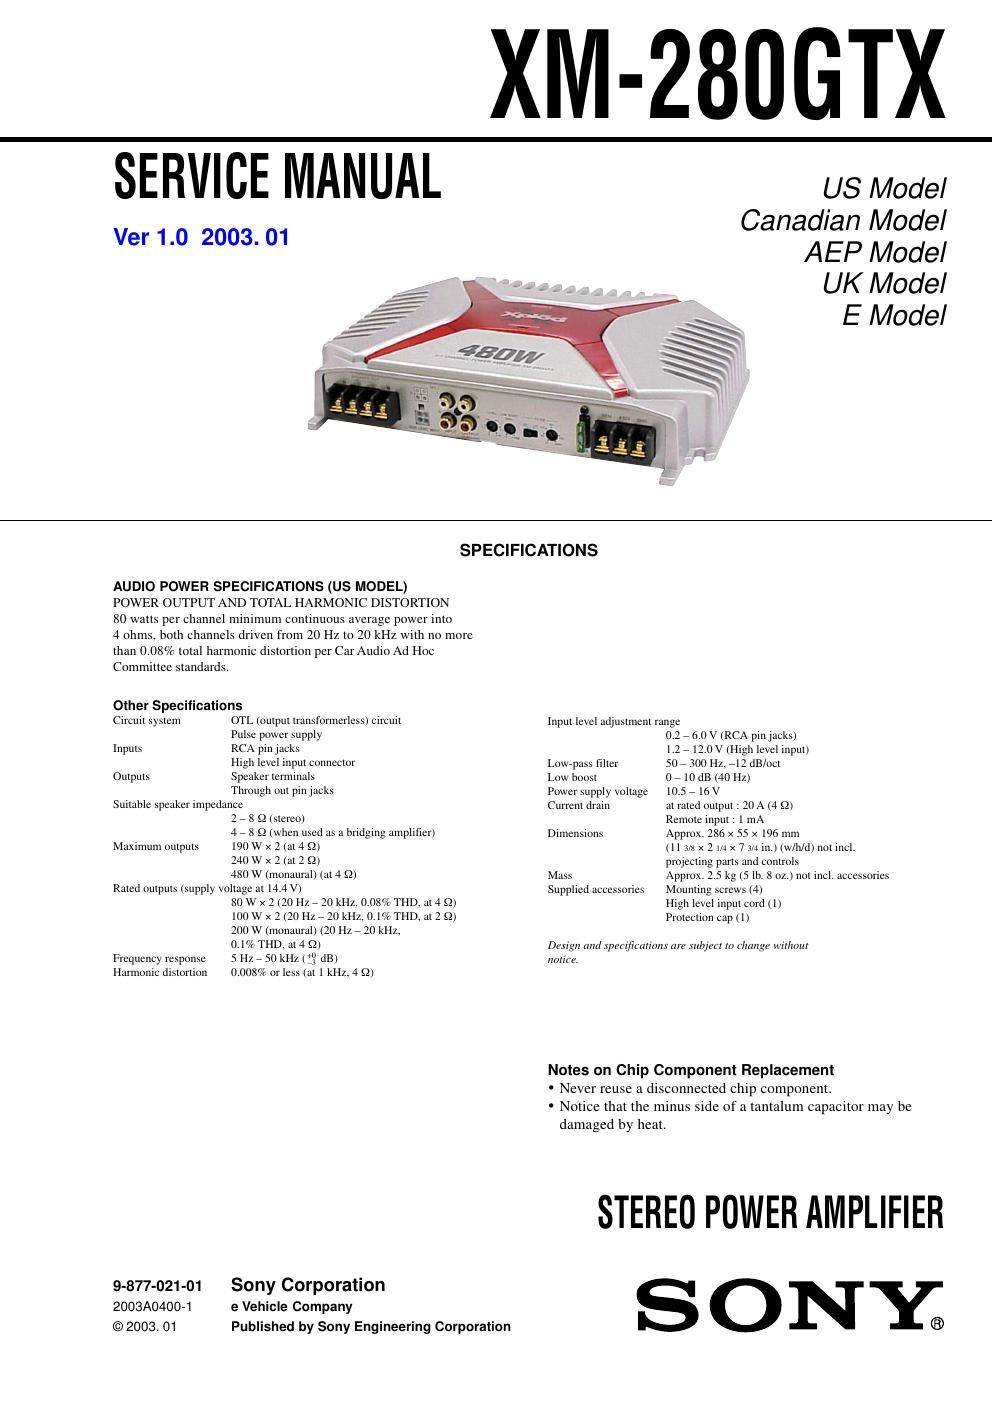
Sony xm 280 gtx service manual

This is the 20 pages manual for sony xm 280 gtx service manual.
Read or download the pdf for free. If you want to contribute, please mail your pdfs to info@audioservicemanuals.com.

Page: 1 / 20
left right
sony xm 280 gtx service manual

Extracted text from sony xm 280 gtx service manual (Ocr-read)


Page 1

2 TABLE OF CONTENTS 1. GENERAL Location and Function of Controls .......................................... 3 Connections ............................................................................. 4 2. DISASSEMBLY 2-1. Bottom Plate ........................................................................ 7 2-2. Main Board Section ............................................................. 8 2-3. Disassembly and Assembly of Ornamental Plate ................ 8 2-4. Main Board .......................................................................... 9 2-5. LED Board ........................................................................... 9 3. DIAGRAMS 3-1. IC Block Diagram ................................................................ 9 3-2. Printed Wiring Boards -“Main Section (1/2)-“ .................... 10 3-3. Printed Wiring Boards -“Main Section (2/2)-“ .................... 11 3-4. Schematic Diagram ............................................................ 12 4. EXPLODED VIEWS 4-1. Heat Sink (Main) Section .................................................. 13 4-2. Main Board Section ........................................................... 14 5. ELECTRICAL PARTS LIST ......................................... 15 XM-280GTX

Page 2

3 XM-280GTX SECTION 1 GENERAL This section is extracted from instruction manual. Location and Function of Controls 1POWER/PROTECTOR indicator Lights up in green during operation. When the PROTECTOR is activated the indicator will change from green to red. When the PROTECTOR is activated refer to the TroubleShooting Guide. 2LEVEL adjustment control The input level can be adjusted with this control. Turn it in the clockwise direction when the output level of the car audio unit seems low. 3LOW BOOST level control Turn this control to boost the frequencies around 40 Hz to a maximum of 10 dB. 4FILTER selector switch When the switch is in the LPF position, the filter is set to low-pass. 5Cut-off frequency adjustment control Sets the cut-off frequency (50 -“ 300 Hz) for the low-pass filter. Emplacement et fonction des commandes 1Indicateur POWER/PROTECTOR Sallume en vert en cours de fonctionnement. Lorsque PROTECTOR est activĂ©, le voyant passe du vert au rouge. Lorsque PROTECTOR est activĂ©, reportez-vous au guide de dĂ©pannage. 2Commande de rĂ©glage LEVEL Le niveau dentrĂ©e peut se rĂ©gler avec cette commande. Tournez cette commande dans le sens des aiguilles dune montre lorsque le niveau de sortie de lautoradio semble faible. 3Commande de niveau LOW BOOST Tournez cette commande pour amplifier les frĂ©quences autour de 40 Hz jusquĂ  un maximum de 10 dB. 4Commutateur de sĂ©lection FILTER Lorsque le commutateur de sĂ©lection est en position LPF, le filtre est rĂ©glĂ© sur passe-bas. 5Commandes de rĂ©glage de la frĂ©quence de coupure Permet de rĂ©gler la frĂ©quence de coupure (50 -“ 300 Hz) pour le filtre passe- bas. Circuit Diagram/ SchĂ©ma du circuit Frequency/FrĂ©quence dB Frequency/FrĂ©quence dB Low Pass Filter/ Filtre passe-bas POWER/PROTECTOR LPF OFF LEVEL LOW BOOST (40Hz) 0 +10dB 50 300Hz 6 4 5.5 0.5 0.3V 2 100160 60 250 FILTER 10 10 0 40 100 1k 10 0 -10 -20 -30 -40 -50 -60 -70 -80 10 100 1k 50Hz 170Hz300Hz LEVEL LPF NormalAMP Power Lch LEVEL InvertedAMP Power Rch BTL. Lch Rch(BTL.) LOW BOOST LOW BOOST HzHz Low boost/ Amplification de basses frĂ©quences