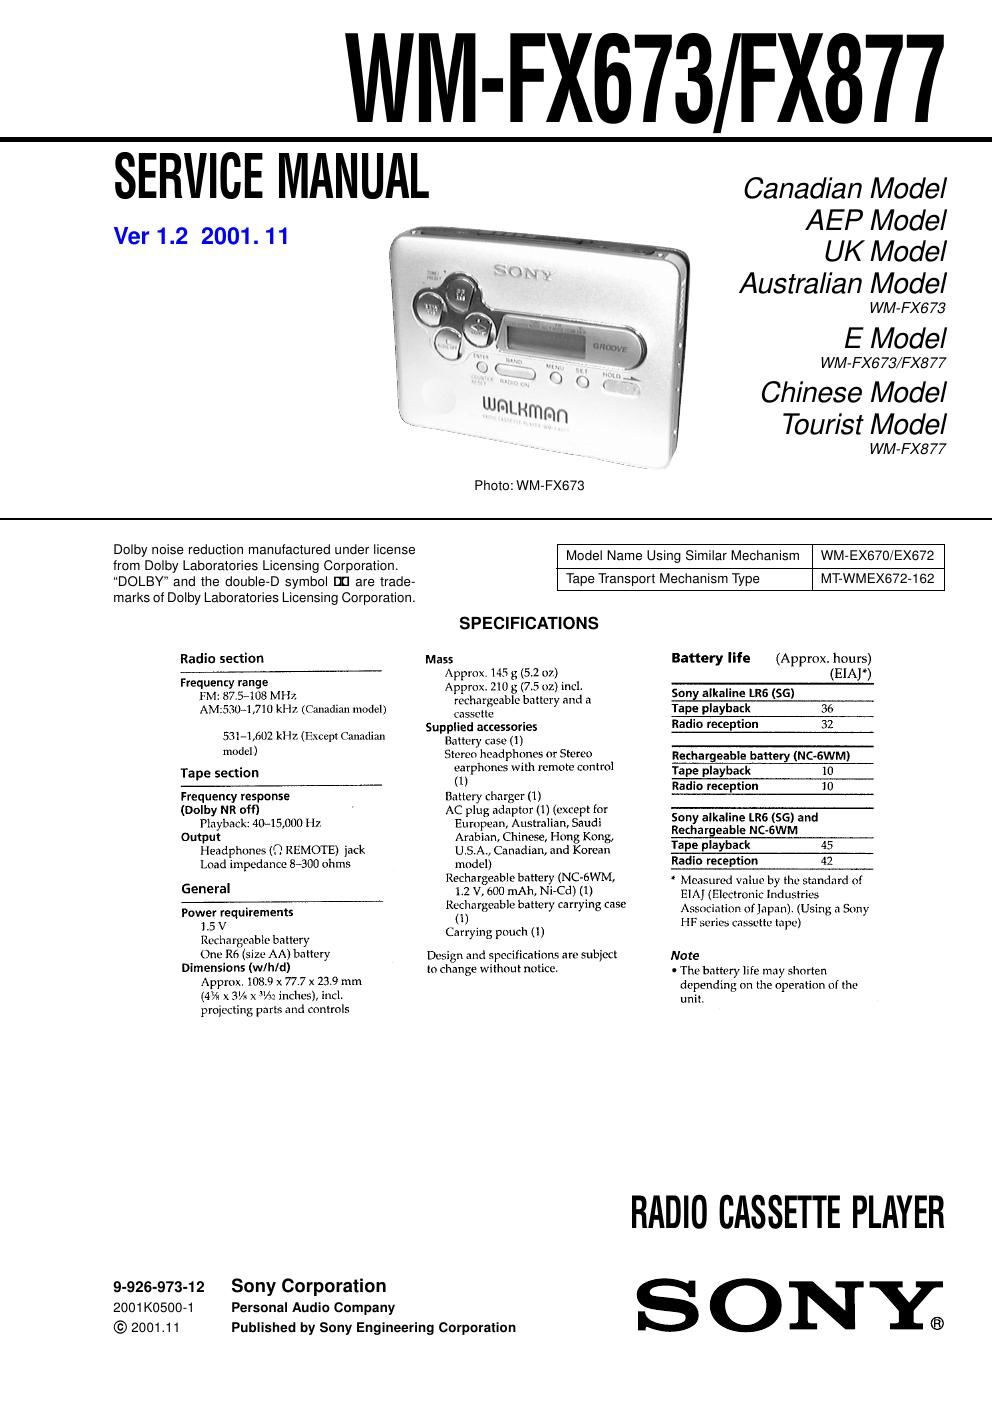
Sony wm fx 673 service manual

This is the 27 pages manual for sony wm fx 673 service manual.
Read or download the pdf for free. If you want to contribute, please mail your pdfs to info@audioservicemanuals.com.

Page: 1 / 27
left right
sony wm fx 673 service manual

Extracted text from sony wm fx 673 service manual (Ocr-read)


Page 2

Ð 3 Ð SECTION 1 SERVICING NOTES This set detects the rotation of the idler gear (A) (side S) using the PH1 (photo reflector). The PH1 is mounted on the MAIN board, therefore the idler gear (A) (side S) cannot be detected with the MAIN board removed. As a result, the motor (M601) cannot be controlled, causing malfunction. Further, the DIRECTION switch (S1) is also mounted on the MAIN board, and with the board removed, the mechanism position can- not be detected and the operation is not changed over. Therefor, when the voltage check is executed with the MAIN board removed, follow the procedure provided below. 1. Setting (1) Refer to Ò3. DISASSEMBLYÓ, and remove the MAIN board. (2) Connect the MAIN board to the motor (M601) and the plunger (PM901) using jumper wires. These can be connected easily with the use of the extension tool (Part No. 1-769- 143-11) (ten in one set). (3) Short the TAPE DETECT switch (S901-1) terminals and the ATS switch (S901-2) terminals. (4) Connect the AF oscillator to the Q15-1 (COLLECTOR) and the TP23 (GND). (5) Supply 1.3 V to the battery terminals using the regulated power supply. 2. Preset state To set the PLAY, FF, REW modes, the preset state must be set. (1) Check that the slider (NR) and the DIRECTION switch (S1) are set to the center position. If not, set the preset state as follow. (2) Move the DIRECTION switch (S1) to the side, which the slider (NR) is facing. (3) The slider (NR) will move when the regulated power supply switch is set to OFF once and then set to ON. Move the DI- RECTION switch (S1) according to this timing and set to the center position.3. FF, REW modes (1) Check that the preset state is set. (2) Input the square wave or sine wave to the Q15-1 (COLLEC- TOR) and the TP23 (GND). (3) Press the [ÊÊÊRADIOÊOFF] button (S3) to set the STOP mode. (4) Press the [FFÊAMS] button (S4) or the [REWÊAMS] button (S5). 4. PLAY mode (1) Check that the preset state is set. (2) Input the square wave or sine wave to the Q15-1(COLLEC- TOR) and the TP23 (GND). (3) Press the [ÊÊÊRADIOÊOFF] button (S3) to set the STOP mode. (4) Press the [ÊÊÊÊÊÊÊÊÊÊÊREPEAT] button (S9) will move the slider (NR) once towards the side R and then to the side F. Move the DIRECTION switch (S1) according to this timing will set the PLAY mode (side F). Press the [ÊÊÊÊÊÊÊÊÊÊÊÊREPEAT] button (S9) another time and move the DIRECTION switch (S1) according to the movement of the slider (NR) will set the PLAY (R mode). Note 1 :If the above fails, perform from preset again. Note 2 :Use the [ÊÊÊÊÊÊÊÊÊÊÊREPEAT] (S9) ,[ÊÊÊRADIOÊOFF] (S3), [FFÊAMS] (S4), and [REWÊAMS] (S5) buttons on the remote controller as much as possible. If no remote controller, do not touch the buttons with your hands, but using a stick with a round tip. Note 3 :When using headphones, the timing for move the DIRECTION switch (S1) can be determined from the beep sound. 9 ( 9 ( 9 ( p p p + - FF AMS (S4)connect to the plunger (PM901) battery terminal Õ battery terminal - square wave (sine wave) 10 Hz, - 3.5 dBAF oscillator TAPE DETECT (S901-1) - MAIN Board (side B) - ATS (S901-2) REW AMS (S5) TP23 (GND) S1 DIRECTION FWD NSTOP nREV Ï REPEAT (S9) p RADIO OFF (S3)PH1Q15 connect to the motor (M601)