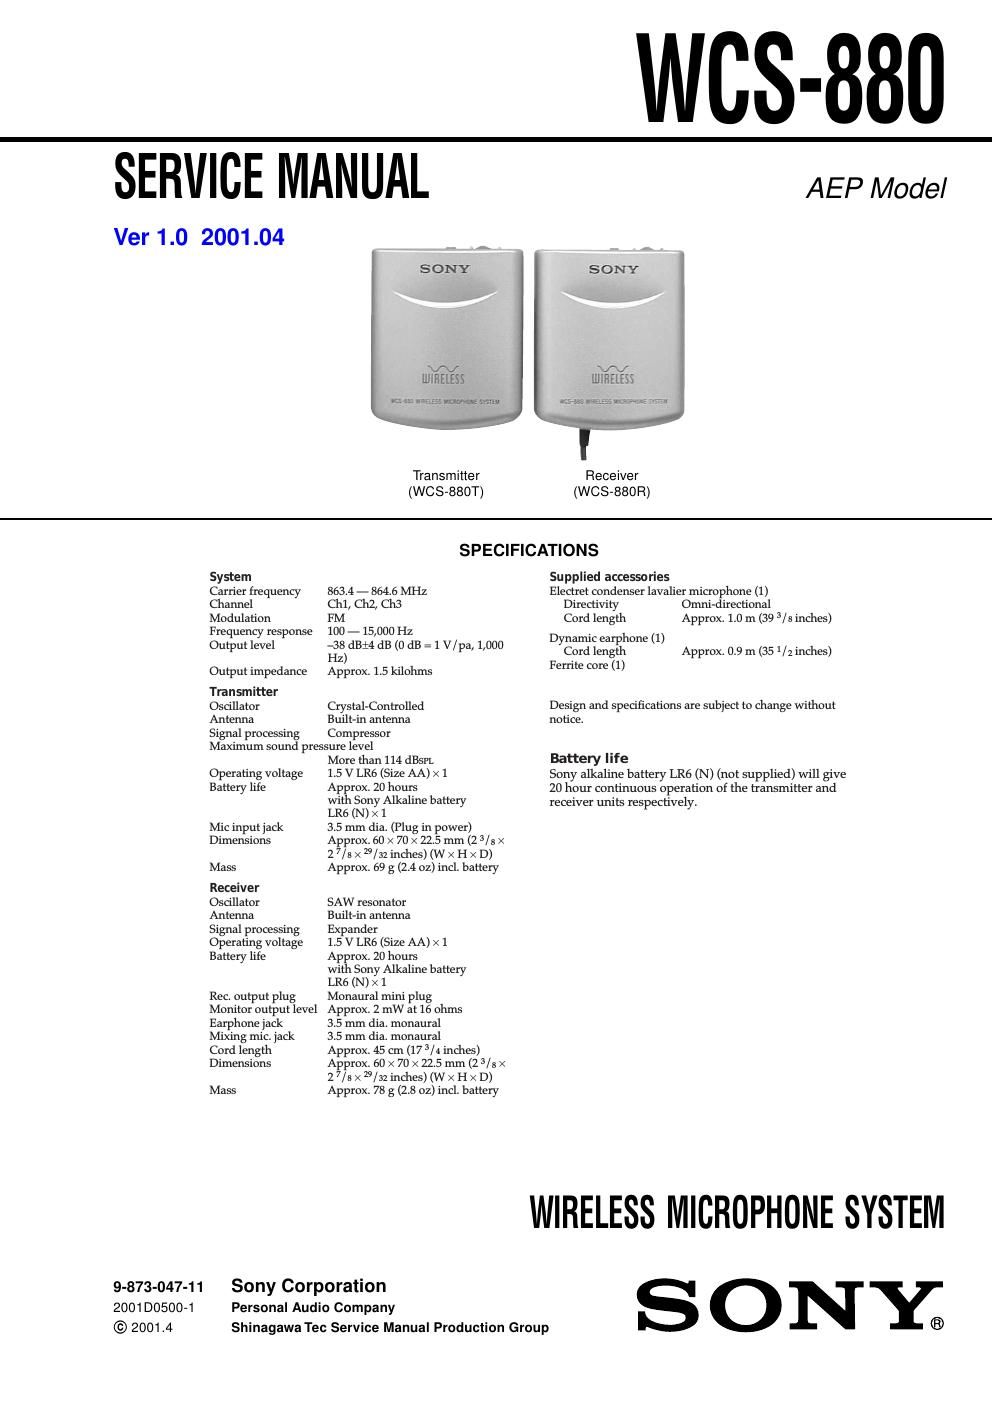
Sony wcs 880 service manual

This is the 24 pages manual for sony wcs 880 service manual.
Read or download the pdf for free. If you want to contribute, please mail your pdfs to info@audioservicemanuals.com.

Page: 1 / 24
left right
sony wcs 880 service manual

Extracted text from sony wcs 880 service manual (Ocr-read)


Page 1

2 WCS-880 TABLE OF CONTENTS 1. GENERAL............................................................ 3 2. DISASSEMBLY 2-1. TX Board, VCO Board ................................................... 4 2-2. Antenna Setting ............................................................... 4 2-3. RX Board, FE Board ....................................................... 5 2-4. Antenna Setting ............................................................... 5 3. ELECTRICAL ADJUSTMENTS TX Section ...................................................................... 6 RX Section ...................................................................... 8 4. DIAGRAMS 4-1. Block Diagram -“ TX Section -“ ..................................... 10 4-2. Block Diagram -“ RX Section -“ ..................................... 11 4-3. Printed Wiring Boards -“ TX Section -“ .......................... 12 4-4. Schematic Diagram -“ TX Section -“ ............................... 13 4-5. Printed Wiring Boards -“ RX Section -“ ......................... 14 4-6. Schematic Diagram -“ RX Section -“ .............................. 15 5. EXPLODED VIEWS 5-1. TX Section (WCS-880T) ................................................ 17 5-2. RX Section (WCS-880R) ................................................ 18 6. ELECTRICAL PARTS LIST ............................... 19Notes on chip component replacement - Never reuse a disconnected chip component. - Notice that the minus side of a tantalum capacitor may be dam- aged by heat.

Page 2

3 WCS-880 SECTION 1 GENERAL This section is extracted from instruction manual. 1-a Receiver unit / Récepteur / Empfänger / Ontvanger To the microphone jack of your tape recorder vers la prise microphone de votre magnétocassette an die Mikrofonbuchse des Kassettenrecorders Naar de microfoonaansluiting van uw cassetterecorder Transmitter unit / Emetteur / Sender / Zender 2MIC jack Prise microphone (MIC) Buchse MIC MIC aansluiting 2 1-b To the microphone jack of your video camera recorder vers la prise de microphone de votre camescope an die Mikrofonbuchse der Videokamera Naar de microfoonaansluiting van uw camcorder 4POWER switch Interrupteur dalimentation (POWER) Netzschalter POWER POWER schakelaar 3CHANNEL selector Sélecteur de canal (CHANNEL) Wählschalter CHANNEL CHANNEL keuzeschakelaar Approx. 45 m (150 feet) Env. 45 m (150 pieds) ca. 45 m Ong. 45 m 2 4POWER switch Interrupteur dalimentation (POWER) Netzschalter POWER POWER schakelaar 1-a,b 3CHANNEL selector Sélecteur de canal (CHANNEL) Wählschalter CHANNEL CHANNEL keuzeschakelaar 1-a v (earphone) jack Prise découteur (v) Ohrhörerbuchse v v (oortelefoon) aansluiting MIX MIC jack Prise de mixage (MIX MIC) Buchse MIX MIC MIX MIC aansluiting C To the MIC jack vers la prise MIC an Buchse MIC Naar de MIC aansluiting Lavalier microphone (supplied) Micro-cravate (fourni) Ansteckmikrofon (mitgeliefert) Lavalier-microfoon (meegeleverd) To the v (earphone) jack Vers la prise v (écouteur) an die Buchse v (Ohrhörer) Naar v (oortelefoon).earphone (supplied) écouteur (fourni) Ohrhörer (mitgeliefert) oortelefoon (meegeleverd) To the v (earphone) jack Vers la prise v (écouteur) an die Buchse v (Ohrhörer) Naar v (oortelefoon). earphone (supplied) écouteur (fourni) Ohrhörer (mitgeliefert) oortelefoon (meegeleverd) FeaturesThis wireless microphone system is designed to be used with a video camera recorder, etc. By attaching the receiver unit onto a video camera recorder, etc. you can receive the sound picked up by the transmitter unit. You can enjoy vivid sound which matches the zoomed up images recorded by your video camera recorder. You can also use this system with a tape recorder as a conventional wireless microphone system to record the sound. - The operational distance between the transmitter unit and the receiver unit can be up to approximately 45 m (150 feet). However, this distance may become shorter if there are some obstacles in between the transmitter unit and the receiver unit. - The radio frequency can be selected so that a less busy channel can be used while the air is busy. - Compact design featuring built-in antennas. - The transmitter unit is equipped with a plug in power-ˆ— type MIC jack (monaural/ 3.5 mm dia.) An optional microphone other than the supplied one can be connected to this jack. - The transmitter and receiver units are equipped with clip type holders with the adjustable clips which can be rotated 360 degrees so that the transmitter and receiver units can be attached onto your clothes, etc. - The receiver unit is equipped with the MIX MIC jack to which an optional microphone such as the ECM-T145 (lavalier microphone) can be connected, so that the sound transmitted from the transmitter unit can be mixed with the sound picked up by the optional microphone. - The receiver unit is equipped with the v (earphone) jack to which the supplied earphone can be connected, so that you can monitor the sound being recorded. You can use the earphone connected to the receiver unit to monitor the subject using the transmitter unit. - The supplied lavalier microphone has a built-in wind screen effect so that you can use the microphone in the open air without a wind screen. *Plug in power system The system that power is supplied directly to the microphone from the microphone jack of the connected equipment.