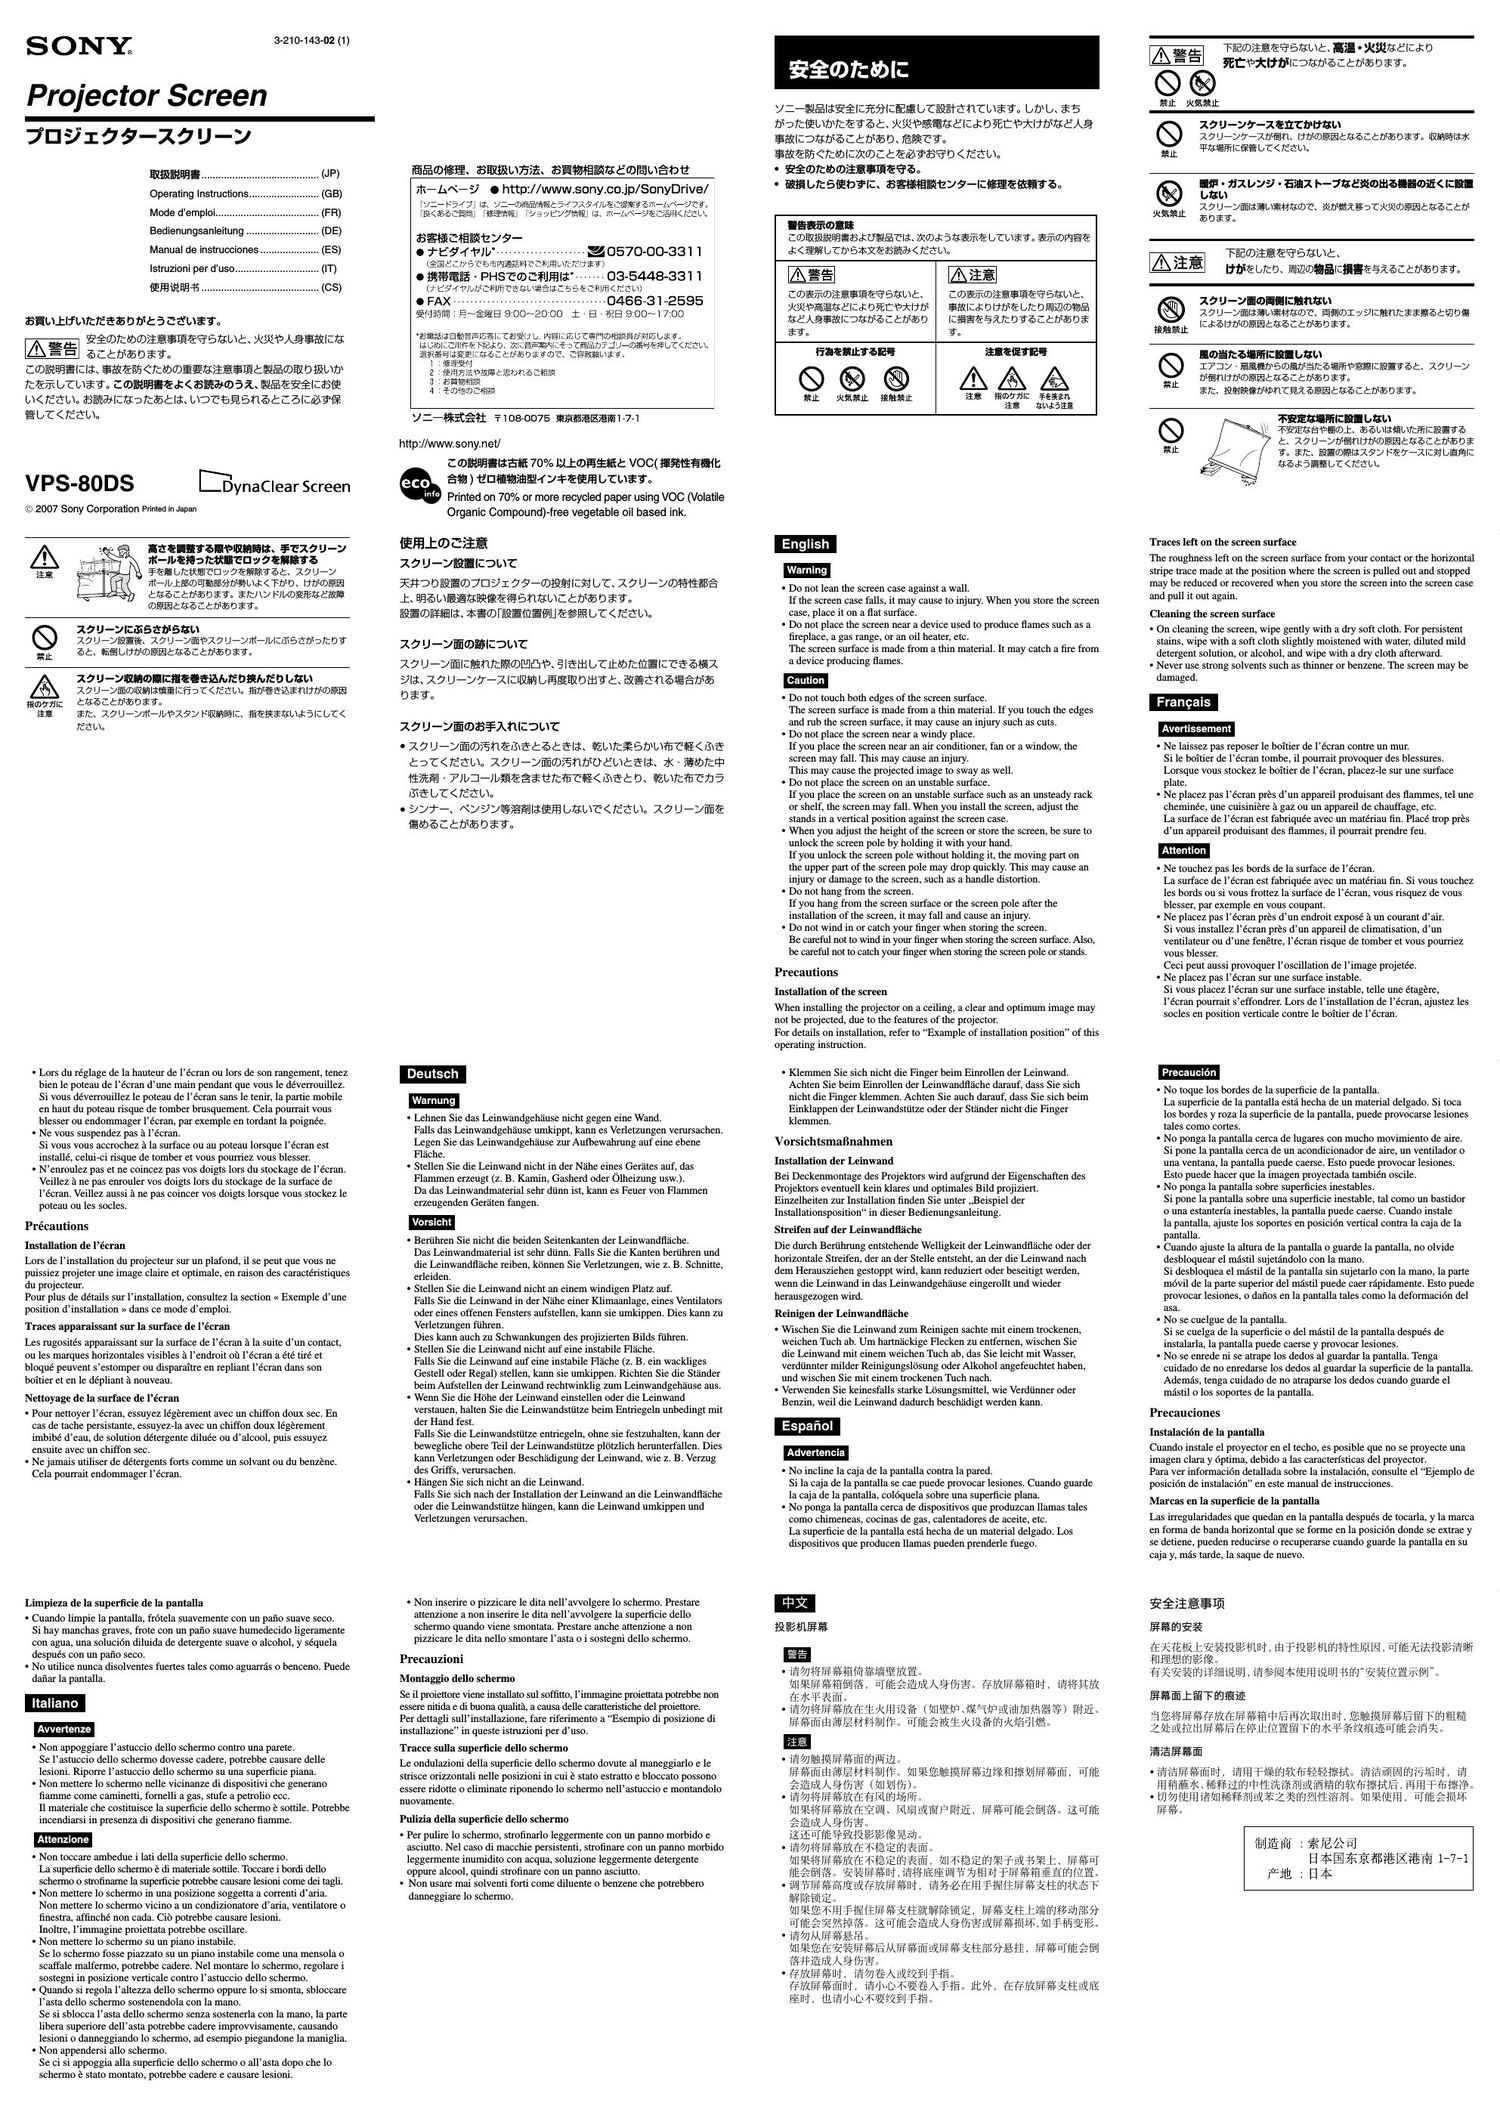
Sony vps 80 ds owners manual

This is the 2 pages manual for sony vps 80 ds owners manual.
Read or download the pdf for free. If you want to contribute, please mail your pdfs to info@audioservicemanuals.com.

Page: 1 / 2
left right
sony vps 80 ds owners manual

Extracted text from sony vps 80 ds owners manual (Ocr-read)


Page 2

filial/Setup diagram/Diagramme dinstallation/Diagrama de
éfiEE


X7U-Jifi-lll
Screen Pale

Poteau de lécran
Leinwandstiitze
Mastil de la pantalla
Asta dello schermo

Egifi

7U~7177717 U77®ififi33fi-lffijffl5§§i§bf<7331A,

Whiifili, 4D\51ODJILE§C¥HE7E1TDK< Tiéma

EQtifDifiEEfiéli, 709177703E§13EE31C$ DZEUD $3.,

§¥ b <1381§M®7D5jl 777®EIWEPEEH§7ZZE

1 E5017) F78": 90 @Eétt 7J

2 17U-JTK-ll/7EEIEICI'LIéc

3 My Fllflifia'c17 U-Jfilfilfiifl b fiaaffly FlhifiSK;
b1517U-Jifi-ll1vy Fliifiljéo

4 791717-03D'y772l1?bt X7U-Jlli-Jb7afffiil35b'CX7
U-JEUJEZSEEEE?Z>O

' Eu. E3313, 7\7U7)?fi*)lflib3bbi§3-

0 Eiififig bfctétbl7 U *DWWJBHIJ, UZ\B77171777EE| y
7 th

0 X7 Uiyumeu, 7\7 UiJ/Tiilbbiatihflttdiill, X7
UiJ/fiilb7 U 971C LIDTJD tifibiANU

WEE: EYiXkEiiBHE ($3

EK-Flflfi 804/5W§lfi'34 FX7J7J
flfié-ziii 1811(W) >< 1775(H) >< 300(D) mm
mama 1811(W) X 110(H) X 128(D) mm
17027047; 1771(W) x 997(H) mm
ere 5.1 kg
57547 2.1 i 20%
éiiiiEfiEJ 20
EfiiESZij/rl 80475"-

Coloque la pantalla del proyector cuando haya terminado de montarlat

Para guardar la superficie de la pantalla, siga los procedimientos en orden

inverso, de 4 a 1.

La amplitud de la Visualizacién al colocar la pantalla variara en funcién

de la distancia de proyeccion del proyectort Para obtener informacion

detallada, consulte las instmcciones de funcionarniertto del proyector.

1 Gire 90 los soportes de ambos lados de la pantalla y, a continuacion,
ponga la pantalla sobre un suelo nivelado.

2 Extraiga el mastil de la pantalla y coloquelo en posicion Vertical.

3 Extraiga la superficie de la pantalla sujetando el asa con ambas manos y,
a continuacién, cuelgue el asa en el cabezal del mastil de la pantalla.

4 Desbloquee el ajustador y, a continuacion, ajuste la altura extendiendo el
mastil.

I Sujete firmemente el mastil de la pantalla mientras ajusta la altura.

I No olvide bloquear el ajustador cuando terrnine de ajustar la altura o
cuando guarde la superficie de la pantalla.

I Asegtirese de que el mastil de la pantalla esté bloqueado firmemente en
la pinza del mastil cuando guarde la pantalla,

Accesorios suministrados
Manual de instrucciones (este manual)
Especificaciones
Pantalla panoramica compatible con imagenes de
80 pulgadas
Dimensiones méximas
1811 (Ancho) X 1775 (Alto) X 300 (Profundidad) mm
(71 3It! (Ancho) x 70 (Alto) x 11 7It? (Profundidad) pulgadas)
Dimensiones para almacenarniento
1811 (Ancho) X 110 (Alto) x 128 (Profundidad) mm
(71 3/8 (Ancho) x 4 3/E (Alto) x 5 V8 (Profundidad) pulgadas)
Tamar-10 de la pantalla
1771 (Ancho) X 997 (Alto) mm
(69 3/» (Ancho) x 39 3/2 (Alto) pulgadas)
Peso 5,1 kg (11 lb 04 oz)
Ganancia pico 2,1 t 20%
Angulo de ganancia media 20°
Tamafio maximo de proyeccion 80 pulgadas

instalaci6n/Montagezeichnung/Schema di montaggio/
2

X7 7 F
Stands
Socles
stander
Soportes
Susteg ni

EEE

Set the projector screen after you have finished assembling it. To store the

screen surface, carry out the procedures in the order from 4 to 1.

The visual range while setting the screen will differ depending on the

projecting distance of the projector.

For details, see the operating instruction of your projector.

1 Turn the stands on both sides of the screen 90 degrees, and then put the
screen on a level floor.

2 Pull out the screen pole and make it stand vertical.

3 Pull out the screen surface by holding the handle with both hands, and
then hang the handle on the screen pole head.

4 Unlock the adjuster, then adjust the height by extending the screen pole.

I Hold the screen pole securely when adjusting the height

I Be sure to lock the adjuster after you finish adjusting the height or store
the screen surface.

I Be sure the screen pole is locked securely into the screen pole clip when
you store the screen.

Supplied accessories Operating Instruction (this manual)
Specifications 80 inch image compatible wide screen
Maximum dimensions
1811 (W) X 1775 (H) X 300 (D) mm
(71 3It (W)x 70 (H)X 11 7/1 (D) inches)
Storage dimensions
1811 (W) X 110 (H) x 128 (D) m
(71 1Is (W)x 4 3/1 (H)x 5 /s (D) inches)
Screen Size 1771 (W) X 997 (H) mm
(69 1/4(W)x 39 3/8 (H) inches)
Mass 511 kg (11 lb 04 02)
Peak Gain 21 2 20%
Half Gain Angles 20"
Maximum Projecting Size 80 inches

Mettere in posizione lo schermo dopo averlo montato completamentet Per

smontare la superficie dello schermo, seguire la procedura nell'ordine dal

passo 4 al passo 1.

La visibilita dello schermo sara diversa in funzione della distanza di

proiezione del proiettore.

Per i dettagli, vedere le istruzioni duso del proiettore utilizzato.

1 Girare di 90° i sostegni sui due lati dello schermo, quindi mettere lo
schermo su un pavimento in piano

2 Estrarre lasta dello schermo e metterla in posizione verticale.

3 Estrarre la superficie dello schermo afferrando la maniglia con ambedue
le mani, quindi appendere la maniglia alla testa dellasta dello schermo.

4 Sbloccare il dispositivo di regolazione, quindi regolare laltezza
allungando lasta dello schermo.

I Nel regolare laltezza, afferrare saldamente lasta dello schermo.

I Dopo aver regolato laltezza o smontato la superficie dello schermo,
bloccare il dispositivo di regolazione.

I Nello smontare lo schermo, prestare attenzione a bloccare saldamente
lasta dello schermo inserendola nellapposito gartcio.

Accessori in dotazione Istruzioni per d'uso (questo manuale)
Caratteristiche tecniche
Schermo grande adatto a immagine da 80 pollici
Dimensioni massime
1811 (L) x 1775 (A) x 300 (P) m
Dimensioni smontato
1811 (L) x 110 (A) x 128 (P) m
Dimensioni dello schermo
1771 (L) x 997 (A) m
Peso 5,1 kg
Guadagno massime 2,1 t 20%
Angolo di meta guadagno 20°

Massima dimensione di proiezione 80 pollici

EQEQEWIJ/Example of installation position/Example d'une position dinstallation/Beispiel der InstallatianspositionlEjemplo de posicién de

instalacién/Esempio di posizione di installaziane/ZffifEEa-sml

....................... 71

19 'J-Jflf-IIIIScreen Pole/Poteau de lécran/LeinwandstfltzelMasti| de la pantallalAsta

I \J Fill
Handle
Poignée
Griff
Asa
Maniglia
itfi

X7 U -Jiii-lll\y F
Screen Pale Head

Téte du poteau de
lécran
Leinwandstiitzenkopf
Cabezal del ma'stil de la
pantalla

Testa dellasta dello
schermo

fifiifié:

17 'J -JE
Screen Surface
Surface de
l'écran
Leinwandlléche
Superficie de la
pantalla
Superficie dello
schermo

SEE

Réglez l'écran du projecteur apres lavoir assemble, Pour enrouler la

surface de lécran, suivez la procedure en remontant du point 4 an point 1.

La portée visuelle lors du réglage de l'écran depend de la distance de

projection du projecteur.

Pour plus de details a ce sujet consultez 1e mode d'emploi de Votre projecteur.

1 Faites pivoter les socles de chaque cote de lécran de 90 degrés, puis
posez lécrart sur une surface plane.

2 Sortez le poteau de lecran et mettez-le en position Verticale.

3 Deroulez la surface de l'écran en tenant la poignée des deux mains, puis
accrochez la poignée a la téte du poteau de l'écran1

4 Déverrouillez lajusteur, puis reglez la hauteur en éiirant le poteau de lécran.

Remarques

- Tenez le poteau de l'écran fermement lorsque vous réglez la hauteur.

. Assurez-vous de bien Verrouiller lajusteur une fois la hauteur ajustée ou
lors du stockage de la surface de l'écran.

- Assurezvvous du verrouillage sécurisé du poteau de lécran dans son clip
lorsque vous stockez lécran.

Accessoires faurnis
Fiche technique

Mode d'emploi (ce manuel)

Ecran large compatible avec une image de 80 pouces
Dimensions max.

1811 (L) X 1775 (H) X 300 (P) mm

(71 Vs (L) x 70 (H) x 11 7/3 (P) pouces)
Dimensions lors du stockage

1811 (L) X 110 (H) x 128 (P)mm

(71 3/1 (L) x 4 1la (H) x 5 /s (P) pouces)
Taille de lécran

1771 (L) X 997 (H) mm

(69 3/: (L) x 39 3/1 (H) pouces)

Poids 5,1 kg (11 1b 04 oz)

Gain max. 2,1 I 20%

Angle du gain moyen 20°

Taille maximale de projection 80 pouces

iéii2E¥fii§§iiflfi§ifii§i§§rfimfi§a fififidfigfifli, iiéflfifilfii
4 E 1 Willfifiéfiéifia
Hana111141whenannaemnneimnafiw IE 1,
fififiéfiilifi, i§§fl&%mmi§ffimuflia
1Hfi$ifiifliifl9fiihfifii$§ 90° , flfififififikfifiqzmflflifihc
2 ifiififigififiiififiififiiéfit
3 mfiiifiiiiifififigfiififli, 721 Hiififflffifiifiékhu
4%Bfiifiifihfiii, fiffiifiififiifiififiiifikififiifinigu

Iifififilgfli, iéililifiiifigifiu

. fifili'éilgiifiififlififififififlfi, i§%%ffiiifliii%§a

. fifikifigfliiéazudéitfigifiiifiilfliflififififiififiw a

(lemma: (cm 010% ($315111)
we 80 filfififfifig
$103»
1811(fnC) X1775X300(ifi)mm
fir/1F»
1811(E)><110(1§i>><128(i¥>mm
figfii
1771(H) x 997 (Eilmm
ES: 5.1110
iterates 2.1 1r 20%
flannel; 20°
ex em 30%1

dello schermo/figifi

7911157-
Adjuster
Ajusteur
Klemme
Aiustadar
Dispositivo di
regolazione

ifiiiifi

X7'J-Jli'i-Il/7'J 37
Screen Pole Clip

Clip du poteau de lécran
Leinwandstiitzenklammer
Pinza del méstil de la pantalla
Gancio per lasta dello
schermo

fifiifflé

Stellen Sie die Projektorleinwand auf, nachdem Sie sie fertig montiert

haben. Zum Verstauen der Leinwandfl'a'che fuhren Sie die Schritte in der

Reihenfolge Von 4 bis 1 aus.

Die Bildgrofie bei der Aufstellung der Leinwand hangt Von der

Projektionsentfernung des Projektors abr

Einzelheiten dazu finden Sie in der Bedienungsanleitung Ihres Projektorst

1 Drehen Sie die Stander auf beiden Seiten der Leinwand auf einen Winkel
von 90°, und stellen Sie dann die Leinwand auf einen ebenen Bodent

2 Ziehen Sie die Leinwandstijtze in Senkrechtstellung heraust

3 Ziehen Sie die Leinwandflache mit beiden Handen am Griff heraus, und
hangert Sie dann den Griff an den Leinwandstiitzenkopf.

4 Entriegeln Sie die Klemme, und stellen Sie dann die Hohe durch
Ausziehen der Leinwandstiitze ein.

I Halten Sie die Leinwandstiitze beim Einstellen der Hohe sicher fest.

I Vertiegeln Sie die Klerrtrne, nachdem Sie die Hohe eingestellt oder die
Leinwandflache verstaut haben.

I Vergewissern Sie sich beim Verstauen der Leinwand, dass die
Leinwandstiitze einwandfrei in die Leinwandstiitzenklammer eingerastet
ist.

Mitgeliefertes Zubehiir Bedienungsanleitung (Vorliegendes Handbuch)
Technische Daten 80-Zoll-Bildvkompatible Breitleinwand
Maximale Abmessungen
1811 (B) X 1775 (H) X 300 (T) m
Lagerabmessungen
1811 (B) X 110 (H) x 128 (T) mm
Leinwandflache
1771 (B) X 997 (H) mm
Gewicht 5,1 kg
Peak-Gain 2,1 t 20%
Half-Gain Winkel 20°
Maximale ProjektionsgroiSe 80 Zoll

Em 2 mm (4 75) /Unil: mm (inchesyunité : mm (pauces)lEinheit: mm (Zoll)lUnidad: mm (pulgadasyUnita: mm (polliciyiifi: ifilflfifi)

nivel de les ojos
altezza degll occhl

aitura del proyector
aitezza dei proiettore

projection
mlnl male
Projektlonsentternung

optimale
Betrachtungsentternung
dlstancla optima de vision

l'écran
Hahe der Lelnwandmltte"
altura del centre de la

a b c d e t

74 IJ\)b 7D71777§EEE gfiififiifififif gfififléfit X7Uiyt777 * X7U77§E

eye level height at prolector minimum proiection optimum viewing distance height of the center of height of the whole
niveau (les yeux hauteur du projecteur distance distance optimale de screen* 50799"

Augenhfihe Hfihe deg Projektors distance minlmale de vision hauteur du centre de hauteur totale de lécran

Héhe der gesamten
Leinwand

altura de la pantalla

(33 V2 - 37 /2)

(137 I- - 157 '12)

EHEE fifiimEE
dlstancia minima de distanza di visuaflzzazione pantalla* completa
Moi/90°16" ottimale altezza del centro dello altezza totale dello
minlma dlstanza di ggxmggfig schermo* schermo
proiezione SEWIDEE" fieemarfi
EIMQ§23EE

350 - 950 500 (19 I') 2400 (94 Va) 3500 - 4000 650 (25 /I) 1332 (54 /2)

* a db 03380343181: e b1<29$51C§£E<fifZLia $5§HE§EREE¥D$0VT£EU§30

* Set the screen so that height of e is at the midpoint of height of a and b. The best picture quality can be enjoyed.

* Réglez l'écran pour que la hauteur e soit au milieu des hauteurs a et b afin de beneficier d'une qualjté optimale de l'image.

* Stellen Sie die Leinwand so ein, dass die Hohe Von 9 am Mittelpunkt der Héhe Von a und b liegt. So kommen Sie in den Genuss der besten Bildqualitfit.

* Coloque la pantafla de modo que la alturn de e se encuentre en el punto medio de altura entre a y b. Asi disfmtaré de la mejor calidad de imagen.

* Posizionare lo schermo in modo Che l'altezza di e" sia a meta {In a" e b". Cosi si otterrfi la migliore qualita dell'immagine.

* fiifififiatfi e Eifialfiafli b Wmfiiflfia ififiufiflfiiflfifilfifigt