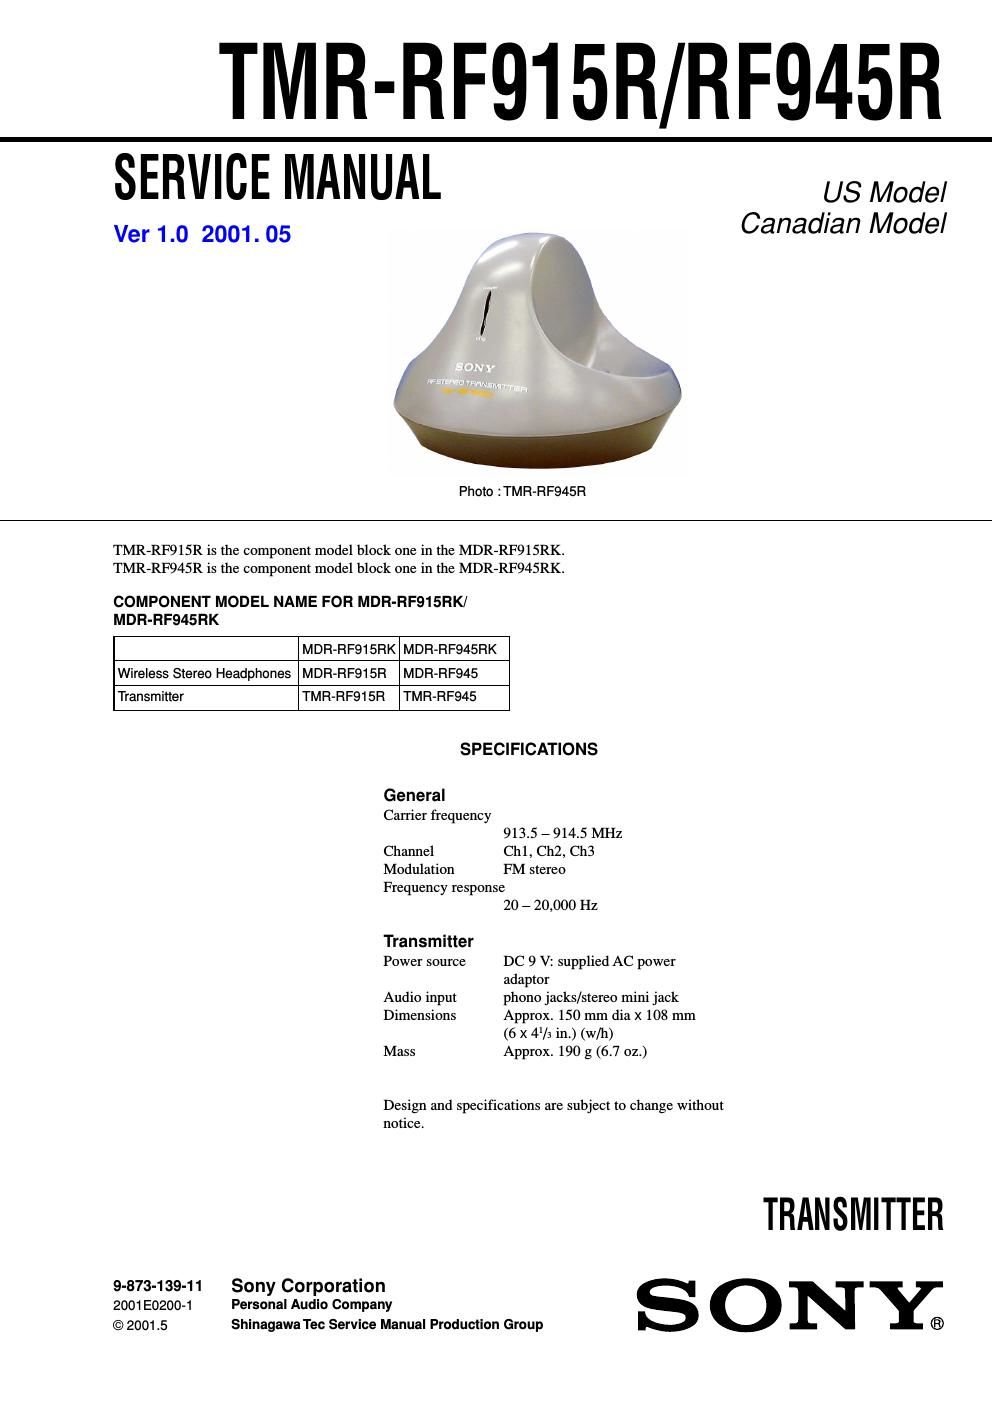
Sony tmr rf 915 r service manual

This is the 12 pages manual for sony tmr rf 915 r service manual.
Read or download the pdf for free. If you want to contribute, please mail your pdfs to info@audioservicemanuals.com.

Page: 1 / 12
left right
sony tmr rf 915 r service manual

Extracted text from sony tmr rf 915 r service manual (Ocr-read)


Page 1

2 TMR-RF915R/RF945R SECTION 1 GENERAL Setting up the transmitter 1 Connect the transmitter to audio/video equipment. Select one of the hookups below depending on the jack type: To connect to a headphones jack DC IN 9V OFF ON FILTER NOISE 123CHANNEL R BAL AUDIO IN Transmitter Left channel (white) Right channel (red) Unimatch plug adaptor (supplied) Discman, MD, WALKMAN*, VCR, etc. to headphones jack (stereo mini jack) Connecting cord (supplied)to AUDIO IN A jacks to headphones jack (stereo phone jack) A 1. Check the area of your repair for unsoldered or poorly-sol deredconnections. Check the entire board surface for solder splashes and bridges. 2. Check the interboard wiring to ensure that no wires are pinched or contact high-wattage resistors. 3. Look for unauthorized replacement parts, particularlyt ransis tors, that were installed during a previous repair. Point them out to the customer and recommend their replacement. 4. Look for parts which, through functioning, show obvious signs of deterioration. Point them out to the customer and recommend their replacement. SAFETY CHECK-OUT After correcting the original service problem, perform the following safety checks before releasing the set to the customer. 5. Check the B+ voltage to see it is at the values specified. 6. Flexible Circuit Board Repairing - Keep the temperature of the soldering iron around 270°C during repairing. - Do not touch the soldering iron on the same conductor of the circuit board (within 3 times). - Be careful not to apply force on the conductor when soldering TABLE OF CONTENTS Specifications ............................................................................ 1 1. GENERAL ...................................................................... 2 2. DISASSEMBLY 2-1. Cabinet (Upper) ........................................................ 3 2-2. TX-BASE Board ....................................................... 3 3. ELECTRICAL ADJUSTMENTS ............................. 4 4. DIAGRAMS 4-1. Block Diagrams ......................................................... 5 4-2. Schematic Diagram ................................................... 6 4-3. Printed Wiring Board ................................................ 7 5. EXPLODED VIEWS ..................................................... 8 6. ELECTRICAL PARTS LIST ...................................... 9This section is extracted from instruction manual.

Page 2

3 TMR-RF915R/RF945R SECTION 2 DISASSEMBLY 2-1. CABINET (UPPER) - This set can be disassembled in the order shown below. 1 Four screws (P 2 × 8) Cabinet (upper) 2 2-2. TX-BASE BOARD 2 TX-BASE board Cabinet assy, lowe r 1