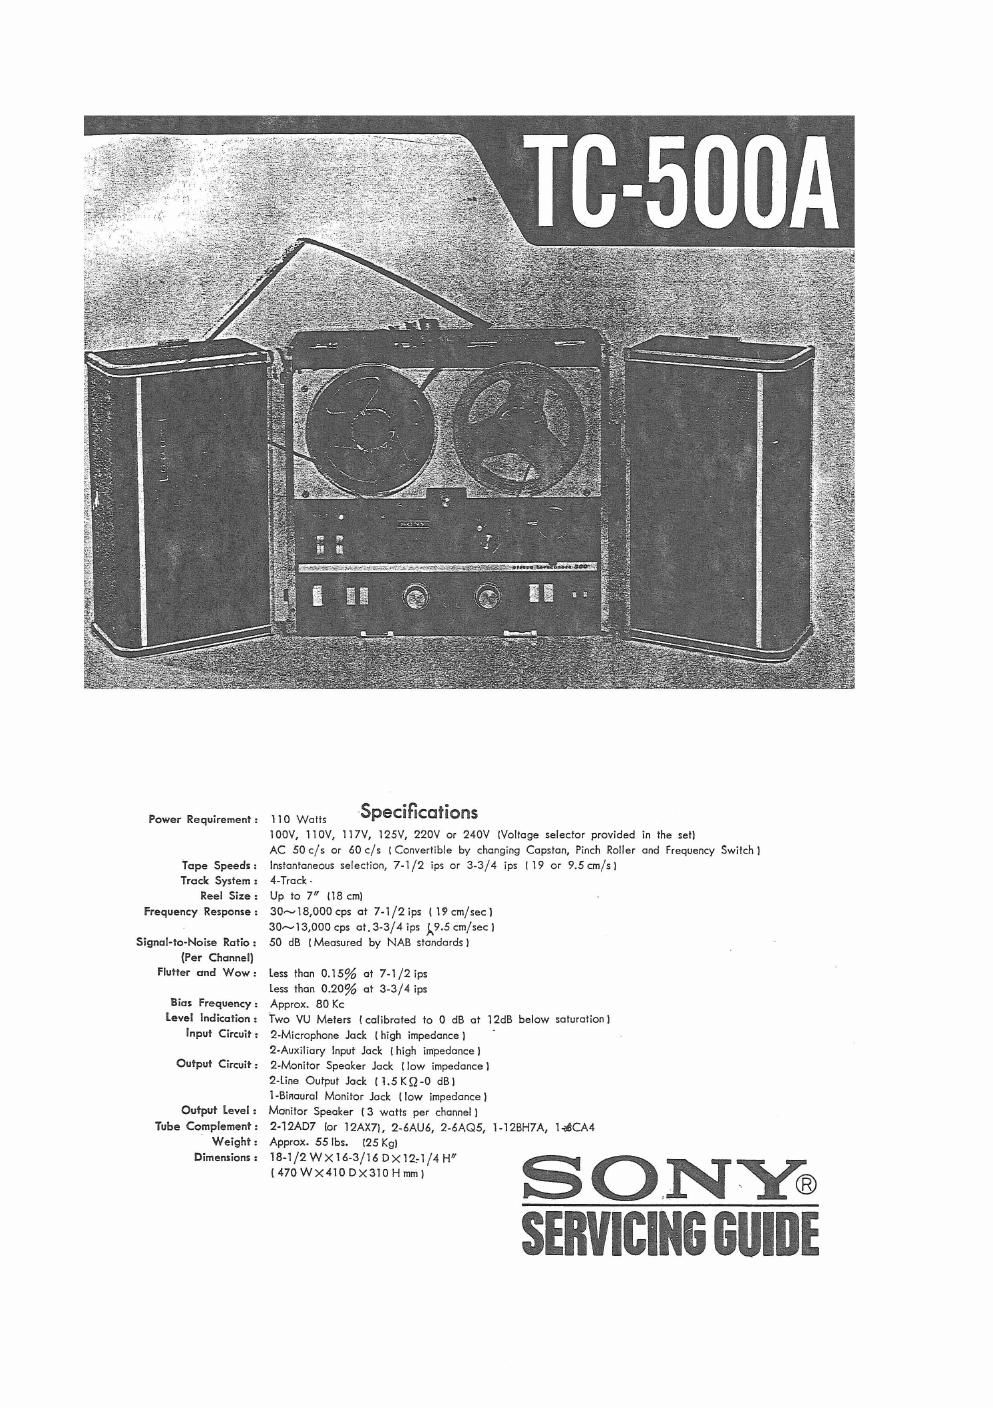
Sony tc 500 a service manual

This is the 64 pages manual for sony tc 500 a service manual.
Read or download the pdf for free. If you want to contribute, please mail your pdfs to info@audioservicemanuals.com.

Page: 1 / 64
left right
sony tc 500 a service manual

Extracted text from sony tc 500 a service manual (Ocr-read)


Page 2

Removal of Reel Panel
ll Remove 5 phillips head screws and chrome cuP washers, being carelul not to loosen plastic washers from
decorative metal washers.

2) Lift panel lrom recorder.

Removal of Control Pcm

l) Remove speakers.

2) Remove fuse and cap.

3) Place recorder face down on padded surlace.

4) Remove 2 machine screws and washers under handle.
5) Remove 4 screws and washers Irom back of case.

6) The chassis can be removed from case.

Removal of Cha

l) Remove head cover.

2) Remove speed selector knob.

3t Remove plastic cap trom instant stop lever.

4) Remove lunction selector knob.

5| Remove MIC/play knobs-4w pulling oh.

6) Remove auxiliary knobs-by loosening set screw.

7l Remove phillips screw and washer under head cover and both tape guides.

8) Remove electronics bottom cover: loosen 3 oval head phillips screws on rear of chassis; cover will then slip
out

9) Remove 3 phillips head screws and washers-located iust under lip of electronics chassis.

10) Lilt control panel from recorder.

Alignment Procedure

The alignment is to be performed at a tape speed of 7-1/2 ips unless otherwise specified. Connect on 3 ohm

load resistor in parallel with the VTVM terminals and connect the VTVM to the Speaker Output Jack lllm and/or

J2). Set the Speaker ON/OFF Switch on.

1. Azimuth Alignment of the Playback Head

ll Align the upper edges of the Erase Head Core and Rec/PB Head Core and upper edge of Tape by turning
the two Tape Guides located near the Heads. [Hl0 in Fig. 6) '

2) Play back a lo kc signal recorded on the first section of the SONY alignment tape " N-l9-Fl ".

3) Adiust the azimuth alignment screw located on the right side of the Playback Head to obtain th: maximum
reading on the VTVM. V

4) Perform the procedure 1) again

5) Turn the Tape Guide (H10 L) clockwise by 30 degrees and the Tape Guide (H10 R) counter-clockvise by 30
degrees. l

6) Perform the procedure 3) again.