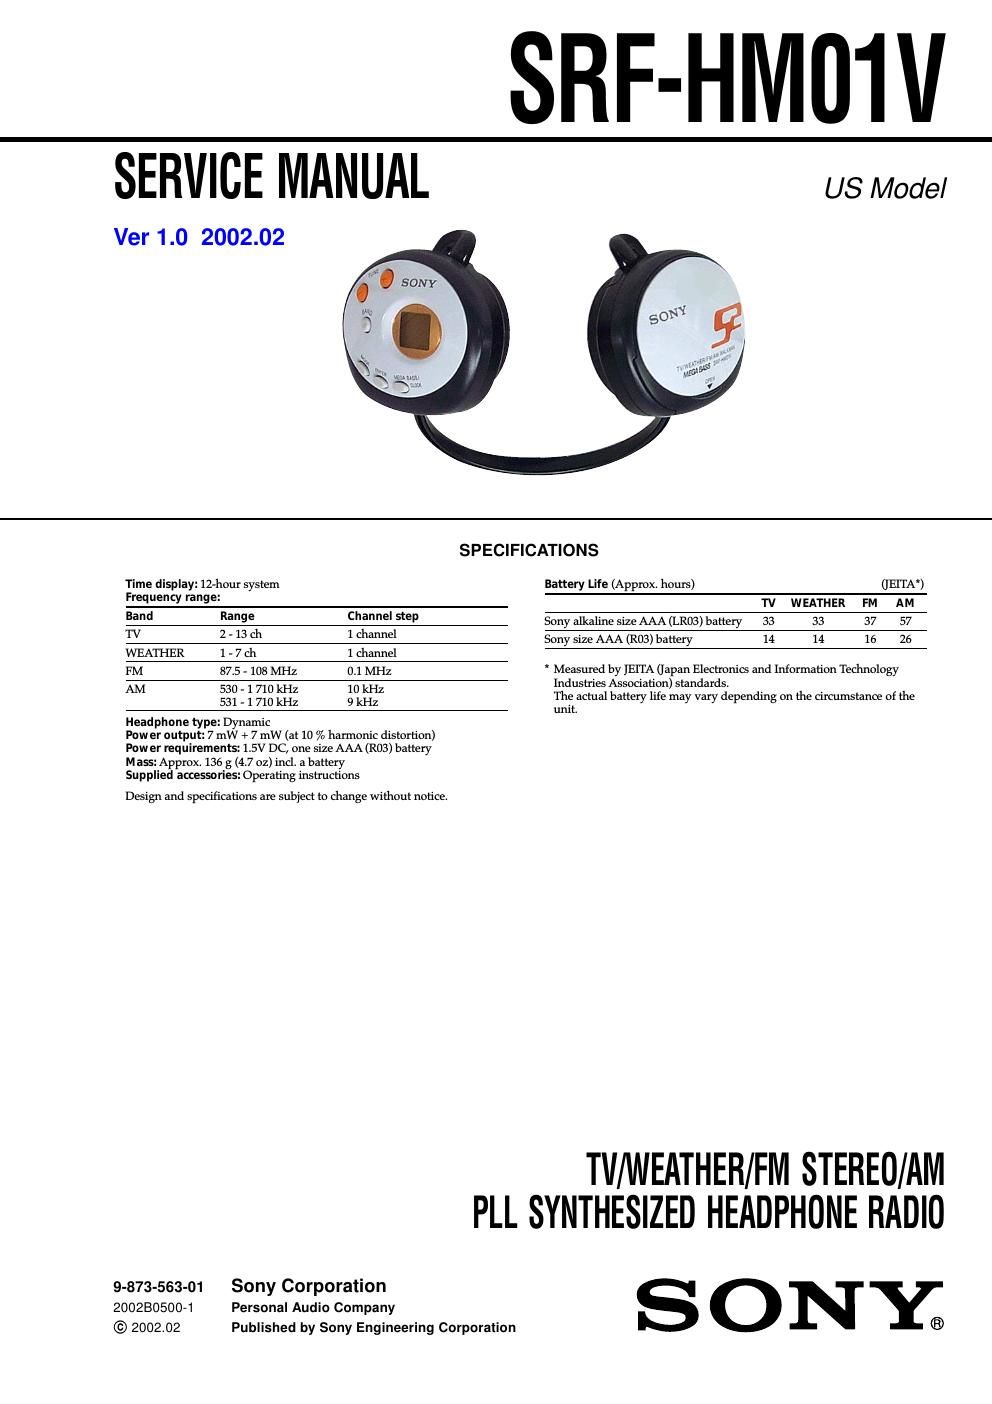
Sony srf hm 01 v service manual

This is the 28 pages manual for sony srf hm 01 v service manual.
Read or download the pdf for free. If you want to contribute, please mail your pdfs to info@audioservicemanuals.com.

Page: 1 / 28
left right
sony srf hm 01 v service manual

Extracted text from sony srf hm 01 v service manual (Ocr-read)


Page 1

2 SRF-HM01V TABLE OF CONTENTS 1. GENERAL ................................................................... 3 2. DISASSEMBLY 2-1. Disassembly Flow ........................................................... 4 2-2. MICROCOMPUTER Board ........................................... 4 2-3. MAIN Board ................................................................... 5 2-4. BATTERY Board ............................................................ 5 2-5. Putting the Sheet (A) ....................................................... 6 3. ELECTRICAL ADJUSTMENTS ......................... 7 4. DIAGRAMS 4-1. Block Diagram -“ TUNER Section -“ ............................. 9 4-2. Block Diagram -“ MAIN Section -“ ................................ 10 4-3. Note for Printed Wiring Boards and Schematic Diagrams ................................................ 11 4-4. Printed Wiring Board -“ MAIN Board (Component Side) -“ .............................. 12 4-5. Printed Wiring Board -“ MAIN Board (Conductor Side) -“ ................................ 13 4-6. Printed Wiring Board -“ BATTERY Board -“ ................. 14 4-7. Schematic Diagram -“ BATTERY/MAIN Boards -“ ...... 15 4-8. Printed Wiring Board -“ MICROCOMPUTER Board (Component Side) -“ .... 16 4-9. Printed Wiring Board -“ MICROCOMPUTER Board (Conductor Side) -“ ...... 17 4-10. Schematic Diagram -“ MICROCOMPUTER Board -“ ................................... 18 4-11. IC Pin Function Description ........................................... 20 5. EXPLODED VIEWS 5-1. Cabinet (R) Section ......................................................... 21 5-2. Board Section .................................................................. 22 5-3. Cabinet (L) Section ......................................................... 23 6. ELECTRICAL PARTS LIST ............................... 24Notes on chip component replacement - Never reuse a disconnected chip component. - Notice that the minus side of a tantalum capacitor may be dam- aged by heat. Flexible Circuit Board Repairing - Keep the temperature of the soldering iron around 270 ˚C dur- ing repairing. - Do not touch the soldering iron on the same conductor of the circuit board (within 3 times). - Be careful not to apply force on the conductor when soldering or unsoldering.

Page 2

3 SRF-HM01V SECTION 1 GENERAL This section is extracted from instruction manual. POWER ON/OFF Hook (L, R) Driver Unit TUNE +* 2/-“ Display MEGA BASS/CLOCK ENTER MODE BAND VOL* 1 TV/WB/FM SENS DX/LOCAL L (Left) R (Right) Hang the hooks on your ears. Neckband NeckbandBattery compartment lid Light reflector (R, L) This reflector reflects car lights at night for your safety. * 1There is a tactile dot beside volume to show the direction to turn up the volume. * 2The TUNE + button has a tactile dot. Setting the ClockThe clock time display of this unit is a 12-hour system. When the battery is first installed, AM 12:00 flashes in the display. 1Set POWER to OFF to turn off the power.2Hold down MEGA BASS/CLOCK for more than 2 seconds until AM 12 starts flashing. 3Press TUNE + or -“ to adjust the hour, then press MEGA BASS/CLOCK. If you hold down TUNE + or -“, the digit changes rapidly. AM 12:00 = midnight, PM 12:00 = noon. 4Repeat step 3 above to adjust the minute.: starts flashing and the clock starts operating. To set the current time exactly to the second, adjust the minute and then press MEGA BASS/CLOCK to synchronize with a time signal (such as the telephone time signal). Note If you do not press TUNE + or -“, or MEGA BASS/CLOCK within one minute, the clock setting mode will be canceled. Changing AM Channel StepThe AM channel step differs depending on areas. The channel step of this unit is factory-set to 10 kHz. Change the settings as shown below to be able to listen to the radio. Area Channel stepNorth and South American countries 10 kHzOther countries 9 kHz Note When the AM channel step is changed, only the preset stations on the AM band will be initialized. 1Set POWER to OFF to turn off the power.2While holding down MODE, hold down TUNE + or -“ for more than 5 seconds. The channel step will change and 9 kHz (or 10 kHz) will flash for 3 seconds in the display. If you proceed to step 2 again, the channel step changes again.