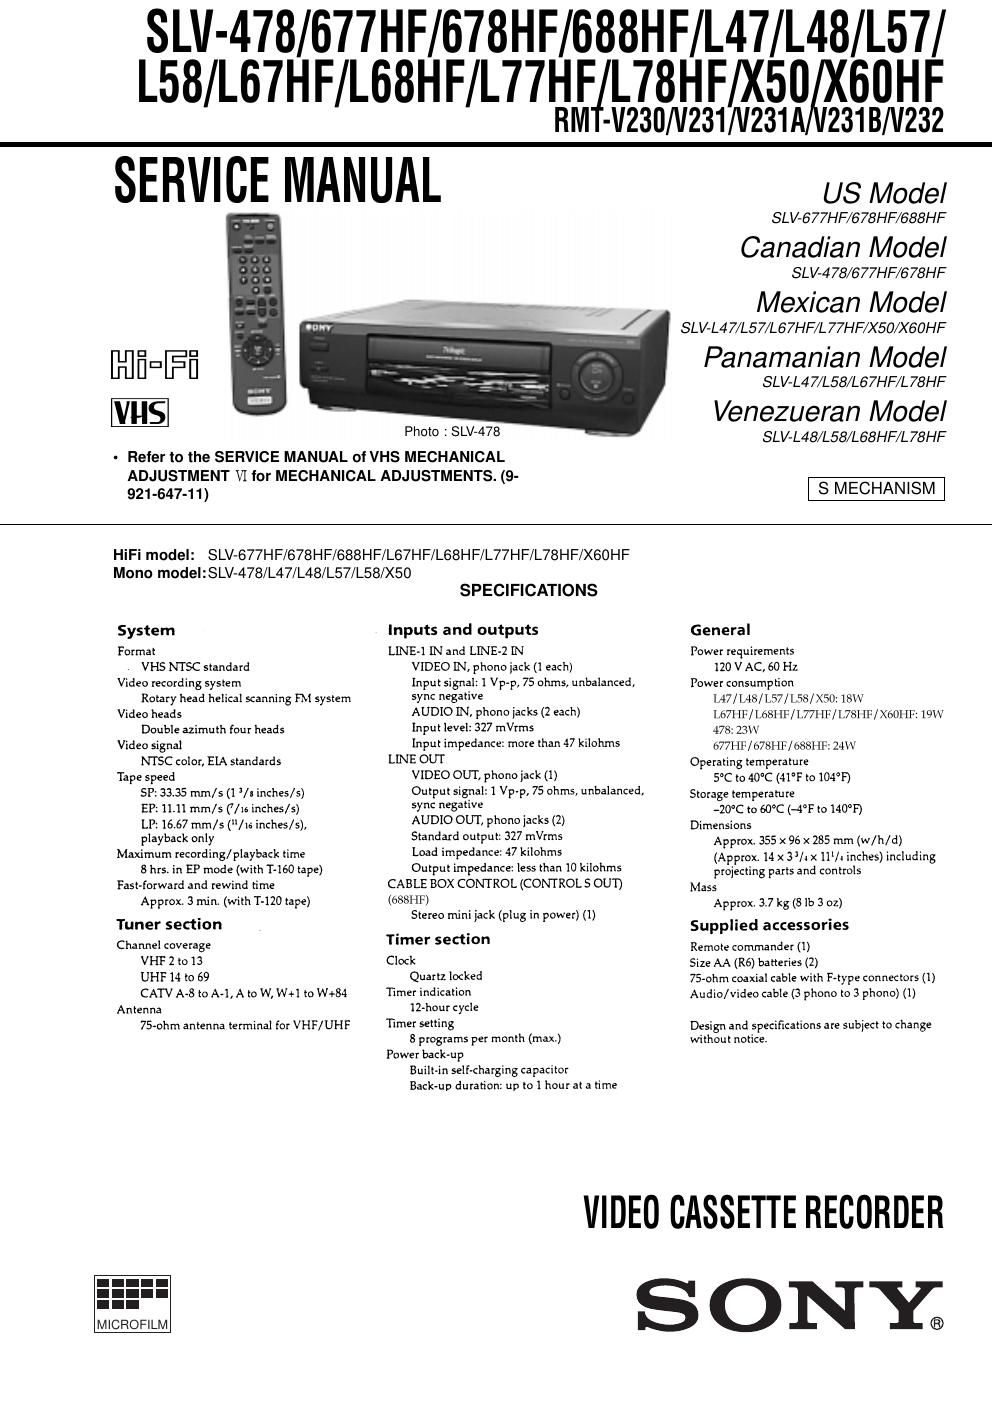
Sony slv 688 hf service manual

This is the 72 pages manual for sony slv 688 hf service manual.
Read or download the pdf for free. If you want to contribute, please mail your pdfs to info@audioservicemanuals.com.

Page: 1 / 72
left right
sony slv 688 hf service manual

Extracted text from sony slv 688 hf service manual (Ocr-read)


Page 1

Ñ 2 Ñ SAFETY-RELATED COMPONENT WARNING!! COMPONENTS IDENTIFIED BY MARK ! OR DOTTED LINE WITH MARK ! ON THE SCHEMATIC DIAGRAMS AND IN THE PARTS LIST ARE CRITICAL TO SAFE OPERATION. REPLACE THESE COMPONENTS WITH SONY PARTS WHOSE PART NUMBERS APPEAR AS SHOWN IN THIS MANUAL OR IN SUPPLEMENTS PUBLISHED BY SONY.ATTENTION AU COMPOSANT AYANT RAPPORT Ë LA SƒCURITƒ! LES COMPOSANTS IDENTIFƒS PAR UNE MARQUE ! SUR LES DIAGRAMMES SCHƒMATIQUES ET LA LISTE DES PIéCES SONT CRITIQUES POUR LA SƒCURITƒ DE FONCTIONNEMENT. NE REMPLACER CES COMPOSANTS QUE PAR DES PIéSES SONY DONT LES NUMƒROS SONT DONNƒS DANS CE MANUEL OU DANS LES SUPPƒMENTS PUBLIƒS PAR SONY. DIFFERENT SPECIFICATIONS MODEL SPECIFICATIONS AUDIO SYSTEM TUNER AUDIO (STEREO) SYSTEM VCR+ SYSTEM LINE 2 INPUT BODY COLOR DUAL MODE SHUTTLE REMOTE COMMANDER SLV-478 MONAURAL Ñ Ñ Ñ BLACK Ñ RMT-V231A SLV-L67HF SLV-L68HF HiFi-STEREO SAP Ñ Ñ BLACK TITAN Ñ RMT-V231 SLV-688HF HiFi-STEREO SAP BUILT-IN BUILT-IN BLACK Ñ RMT-V231B SLV-L47 SLV-L48 MONAURAL Ñ Ñ Ñ BLACK Ñ RMT-V230 SLV-L57 SLV-L58 MONAURAL Ñ Ñ BUILT-IN BLACK BUILT-IN RMT-V232 MODEL SPECIFICATIONS AUDIO SYSTEM TUNER AUDIO (STEREO) SYSTEM VCR+ SYSTEM LINE 2 INPUT BODY COLOR DUAL MODE SHUTTLE REMOTE COMMANDER SLV-677HF SLV-678HF HiFi-STEREO SAP Ñ Ñ TITAN BLACK Ñ RMT-V231A SLV-L77HF SLV-L78HF HiFi-STEREO SAP Ñ BUILT-IN BLACK TITAN BUILT-IN RMT-V232 SLV-X50 MONAURAL Ñ Ñ Ñ TITAN BUILT-IN RMT-V232 SLV-X60HF HiFi-STEREO SAP Ñ Ñ TITAN Ñ RMT-V231

Page 2

Ñ 3 Ñ SAFETY CHECK-OUT After correcting the original service problem, perform the following safety checks before releasing the set to the customer. 1. Check the area of your repair for unsoldered or poorly-soldered connections. Check the entire board surface for solder splashes and bridges. 2. Check the interboard wiring to ensure that no wires are "pinched" or contact high-wattage resistors. 3. Look for unauthorized replacement parts, particularly transistors, that were installed during a previous repair. Point them out to the customer and recommend their replacement. 4. Look for parts which, though functioning, show obvious signs of deterioration. Point them out to the customer and recommend their replacement. 5. Check the line cord for cracks and abrasion. Recommend the replacement of any such line cord to the customer. 6. Check the B+ voltage to see it is at the values specified. 7. Check the antenna terminals, metal trim, "metallized" knobs, screws, and all other exposed metal parts for AC leakage. Check leakage as described below.LEAKAGE TEST The AC leakage from any exposed metal part to earth ground and from all exposed metal parts to any exposed metal part having a return to chassis, must not exceed 0.5mA (500 microampers). Leakage current can be measured by any one of three methods. 1. A commercial leakage tester, such as the Simpson 229 or RCA TW-540A. Follow the manufacturers' instructions to use these instruments. 2. A battery-operated AC milliammeter. The Data Precision 245 digital multimeter is suitable for this job. 3. Measuring the voltage drop across a resistor by means of a VOM or battery-operated AC voltmeter. The "limit" indication is 0.75V, so analog meters must have an accurate low voltage scale. The Simpson 250 and Sanwa SH-63Trd are examples of a passive VOM that is suitable. Nearly all battery operated digital multimeters that have a 2V AC range are suitable. (See Fig. A) To Exposed Metal Parts on Set 0.15 µF 1.5 k ½ AC Voltmeter (0.75 V) Earth Ground Fig. A. Using an AC voltmeter to check AC leakage.