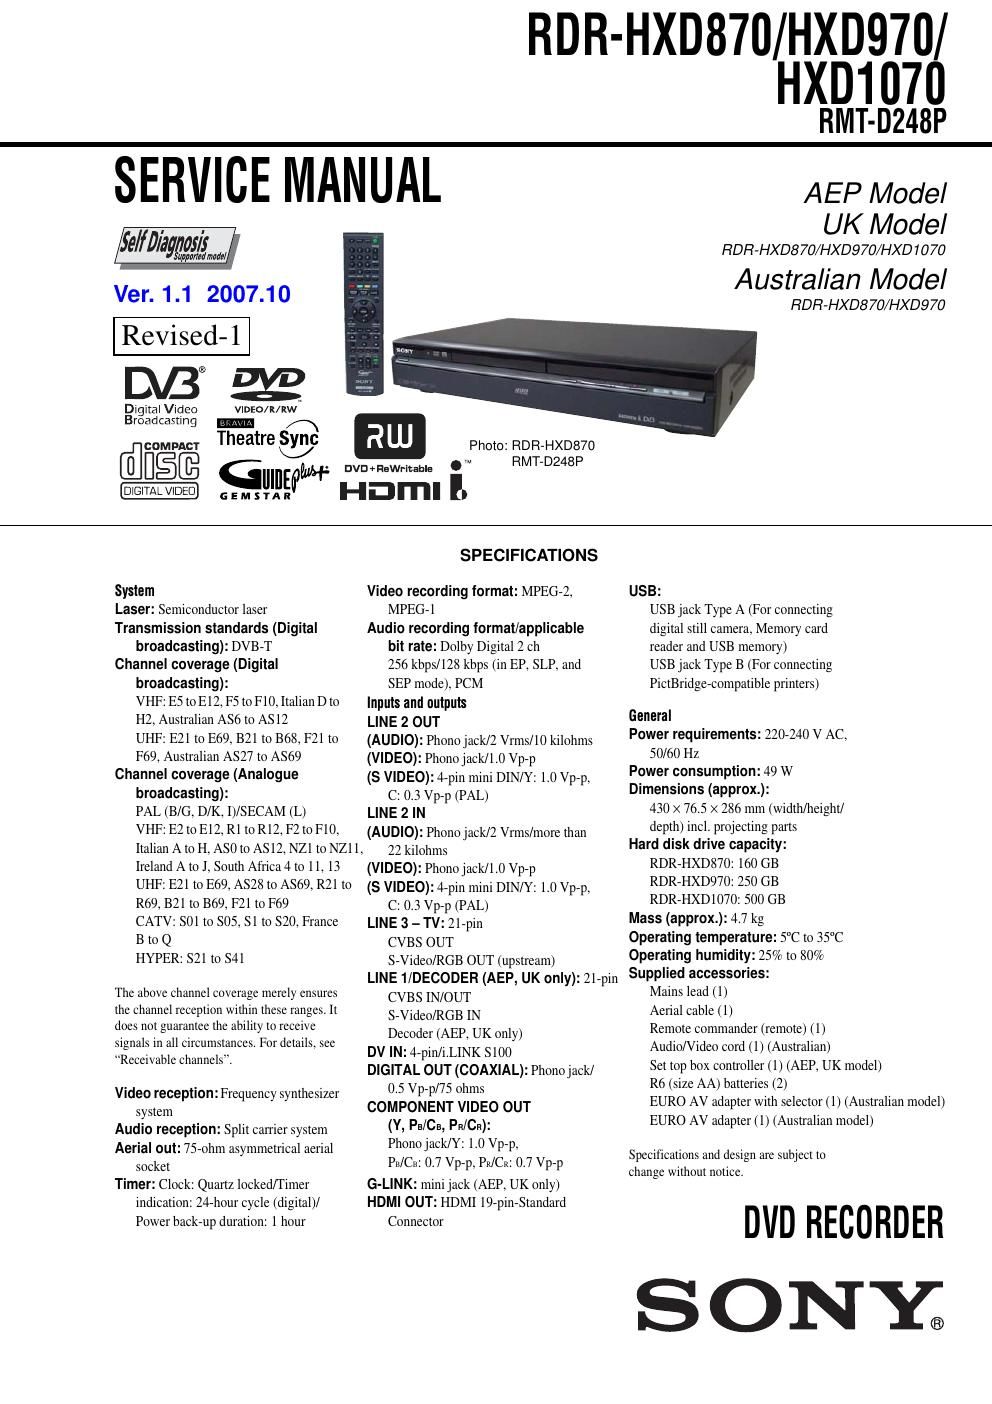
Sony rdr hxd 870 service manual

This is the 169 pages manual for sony rdr hxd 870 service manual.
Read or download the pdf for free. If you want to contribute, please mail your pdfs to info@audioservicemanuals.com.

Page: 1 / 169
left right
sony rdr hxd 870 service manual

Extracted text from sony rdr hxd 870 service manual (Ocr-read)


Page 1

- 2 - SAFETY-RELATED COMPONENT WARNING!! COMPONENTS IDENTIFIED BY MARK 0 OR DOTTED LINE WITH MARK 0 ON THE SCHEMATIC DIAGRAMS AND IN THE PARTS LIST ARE CRITICAL TO SAFE OPERATION. REPLACE THESE COMPONENTS WITH SONY PARTS WHOSE PART NUMBERS APPEAR AS SHOWN IN THIS MANUAL OR IN SUPPLEMENTS PUBLISHED BY SONY. 1. Check the area of your repair for unsoldered or poorly-soldered connections. Check the entire board surface for solder splashes and bridges. 2. Check the interboard wiring to ensure that no wires are "pinched" or contact high-wattage resistors. 3. Look for unauthorized replacement parts, particularly transistors, that were installed during a previous repair. Point them out to the customer and recommend their replacement. 4. Look for parts which, through functioning, show obvious signs of deterioration. Point them out to the customer and recommend their replacement. 5. Check the B+ voltage to see it is at the values specified. 6. Flexible Circuit Board Repairing -Keep the temperature of the soldering iron around 270 ˚C during repairing. - Do not touch the soldering iron on the same conductor of the circuit board (within 3 times). - Be careful not to apply force on the conductor when soldering or unsoldering. SAFETY CHECK-OUT After correcting the original service problem, perform the following safety checks before releasing the set to the customer. CAUTION Use of controls or adjustments or performance of procedures other than those specified herein may result in hazardous radiation exposure. WARNING!! WHEN SERVICING, DO NOT APPROACH THE LASER EXIT WITH THE EYE TOO CLOSELY. IN CASE IT IS NECESSARY TO CONFIRM LASER BEAM EMISSION, BE SURE TO OBSERVE FROM A DISTANCE OF MORE THAN 25 cm FROM THE SURFACE OF THE OBJECTIVE LENS ON THE OPTICAL PICK-UP BLOCK. CAUTION: The use of optical instrument with this product will increase eye hazard. Unleaded solder Boards requiring use of unleaded solder are printed with the lead- free mark (LF) indicating the solder contains no lead. (Caution: Some printed circuit boards may not come printed with the lead free mark due to their particular size.) : LEAD FREE MARK Unleaded solder has the following characteristics. - Unleaded solder melts at a temperature about 40 °C higher than ordinary solder. Ordinary soldering irons can be used but the iron tip has to be applied to the solder joint for a slightly longer time. Soldering irons using a temperature regulator should be set to about 350 °C. Caution: The printed pattern (copper foil) may peel away if the heated tip is applied for too long, so be careful! - Strong viscosity Unleaded solder is more viscous (sticky, less prone to flow) than ordinary solder so use caution not to let solder bridges occur such as on IC pins, etc. - Usable with ordinary solder It is best to use only unleaded solder but unleaded solder may also be added to ordinary solder. Special Component Notice The components identified by mark 9 contain confidential information. Strictly follow the instructions whenever the components are repaired and/or replaced.

Page 2

- 3 - TABLE OF CONTENTS SERVICE NOTE 1. DISK REMOVAL PROCEDURE IF THE TRAY CANNOT BE EJECTED (FORCED EJECTION) ············5 2. BOARD CONNECTION, SERVICE REMOTE CONTROLLER ··················\ ··················\ ··················\ ············ 5 3. MODEL NAME SETTING METHOD WHEN ENGINE IS REPLACED ··················\ ··················\ ··················\ ············· 6 4. HOW TO DIAGNOSE HDD FAILURE ··················\ ··········7 4-1. Defective HDD ··················\ ··················\ ··················\ ············· 7 4-2. HDD Recognition status ··················\ ··················\ ················· 7 4-3. Display [E01] on FLD with unrecognized HDD ················8 4-4. Display [E02] on FLD ··················\ ··················\ ··················\ ·· 9 4-5. When playing a video, MP3, or JPG, the contents freeze ··9 4-6. Factory Check ··················\ ··················\ ··················\ ············· 10 4-7. Self Test ··················\ ··················\ ··················\ ··················\ ···· 10 4-8. Performance Check ··················\ ··················\ ··················\ ···· 11 1. GENERAL WARNING··················\ ··················\ ··················\ ··················\ ···· 1-1 Precautions ··················\ ··················\ ··················\ ··················\ ····· 1-1 Quick Guide to Disc Types ··················\ ··················\ ················ 1-2 Hookups and Settings ··················\ ··················\ ··················\ ·········· 1-3 Hooking Up the Recorder ··················\ ··················\ ··················\ 1-3 Step 1: Connecting the Aerial Cable and Set Top Box Control- ler ··················\ ··················\ ··················\ ··················\ ··············· 1-3 Step 2: Connecting the Video Cords/HDMI Cord ·················1-4 Step 3: Connecting the Audio Cords/HDMI Cord ·················1-5 Step 4: Connecting the Mains Lead ··················\ ··················\ ···1-5 Step 5: Preparing the Remote ··················\ ··················\ ············ 1-5 Step 6: Easy Setup ··················\ ··················\ ··················\ ··········· 1-6 Connecting a VCR or Similar Device ··················\ ··················\ 1-7 Connecting an External Decoder ··················\ ··················\ ·······1-7 Eight Basic Operations - Getting to Know Your DVD Recorder ··················\ ······1-8 1. Inserting a Disc ··················\ ··················\ ··················\ ············ 1-8 2. Recording a Programme ··················\ ··················\ ················ 1-8 3. Playing the Recorded Programme (Title List) ··················\ ·1-9 4. Displaying the Playing Time and Play Information ··········1-9 5. Changing the Name of a Recorded Programme ··············1-10 6. Labelling and Protecting a Disc ··················\ ··················\ ···1-10 7. Playing the Disc on Other DVD Equipment (Finalise) ···1-10 8. Reformatting a Disc ··················\ ··················\ ··················\ ··· 1-11 Guide to Digital Services (For Freeview users only) ··············1-11 EPG (Electronic Programme Guide) ··················\ ·················1-11 Programme Information ··················\ ··················\ ··················\ · 1-11 Viewing a Digital Text Service ··················\ ··················\ ········1-12 Timer Recording (For Freeview users only) ··················\ ··········1-12 Before Recording ··················\ ··················\ ··················\ ··········· 1-12 Timer Recording (Standard/EPG) ··················\ ··················\ ···1-12 Checking/Changing/Cancelling Timer Settings (Timer List) ··················\ ··················\ ··················\ ················ 1-14 Recording from Connected Equipment ··················\ ·············1-14 GUIDE Plus+ (For analogue broadcasting only) ··················\ ··1-15 Introduction to the GUIDE Plus+ System ··················\ ·········1-15 Watching TV Using the GUIDE Plus+ System ··················\ ·1-15 Searching for a Programme Using the GUIDE Plus+ System ··················\ ··················\ ··················\ ··················\ ······ 1-16 Listing Up Your Favourite Programme Information (My TV) ··················\ ··················\ ··················\ ··················\ ··· 1-16 Making Changes to the GUIDE Plus+ System ··················\ ··1-16 Timer Recording (For analogue broadcasting only) ················1-17 Before Recording ··················\ ··················\ ··················\ ··········· 1-17 Timer Recording (GUIDE Plus+/Manual) ··················\ ········1-17 Checking/Changing/Cancelling Timer Settings ··················\ 1-18 Recording from Connected Equipment ··················\ ·············1-19 Playback ··················\ ··················\ ··················\ ··················\ ·········· 1-19 Playing the Recorded Programme/DVD ··················\ ············1-19 Pausing a TV Broadcast (TV Pause/Pause Live TV) ···········1-21 Playing from the Beginning of the Programme You Are Recording (Chase Play) ··················\ ··················\ ··············· 1-21 Playing a Previous Recording While Making Another (Simultaneous Rec and Play) ··················\ ··················\ ·······1-21 Searching for a Time/Title/Chapter/Track, etc ··················\ ··1-21 Erasing and Editing ··················\ ··················\ ··················\ ··········· 1-22 Before Editing ··················\ ··················\ ··················\ ················ 1-22 Erasing and Editing a Title ··················\ ··················\ ·············· 1-22 Erasing and Editing a Chapter ··················\ ··················\ ·········1-23 Creating and Editing a Playlist ··················\ ··················\ ········1-23 Dubbing (HDD y DVD) ··················\ ··················\ ··················\ 1-24 Before Dubbing ··················\ ··················\ ··················\ ············· 1-24 HDD/DVD Dubbing ··················\ ··················\ ··················\ ······ 1-24 Dubbing Using Dubbing List ··················\ ··················\ ··········1-24 Making a Backup Disc (DVD Backup) ··················\ ·············1-25 DV Camcorder Dubbing ··················\ ··················\ ··················\ ···· 1-25 Before DV Camcorder Dubbing ··················\ ··················\ ······1-25 Dubbing an Entire DV Format Tape (DV One Touch Dubbing) ··················\ ··················\ ············ 1-26 Dubbing Selected Scenes (Manual Dubbing) ··················\ ····1-26 Playing from a DV Camcorder ··················\ ··················\ ········1-26 Audio Tracks ··················\ ··················\ ··················\ ··················\ ··· 1-26 Playing Audio Tracks from CD/DVD ··················\ ················1-26 Searching for an Audio Track ··················\ ··················\ ··········1-27 About Jukebox ··················\ ··················\ ··················\ ··············· 1-27 Preparing for Using Jukebox ··················\ ··················\ ··········· 1-27 Playing Audio Tracks Using Jukebox/USB Device ·············1-28 Managing Audio Tracks on the Music Jukebox ··················\ 1-28 JPEG Image Files ··················\ ··················\ ··················\ ·············· 1-29 About the Photo Album Function··················\ ··················\ 1-29 Preparing for Using the Photo Album Function···············1-29 Using the Photo Album List··················\ ··················\ ········· 1-30 Managing JPEG Image Files on the HDD ··················\ ·········1-30 Printing JPEG Image Files ··················\ ··················\ ·············· 1-31 Settings and Adjustments ··················\ ··················\ ··················\ ·· 1-31 Disc Settings (Disc Setup) ··················\ ··················\ ··············· 1-31 Recorder Settings (Basic) ··················\ ··················\ ················ 1-31 Aerial Reception Settings (Digital Tuner) ··················\ ·········1-32 Aerial Reception Settings (Analog Tuner) ··················\ ········1-32 Video Settings (Video In/Out) ··················\ ··················\ ·········1-33 Audio Input Settings (Audio In) ··················\ ··················\ ······1-33 Audio Output Settings (Audio Out) ··················\ ··················\ ·1-34 Language Settings (Language) ··················\ ··················\ ········1-34 Recording Settings (Recording) ··················\ ··················\ ······1-34 Playback Settings (Playback) ··················\ ··················\ ··········1-35 Limitation Settings (Parental Lock) ··················\ ··················\ ·1-35 HDMI Settings (HDMI Output) ··················\ ··················\ ······1-36 Other Settings (Options) ··················\ ··················\ ··················\ 1-36 Additional Information ··················\ ··················\ ··················\ ······ 1-37 Troubleshooting ··················\ ··················\ ··················\ ············· 1-37 Resetting the Recorder ··················\ ··················\ ··················\ ··· 1-39 Notes About This Recorder ··················\ ··················\ ············· 1-39 Specifications ··················\ ··················\ ··················\ ················· 1-39 Notes on MP3 Audio Tracks, JPEG Image Files, and DivX Video Files ··················\ ··················\ ··················\ · 1-39 About i.LINK ··················\ ··················\ ··················\ ················· 1-40 Guide to Parts and Controls ··················\ ··················\ ············· 1-40 Language Code List ··················\ ··················\ ··················\ ······· 1-41 Country/Area Code ··················\ ··················\ ··················\ ········ 1-41 2. DISASSEMBLY 2-1. UPPER CASE··················\ ··················\ ··················\ ··········· 2-2 2-2. TRAY COVER ASSEMBLY ··················\ ··················\ ······2-2 2-3. FRONT PANEL SECTION ··················\ ··················\ ·········2-3 2-4 FR-274 BOARD, FL-178 BOARD ··················\ ···············2-3 2-5. DVD DRIVE ··················\ ··················\ ··················\ ············· 2-4 2-6. DC FAN ··················\ ··················\ ··················\ ··················\ ··· 2-4 2-7. HARD DISK ··················\ ··················\ ··················\ ············· 2-5