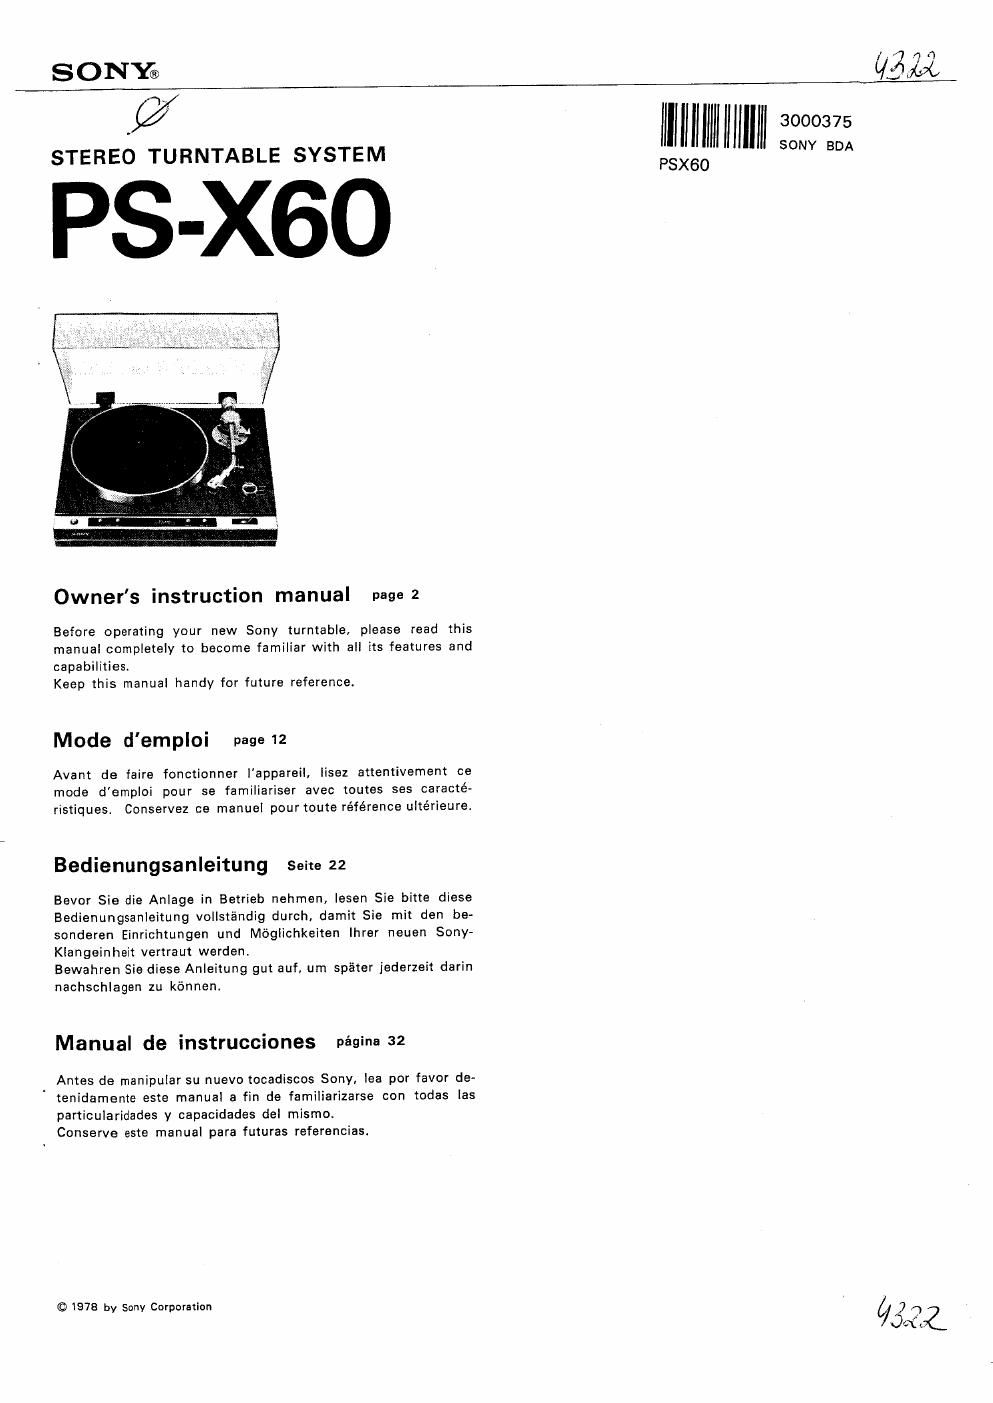
Sony ps x 60 owners manual

This is the 41 pages manual for sony ps x 60 owners manual.
Read or download the pdf for free. If you want to contribute, please mail your pdfs to info@audioservicemanuals.com.

Page: 1 / 41
left right
sony ps x 60 owners manual

Extracted text from sony ps x 60 owners manual (Ocr-read)


Page 1

SONY® gag;

Q I HHIHIHII

STEREO TURNTABLE SYSTEM PSX60

PS-X60

3000375
SONY BDA

Owner's instruction manual page 2

Before operating your new Sony turntable, please read this
manual completely to become familiar with all its fearures and
capabilities.

Keep this manual handy for future reference.

Mode d'emploi page 12

Avant de faire fonctionner lappareil. iisez artentivement ce
mode demploi pour se familiariser avec tomes ses caracté-
ristiquesl Conservez ce manual pourtoute référence ultérieure,

Bedienungsanleitung Seite 22

Bevor Sie die Anlage in Befrieb nehmen, lesen Sie bitte diese
Bedienungsanleitung vollsténdig dutch. damit Sie mit den be-
sonderen Einrichlungan und Méglichkeiten lhrer neuen Sony-
Klangeinheit venraul werden.

Bewahren Sie diese Anleitung gut auf, um spiiter iederzeit darin
nachschlagen zu kénnenl

Manual de instrucciones pégina 32

Antes de manipular su nuevo tocadiscos Sony, lea por favor de<
I tenidameme este manual a fin de familiarizarse con lodas [as

particularidades y Capacidades del mismo.

Conserve esle manual para futuras referencias.

© 1978 by Sony Corporslion Q 1
07er

Page 2

FEATURES

oAutomatic lead-in, return, repeat and reject, all activated by
electronic soft touch switches, with LED display.

oAutomatic control switches located on front of base, permits
dust cover to remain closed during operation.

oThe X'TAL LOCK system maintains the turntable at an accurate
nominal speed under voltage or temperature variations or aging,
and shows excellent initial drift and load/speed characteristics
The newly developed servo IC assures more reliable X'TAL LOCK
system.

OHigh precision speed monitoring system, utilizing 5-pole mag-
netic pick-up head and pulse coated platter rim for electronic
speed sensing. .

oDirect drive system with the Sony's unique linear BSL (brush-
less and slotless) motor, resulting in extremely smooth torque
and start-up characteristics.

oThe J-shaped tonearm using a long span trunnion assures
sensitive and stable performance, The supplied lightweight alu-
minum alloy diecast headshell is connected firmly to the shell
plug from four directions by the newly developed locking collar.
0 Sonys unique optical sensing system for automatic arm return
at record's end, which activates without causing a harmful impact
on the tonearm or cartridge.

oThe cabinet made from a special inorganic (non-plastic) molded
compound with low Q and newly developed resilient feet ef-
fectively minimize outside vibrations and eliminates acoustic
feedback.

TABLE OF CONTENTS

Warning ......................... 2
Precautions. ........................ 2
Notes on installation . .................. 3
Operating voltage ................ 3
Parts identification . . . ................ 4
Turntable assembly. ................... 5
Cartridge installation . ................... 5
Tonearm assembly and adjustment. ............ 6
Connections . . . .................. 8
Record playing . ...................... 8
Tips on record handling .................. 9
Tonearm drop-point adjustment .............. 10
Maintenance , . . .................. 1O
Repacking for shipment .................. 10
Specifications ....................... l 1
Trouble checks. . ..................... 11

WARNING

oTo prevent fire or shock hazard, do not expose the unit to rain
or moisture.

.To avoid electrical shock, do not open the cabinet.
servicing to qualified personnel only.

Refer

PRECAUTIONS

.Check that the operating voltage for your unit is identical with
that of your local power supply.

oShould any liquid or solid object fall into the cabinet, unplug
the unit and have it checked by qualified personnel before
operating it any further.

oUnplug the unit from the wall outlet if it is not to be used for
an extended period of time. To disconnect the cord, pull it out
by grasping the plug. Never pull it out by the cord.