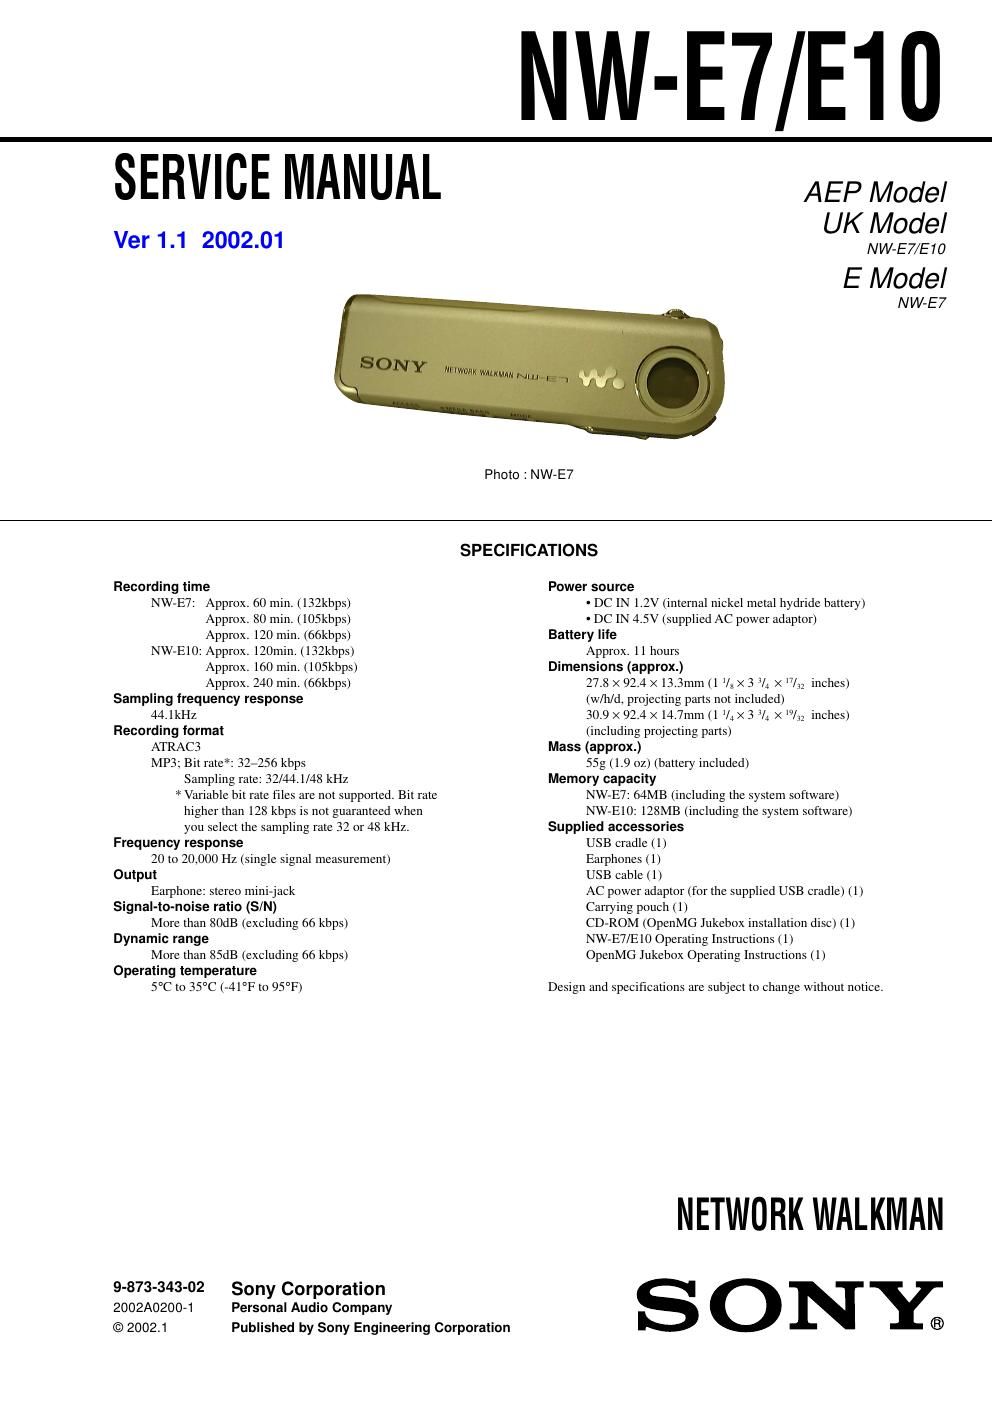
Sony nw e 10 service manual

This is the 26 pages manual for sony nw e 10 service manual.
Read or download the pdf for free. If you want to contribute, please mail your pdfs to info@audioservicemanuals.com.

Page: 1 / 26
left right
sony nw e 10 service manual

Extracted text from sony nw e 10 service manual (Ocr-read)


Page 1

2 NW-E7/E10 Specifications ............................................................................... 1 1. SERVICING NOTES ....................................................... 3 2. GENERAL .......................................................................... 9 3. DISASSEMBLY 3-1. Case ............................................................................... 11 3-2. Battery, Nickel Hydrogen ............................................. 12 3-3. Main Board ................................................................... 12 4. DIAGRAMS 4-1. Block Diagrams ............................................................ 13 4-2. Printed Wiring Boards (Main Section) ......................... 14 4-3. Schematic Diagram (Main Section (1/2)) ..................... 15 4-4. Schematic Diagram (Main Section (2/2)) ..................... 16 5. EXPLODED VIEW 5-1. Main Section ................................................................. 19 5-2. Case Section .................................................................. 20 6. ELECTRICAL PARTS LIST ....................................... 21 Flexible Circuit Board Repairing - Keep the temperature of the soldering iron around 270°C during repairing. - Do not touch the soldering iron on the same conductor of the circuit board (within 3 times). - Be careful not to apply force on the conductor when soldering or unsoldering. Notes on chip component replacement - Never reuse a disconnected chip component. - Notice that the minus side of a tantalum capacitor may be dam- aged by heat. TABLE OF CONTENTS - Replacement of TMS320DA150GGU120 (IC601) used in the set requires a special tool. z UNLEADED SOLDER Boards requiring use of unleaded solder are printed with the lead-free mark (LF) indicating the solder contains no lead. (Caution: Some printed circuit boards may not come printed with the lead free mark due to their particular size.) : LEAD FREE MARK Unleaded solder has the following characteristics. - Unleaded solder melts at a temperature about 40°C higher than ordinary solder. Ordinary soldering irons can be used but the iron tip has to be applied to the solder joint for a slightly longer time. Soldering irons using a temperature regulator should be set to about 350°C. Caution: The printed pattern (copper foil) may peel away if the heated tip is applied for too long, so be careful! - Strong viscosity Unleaded solder is more viscous (sticky, less prone to flow) than ordinary solder so use caution not to let solder bridges occur such as on IC pins, etc. - Usable with ordinary solder It is best to use only unleaded solder but unleaded solder may also be added to ordinary solder. z USABLE FORMAT Use ISO9660 Level 1 format. Ver 1.1 2002.01

Page 2

3 NW-E7/E10 Ver 1.1 2002.01 SECTION 1 SERVICING NOTES 1-1. INTRODUCTION This document describes the operation check for inspection (Test mode) and adjustment after board replacement for repair. In performing these works, connect this set to the PC via a USB cable and use the following tool. Tool List 1-2. BOARD REPAIR 1. In performing the work, the set should be in a complete state (all components assembled). 2. Install the OpenMG Jukebox and WMP7 Plug-in (CD-ROM) in the PC in advance. 3. Do not start up other applications in the PC. 4. This set has the Test mode, and various functions can be checked by using exclusive application (Service Tool) on the PC side. 5. Be sure to replace the MAIN board, if any part listed in Table 1-1 is faulty. 6. The data in Table 1-2 have been written to the MAIN board. 7. In repairing other than above parts, repair as usual. Ref. No 1Tool name Service tool 9140 (FD)Part code J-2507-037-1Application Board check (Test mode) and readjustment after board replacement Board name MAIN boardRef. No IC601, IC602, IC603, IC901 Board name MAIN boardStored date Music date, Equalizer initial values, CODEC programs, and ID/IK codes Table 1-1 Table 1-2 1-3. OPERATION CHECK FOR INSPECTION (TEST MODE) PRECAUTIONS 1. Be sure to remove the battery from this set. (The power is supplied via USB cable) Operating the set in the Test mode with the battery loaded could clear necessary information. 2. If operation check was performed for inspection, execute Play Info Initialize in qd (see page 7) to return respective functions to initial positions (see Table 1-5 on page 7). In such a case, record current position of each function before executing Play Info Initialize in qd , if necessary.