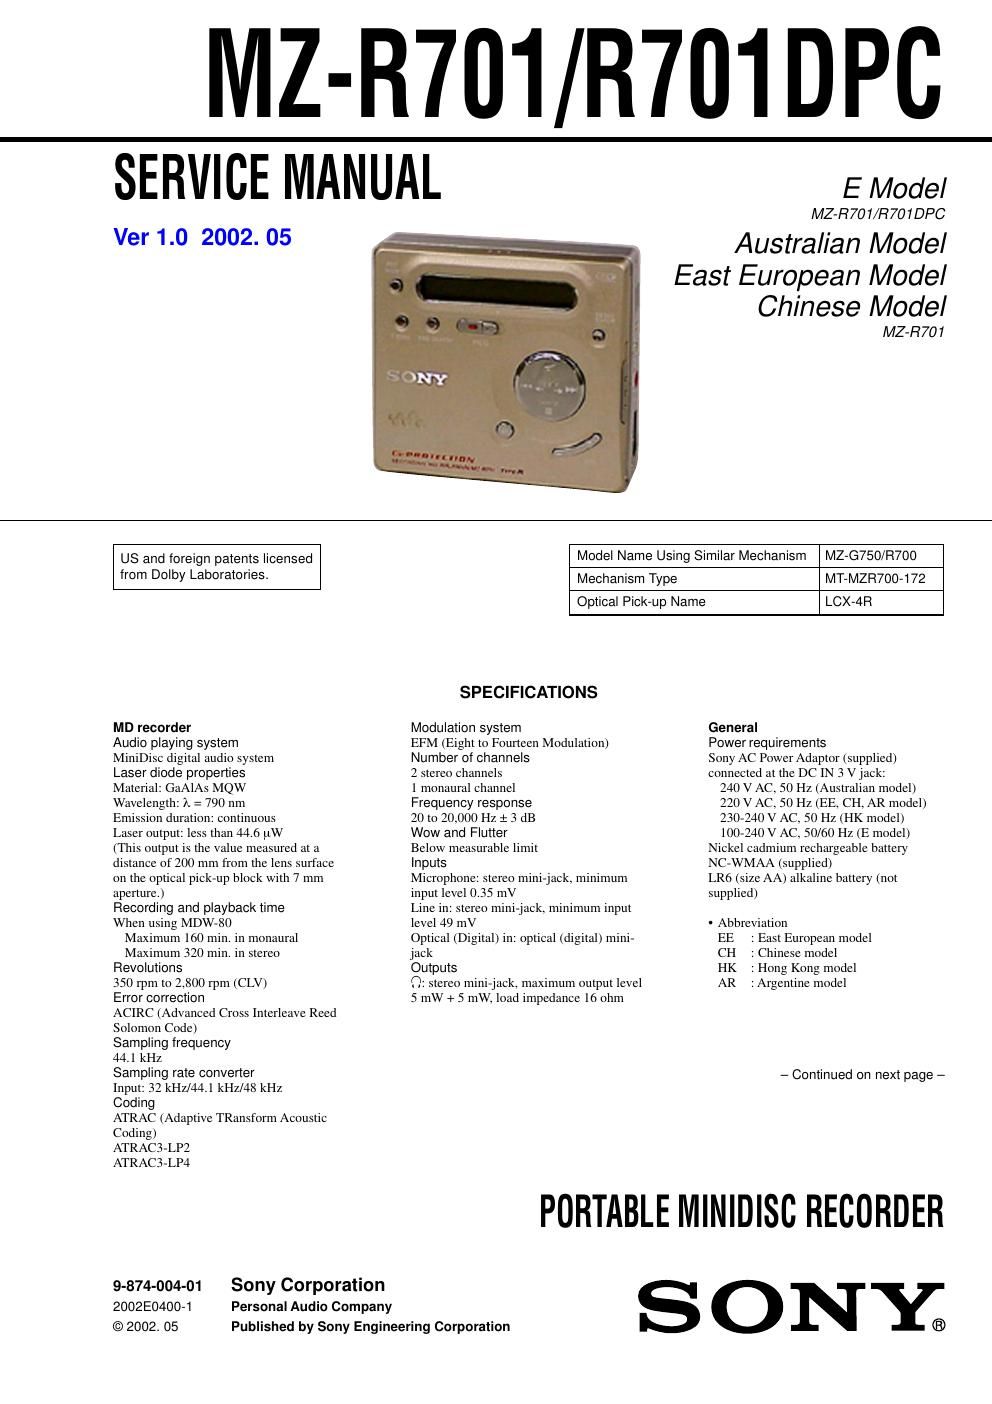
Sony mz r 701 service manual

This is the 50 pages manual for sony mz r 701 service manual.
Read or download the pdf for free. If you want to contribute, please mail your pdfs to info@audioservicemanuals.com.

Page: 1 / 50
left right
sony mz r 701 service manual

Extracted text from sony mz r 701 service manual (Ocr-read)


Page 1

2 Flexible Circuit Board Repairing -Keep the temperature of the soldering iron around 270Β°C during repairing. -Do not touch the soldering iron on the same conductor of the circuit board (within 3 times). -Be careful not to apply force on the conductor when soldering or unsoldering. Notes on chip component replacement -Never reuse a disconnected chip component. -Notice that the minus side of a tantalum capacitor may be damaged by heat. CAUTION Use of controls or adjustments or performance of procedures other than those specified herein may result in hazardous radiation exposure. Battery life 1) (Unit: approx.hours) (JEITA 2)) Batteries Stereo LP2 LP4 NC-WMAA Nickel CadmiumRecording 4 6 7.5 rechargeable battery 3) Playback 13 14.5 18 LR6 (SG)Recording 9 13 16Sony alkaline dry battery 4) Playback 40 46 53 1)The battery life may be shorter due to operating conditions, the temperature of the location, and varieties of batteries. 2)Measured value by the standard of JEITA (Japan Electronics and Information Technology Industries Association). 3)When using a 100% fully charged rechargeable battery.4)When using a Sony LR6 (SG) STAMINA alkaline dry battery (produced in Japan). Dimensions Approx. 81 Γ— 28.1 Γ— 74.4 mm (w/h/d) without projections. Mass Approx. 118 g the recorder only Supplied accessories NC-WMAA nickel cadmium rechargeable battery (1) AC power adaptor (1) Headphones/earphones with a remote control (1) Optical cable (1) Rechargeable battery carrying case (1) Carrying pouch/carrying case with a belt clip (1) Design and specifications are subject to change without notice. SAFETY-RELATED COMPONENT WARNING!! COMPONENTS IDENTIFIED BY MARK 0 OR DOTTED LINE WITH MARK 0 ON THE SCHEMATIC DIAGRAMS AND IN THE PARTS LIST ARE CRITICAL TO SAFE OPERATION. REPLACE THESE COMPONENTS WITH SONY PARTS WHOSE PART NUMBERS APPEAR AS SHOWN IN THIS MANUAL OR IN SUPPLEMENTS PUBLISHED BY SONY. MZ-R701/R701DPC

Page 2

3 1. SERVICING NOTE ......................................................... 4 2. GENERAL Looking at the controls ....................................................... 5 3. DISASSEMBLY 3-1. Bottom Panel Assy .............................................................. 6 3-2. Upper Panel Assy ................................................................ 7 3-3. LCD Module ....................................................................... 7 3-4. Main Board ........................................................................\ . 8 3-5. MD Mechanism Deck ......................................................... 8 3-6. OP Service Assy .................................................................. 9 3-7. Holder Assy ........................................................................\ . 9 3-8. Motor Flexible Board ........................................................ 10 3-9. DC Motor (M602) ............................................................. 10 3-10. DC Motor (M601), DC Motor (M603) ............................. 11 4. TEST MODE 4-1. Outline ........................................................................\ ....... 12 4-2. Setting Method of Test Mode ............................................ 12 4-3. Operation in Setting the Test Mode ................................... 12 4-4. Releasing the Test Mode ................................................... 12 4-5. Configuration of Test Mode .............................................. 13 4-6. Manual Mode .................................................................... 13 4-7. Overall Adjustment Mode ................................................. 14 4-8. Self-diagnosis Result Display Mode ................................. 14 4-9. Result the Error Display Code .......................................... 15 4-10. Sound Skip Check Result Display Mode .......................... 16 4-11. Key Check Mode ............................................................... 16 TABLE OF CONTENTS 5. ELECTRICAL ADJUSTMENTS 5-1. Outline ........................................................................\ ....... 18 5-2. Precautions for Adjustment ............................................... 18 5-3. Adjustment Sequence ........................................................ 18 5-4. NV Reset ........................................................................\ ... 18 5-5. Power Supply Manual Adjustment .................................... 19 5-6. Temperature Correction ..................................................... 20 5-7. Laser Power Check ........................................................... 20 5-8. Overall Adjustment Mode ................................................. 21 5-9. Mode Settings ................................................................... 23 5-10. Resume Clear .................................................................... 23 6. DIAGRAMS 6-1. IC Pin Descriptions .......................................................... 24 6-2. Block Diagram -“ Servo Section -“ ..................................... 31 6-3. Block Diagram -“ Audio Section -“ .................................... 32 6-4. Block Diagram -“ System Control/Power Section -“ .......... 33 6-5. Printed Wiring Board -“ Main Section -“ ............................ 34 6-6. Schematic Diagram -“ Main Section (1/3) -“ ...................... 37 6-7. Schematic Diagram -“ Main Section (2/3) -“ ...................... 38 6-8. Schematic Diagram -“ Main Section (3/3) -“ ...................... 39 6-9. IC Block Diagrams ............................................................ 40 7. EXPLODED VIEWS 7-1. Panel Section ..................................................................... 42 7-2. Chassis Section ................................................................. 43 7-3. MD Mechanism Deck Section .......................................... 44 8. ELECTRICAL PARTS LIST ...................................... 45 MZ-R701/R701DPC