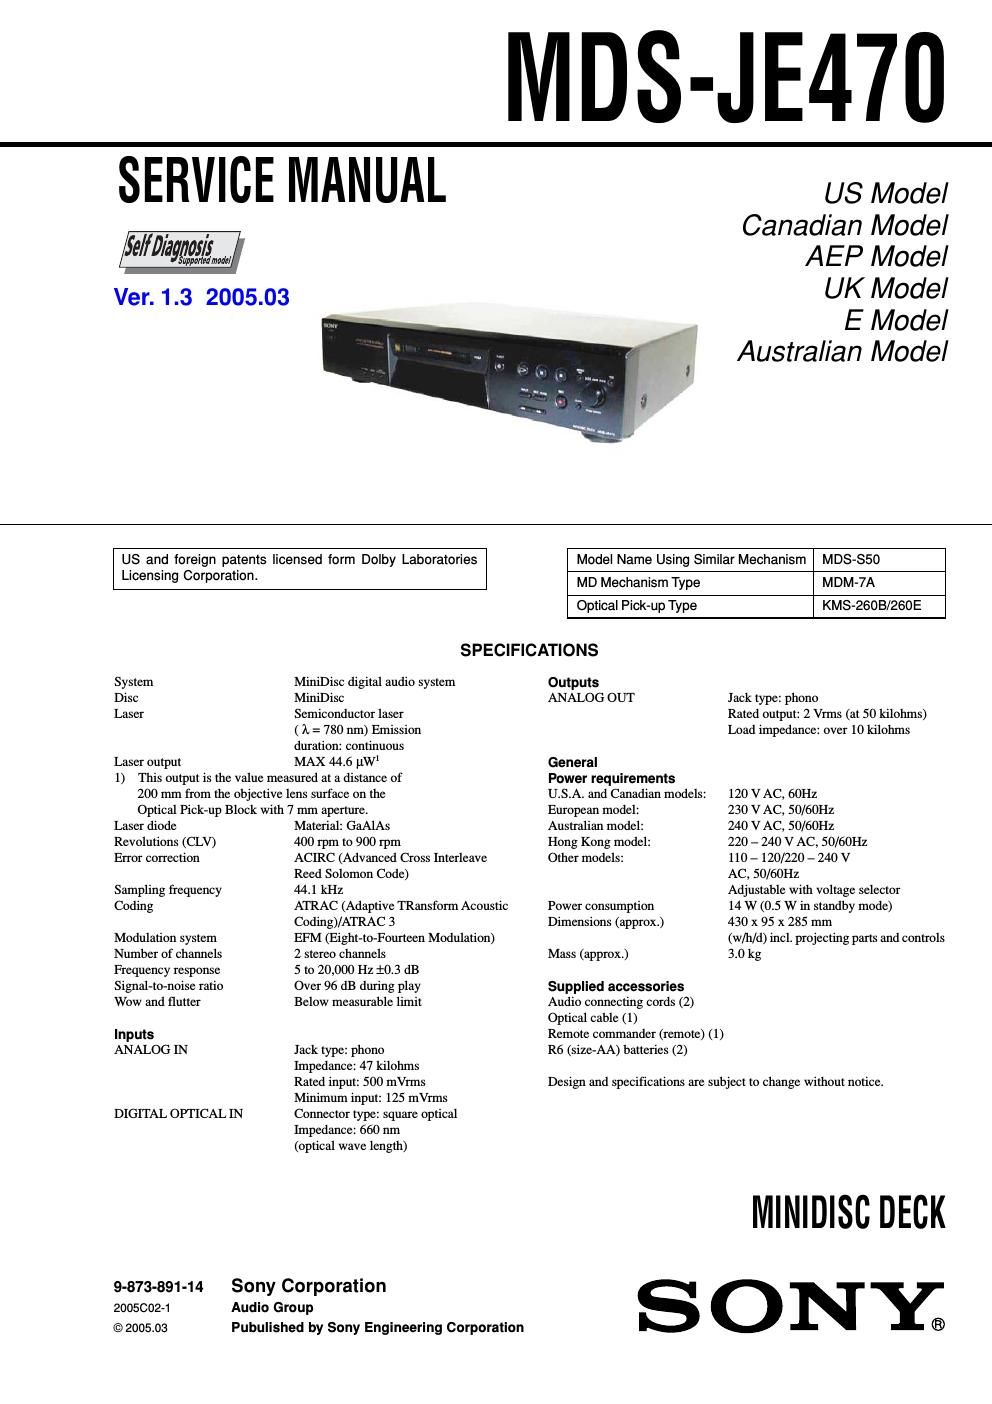
Sony mds je 470 service manual

This is the 70 pages manual for sony mds je 470 service manual.
Read or download the pdf for free. If you want to contribute, please mail your pdfs to info@audioservicemanuals.com.

Page: 1 / 70
left right
sony mds je 470 service manual

Extracted text from sony mds je 470 service manual (Ocr-read)


Page 1

2 MDS-JE470 SELF-DIAGNOSIS FUNCTION The self-diagnosis function consists of error codes for customers which \ are displayed automatically when errors occur, and error codes which show the error history in the test mode during servicing. For details on\ how to view error codes for the customer, refer to the following box in the instruction manual. For details on how to check error codes durin\ g servicing, refer to the following Procedure for usin g the Self- Diagnosis Function (Error History Display Mode). Procedure for using the Self-Diagnosis Function (Error History Display Mode). Note: Perform the self-diagnosis function in the error history display mod\ e in the test mode. The following describes the least req uired procedure. Be careful not to enter other modes by mistake. If you set ot\ her modes accidentally, press the MENU/NO button to e xit the mode. Self-diagnosis function The decks self-diagnosis function automatically checks the condition of the MD deck when an error occurs, then issues a three- or five-digit code and an error message on the display. If the code and message alternate, find them in the following table and perform the indicated countermeasure. Should the problem persist, consult your nearest Sony dealer. Th ree- or five- dig it code/ Message Cause/Remedy C11/Protected Th e inserted MD is record-protected. , Ta ke out the MD and close the record- protect slot. C12/Cann ot Copy Y ou tried to record a CD with a format that the exte rnal device connected to the deck does not support, such as CD-ROM or video CD. , Remo ve the disc and insert a music CD. C13/REC Error Th e recording was not made properly. , Se t th e deck in a stable surface, and repeat the recording procedure. The in serted MD is dirty (with smudges, fing erprints, etc.), scratched, or substandard in quality. , Replace the disc and repeat the recording procedure. C13/Read Error Th e deck could not read the TOC on the MD pr operly. , Ta k e out the MD and insert it again. C14/Toc Error Th e deck could not read the TOC on the MD pr operly. , Insert another disc. , If possible, erase all the tracks on the MD . C41/Cann ot Copy The sound source is a copy of commercially available music software, or you tried to record a CD-R (Recordable CD). , The Seri al Copy Management System prevents making a digital copy . Yo u cannot record a CD-R. C71/Din Unlock Th e sporadic appearance of this message is caused by the digital signal being recorded. This will not affect the recording. While recording from a digital component connected through the DIGITAL IN connector, the digital connecting cable was unplugged or the digital component turned off. , Connect the cable or turn the digital component back on. E0001/ MEMORY NG There is an error in the internal data that the deck needs in order to operate. , Consult your nearest Sony dealer. E0101/ LASER NG There is a problem with the optical pickup. , The op tical pick-up may have failed. Consult your nearest Sony dealer. Three- or five- digit code/ Message Cause/Remedy V ARNING Explosionsfara vid felaktigt batteribyte. Använd samma batterityp eller en likvärdig typ som rekommenderas av apparattillverkaren. Kassera använt batteri enligt gällande föreskrifter. VAROITUS Paristo voi räjähtää, jos se on virheellisesti asennettu. V aihda paristo ainoastaan laitevalmistajan suosittelemaan tyyppiin. Hävitä käytetty paristo valmistajan ohjeiden mukaisesti. ADVARSEL! Lithiumbatteri-Eksplosionsfare ved fejlagtig håndtering. Udskiftning må kun ske med batteriaf samme fabrikat og type. Levér det brugte batteri tilbage til leverandøren. CAUTION Danger of explosion if battery is incorrectly replaced. Replace only with the same or equivalent type recommended by the manufacturer. Discard used batteries according to the manufacturers instructions. ADVARSEL Eksplosjonsfare ved feilaktig skifte av batteri. Benytt samme batteritype eller en tilsvarende type anbefalt av apparatfabrikanten. Brukte batterier kasseres i henhold til fabrikantens instruksjoner. Ver 1.1 2002.03

Page 2

3 MDS-JE470 ITEMS OF ERROR HISTORY MODE ITEMS AND CONTENTS Selecting the Test Mode Display op rec tm op play tm spdl rp tm retry err total err err history retry adrs er refresh tm change op changeHistory Displays the total recording time. When the total recording time is more than 1 minute, displays the hour and minute When less than 1 minute, displays Under 1 min The display time is the time the laser is set to high power, which is about 1/4 of the actual recording time. Displays the total playback time. When the total playback time is more than 1 minute, displays the hour and minute When less than 1 minute, displays Under 1 min Displays the total rotating time of the spindle motor. When the total rotating time is more than 1 minute, displays the hour and minute When less than 1 minute, displays Under 1 min Displays the total number of retry errors during recording and playback Displays r xx p yy. xx is the number of errors during recording. yy is the number of errors during playback. This is displayed in hexadecimal from 00 to FF. Displays the total number of errors Displays total xx. This is displayed in hexadecimal from 00 to FF. Displays the past ten errors. Displays 0x ErrCd@@. X is the history number. The younger the number, the more recent is the history (00 is the latest). @@ is the error code. Select the error history number using the lAMSL knob. Displays the past five retry addresses. Displays xx ADRS yyyy, xx is the history number, yyyy is the cluster with the retry error. Select the error history number using the lAMSL knob. Mode for erasing the error and retry address histories Procedure 1. Press the lAMSL knob when displayed as er refresh. 2. Press the YES button when the display changes to er refresh?. When complete! is displayed, it means erasure has completed. Be sure to check the following after executing this mode. *Data has been erased. *Perform recording and playback, and check that the mechanism is normal. Mode for erasing the total time of recording and playback Procedure 1. Press the lAMSL knob when displayed as tm refresh. 2. Press the YES button when the display changes to tm refresh?. When complete! is displayed, it means erasure has completed. Mode for erasing the total time of op rec tm, op play tm. These histories are based on the time of replacement of the optical pickup. If the optical pick-up has been replaced, perform this procedure and erase the history. Procedure 1. Press the lAMSL knob when displayed as op change. 2. Press the YES button when the display changes to op change?. When Complete! is displayed, it means erasure has completed. 1. While pressing the lAMSL knob and x button, connect the power plug to the outlet, and release the lAMSL knob and x button. When the test mode is set, [Check] will be displayed. 2. Rotate the lAMSL knob and when [Service] is displayed, press the YES button. 3. Rotate the lAMSL knob and display Err Display. 4. Pressing the YES button sets the error history mode and displays op rec tm. 5. Select the contents to be displayed or executed using the lAMSL knob. 6. Pressing the lAMSL knob will display or execute the contents selected. 7. Pressing the lAMSL knob another time returns to step 4. 8. Pressing the MENU/NO button displays Err Display and exits the error history mode. 9. To exit the test mode, press the REPEAT button. The unit sets into the STANDBY state, the disc is ejected, and the test mode ends.