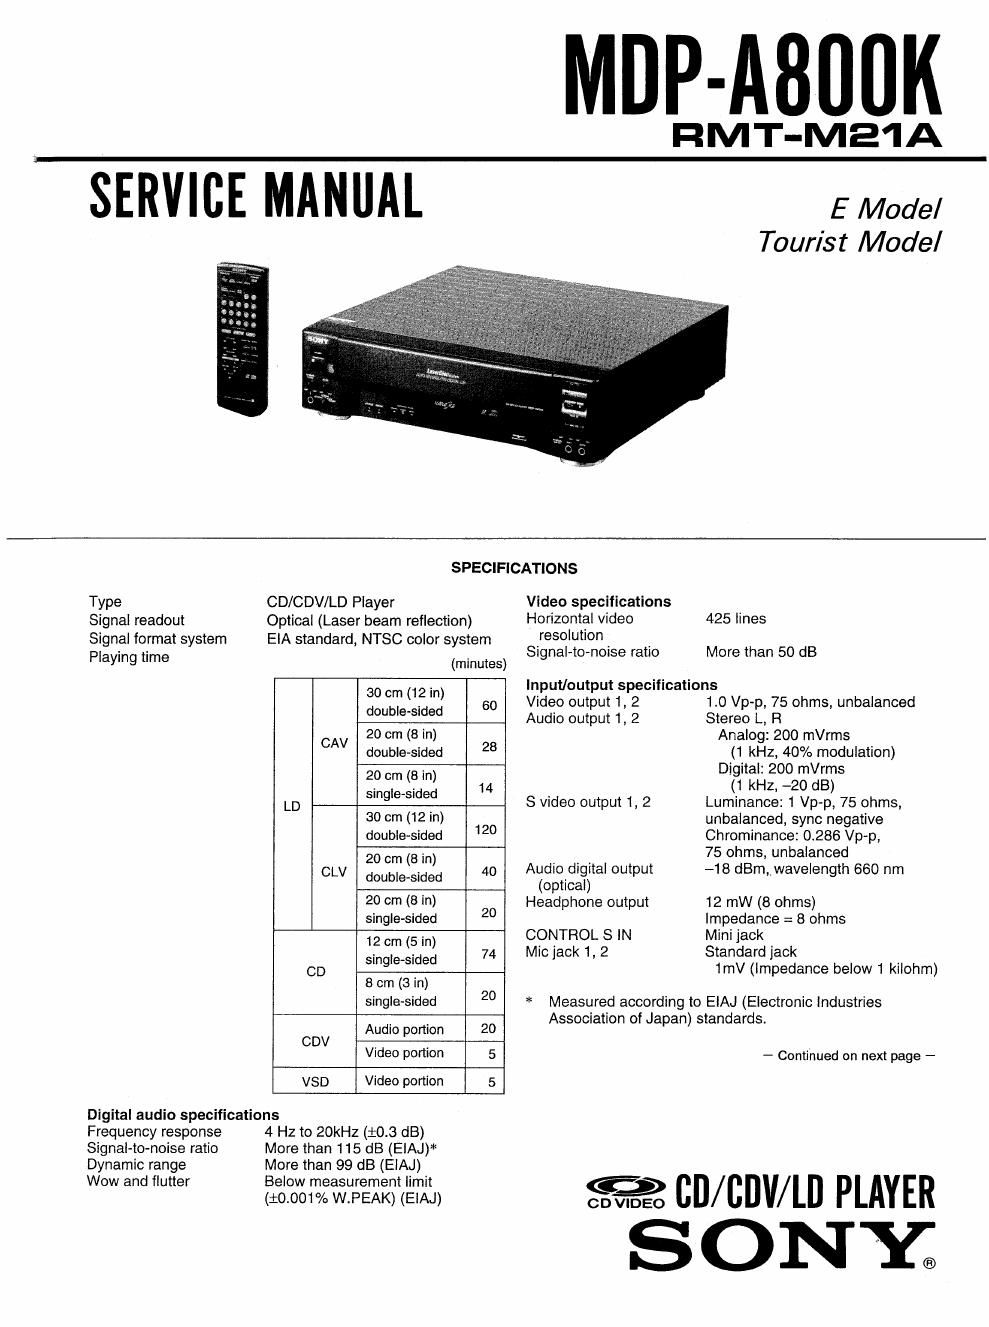
Sony mdp a 800 k service manual

This is the 105 pages manual for sony mdp a 800 k service manual.
Read or download the pdf for free. If you want to contribute, please mail your pdfs to info@audioservicemanuals.com.

Page: 1 / 105
left right
sony mdp a 800 k service manual

Extracted text from sony mdp a 800 k service manual (Ocr-read)


Page 2

Power requirements
Power requirements

120/220/240 V AC
adjustable, 50/60 Hz

Power consumption 45 W
Mass 10 kg
Dimensions Approx. 430 x 120 x
437 mm
(w/h/d)
Operating temperature +5°C to +35 °C
Ambient humidity 5% to 90%

Remote Commander RMT-M21A
Principle of operation Infrared pulse

Power requirements 3 V DC (2 size AA
batteries)

Dimensions Approx. 68 x 38 x 200
mm
(w/h/d)

Mass Approx. 175 9

(including batteries)

Supplied accessories

Remote Commander RMT-MziA (1)

Size AA (R6) batteries (2)

AudioNideo cable (phono plug Sthono plug 3) (1)
AC plug adapter (1)

Operating instructions (1)

Quick Reference (To Play Karaoke) (1)

Design and specifications are subject to change
without notice.

WARNING II

WHEN SERVICING, DO NOT APPROACH THE LASER
EXIT WITH THE EYE TOO CLOSELV. IN CASE IT IS
NECESSARY TO CONFIRM LASER BEAM EMISSION,
BE SURE TO OBSERVE FROM A DISTANCE OF MORE
THAN 25 cm FROM THE SURFACE OF THE OBJECTIVE
LENS ON THE OPTICAL PICK-UP BLOCK.

CAUTION:

The use of optical instrument with this product will
increase eye hazard.

CAUTION

Use of controls or adjustments or performance
of procedures other than those specified herein
may result in hazardous radiation exposure.

SAFETY-RELATED COMPONENT WARNINGI!

COMPONENTS IDENTIFIED BY MARK A OR DOTTED
LINE WITH MARK A ON THE SCHEMATIC DIAGRAMS
AND IN THE PARTS LIST ARE CRITICAL TO SAFE
OPERATION. REPLACE THESE COMPONENTS WITH
SONY PARTS WHOSE PART NUMBERS APPEAR AS
SHOWN IN THIS MANUAL OR IN SUPPLEMENTS PUB-
LISHED BY SONY.

SAFETY CHECK-OUT

After correcting the original service problem, perform the following
safety checks before releasing the set to the customer:

1. Check the area of your repair for unsoldered or
poorly-soldered connections. Check the entire
board surface for solder splashes and bridges.

2. Check the interboard wiring to ensure that no
wires are pinched or contact high-wattage
resistors.

3. Look for unauthorized replacement parts, par-
ticularly transistors, that were installed during a
previous repair. Point them out to the customer
and recommend their replacement.

4. Look for parts which, though functioning, show
obvious signs of deterioration. Point them out
to the customer and recommend their replace-
ment.

5. Check the B+ voltage to see it is at the Values
specified.