Sony m 909 service manual

This is the 15 pages manual for sony m 909 service manual.
Read or download the pdf for free. If you want to contribute, please mail your pdfs to info@audioservicemanuals.com.

Page: 1 / 15
left right
sony m 909 service manual

Extracted text from sony m 909 service manual (Ocr-read)


Page 1

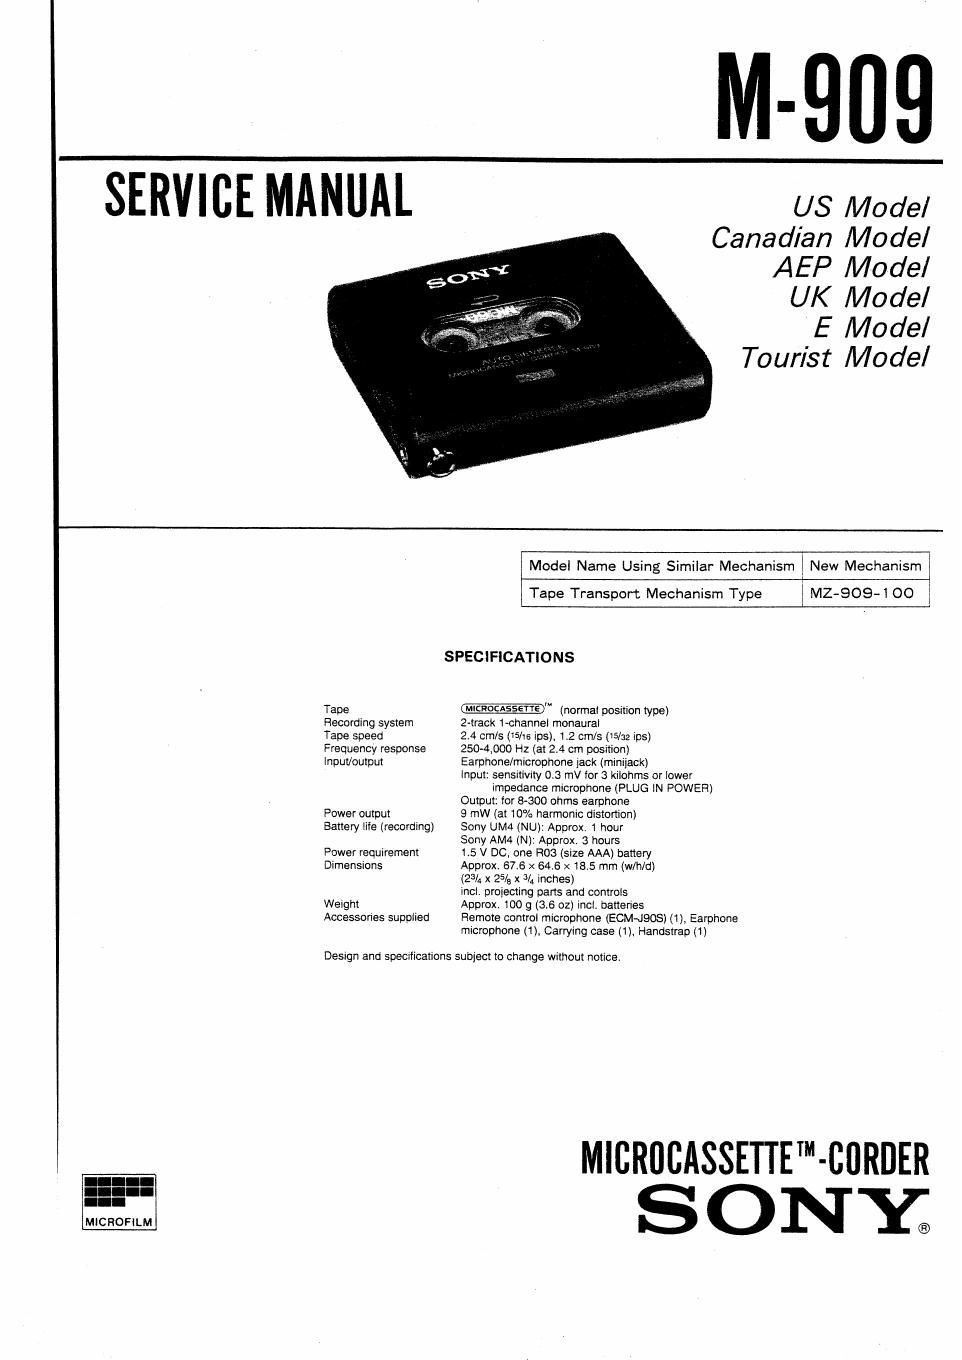
M-909

SERVICE MANUAL us Model

Canadian Model
AEP Model
UK Model

E Model
Tourist Model

Model Name Using Similar Mechanism New Mechanism

Tape Transport Mechanism Type ( MZ-SOS-l 00
SPECIFICATIONS
Tape @ (normal position type)
Recording system 2-traok 1-channei monaural
Tape speed 24 mils (Hi/rs ips), 12 cm/s (15/32 ips)
Frequency response 250-4000 Hz (at 2.4 cm position)
Input/output Earphone/microphone jack (minijack)

Input: sensitivtty 0.3 mV for 3 kitohms or Iower
impedance microphone (PLUG 1N POWER)
Output: for 8300 ohms earphone
Power output 9 mW (at 10% harmonic distortion)
Battery iiie (recording) Sony Uri/I4 (NU): Approx 1 hour
Sony AMA (N): Approx 3 hours
Power requirement Ls V DC( one ROS (size AAA) battery
Dimensions Approxv 67.6 x 64.6 x 185 mm (w/h/o)
(2% x 25/a x 3/4 inches)
inCI proiecting pans and controts
Weight Approx, 100 g (3.6 oz) inclv batteries
Accessories suppiied Remote control microphone (ECMalQOS) (1). Earphone
microphone (1), Carrying case (1), Handsirap (1)

DeSign and specifications subject to change Without notices

__ MICRUCASSETTETM-BURDER

Page 2

M909 i

TABLE OF CONTENTS Flexible Circuit Board Repairing
' Keep the temperature of the soldering iron around 270°C
during repairing.
Sign E gage; ~ Do not touch the soldering iron on the same conductor of
the circuit board (Within 3 times).
SECTION 1. GENERAL ...................................................... 3 Be careful not to apply force on the conductor when soI~
sscnon z, DISASSEMBLY ................................................ 7 dering 0r flowering
SECTION 3. MECHANICAL ADJUSTMENTS ------------------------ 11 Notes on chip component replacement
SECT'ON 4' ELECTRICAL ADJUSTMENTS """""""""""" n ' Never reuse a disconnected chip component,
SECTION 5. DIAGRAMS . Notice that the minus side of a tantalum capacitor may be
5-L1C BIJOCK DIAGRAMS , 13 damaged by heat.
5-2. PRINTED WIRING BOARDS ------------ , 14
5-3. SCHEMATIC DIAG} AMS --------------------------------- 17
SECTION 6. EXPLODED VIEws --------------------------------------- 20
SECTION 7. ELECTRICAL PARTS LIST ------------------------- 23

Note on Servicing

If a tape straggles and the cassette cover does not open, wind
up the tape with the following method

2 Cut the Insulation sheet into circle aiong the cabinet to
remove the Sheet,

3. Rotate the ilywheei Wlth tweezers,

etc. to wmd up the tape.

14/0
/\4 / tweezers

blmd plate \ deburr
I
. \\
flywheel
1 Remove a blind plate using tweezers, etc 4. Referring to "Removal" on page 7. remove the front panel

assembiy and deburr the insulation sheet,

3522