Sony icr 504 service manual

This is the 8 pages manual for sony icr 504 service manual.
Read or download the pdf for free. If you want to contribute, please mail your pdfs to info@audioservicemanuals.com.

Page: 1 / 8
left right
sony icr 504 service manual

Extracted text from sony icr 504 service manual (Ocr-read)


Page 1

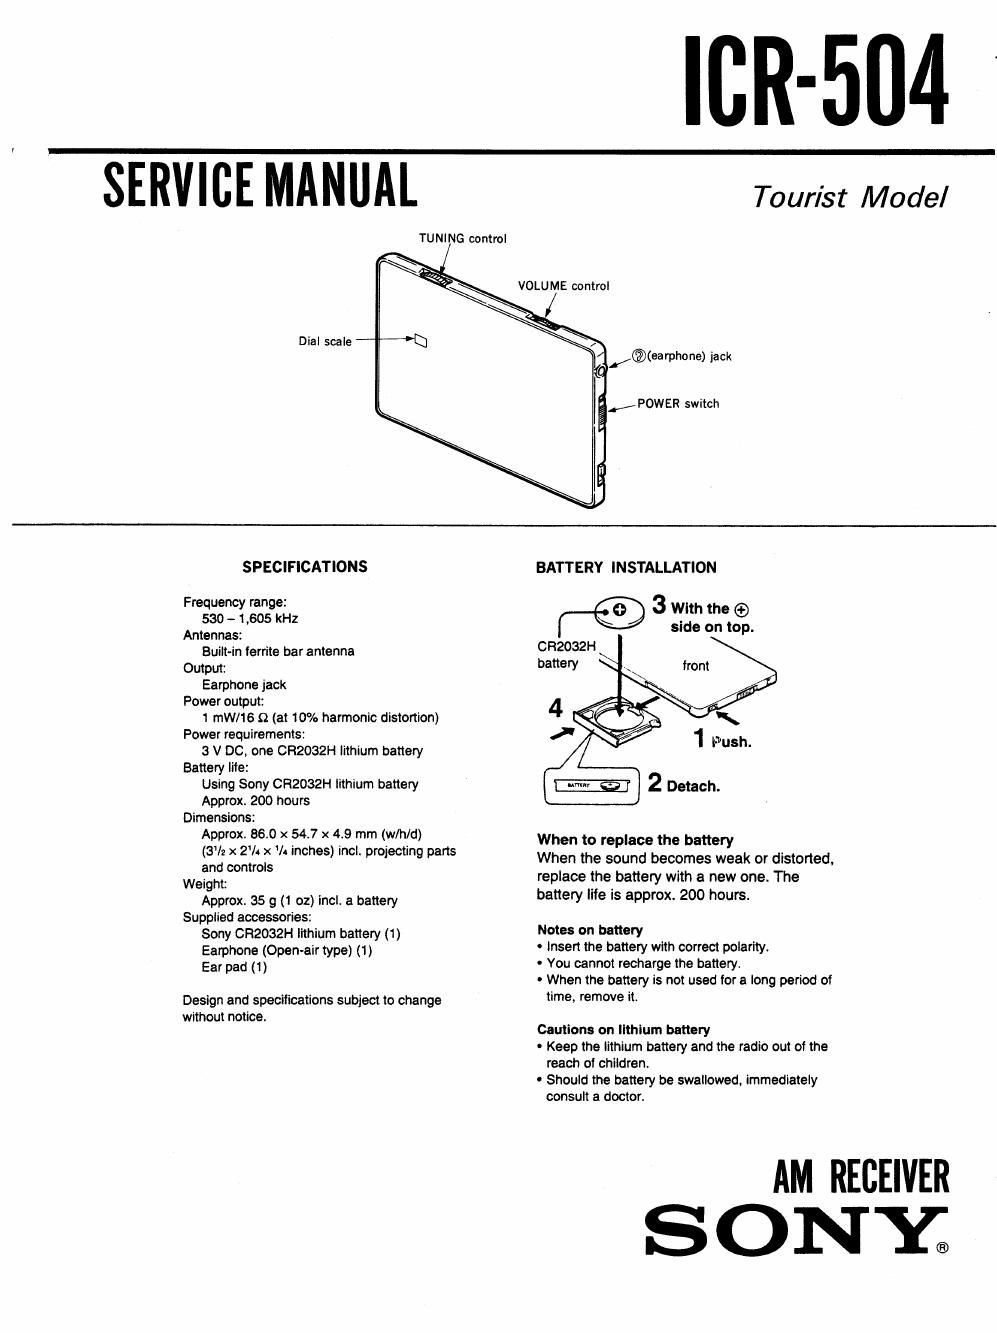
IR-504

SERVICE MANUAL Tourist Model

TUNING control

VOLUME control

Dial scale
I /®(earphone) jack
KPOWER switch
SPECIFICATIONS BATTERY INSTALLATION
Frequency range:
sac-1.505 kHz 3 gggém?
Antennas: P'
Built-in territe bar antenna
Output:
Earphone jack
Power output:

1 rnW/16 (2 (at 10% harmonic distortion)
Power requirements:

3 V DC, one CR2032H lithium battery
Battery lite:

Using Sony CR2032H lithium battery

Approx. 200 hours

Dimensions:
Approx. 86.0 x 54.7 x 4.9 mm (w/h/d) When to replace the bane
, . . . .
(3 I X 2 l X lunches) m" Mew parts When the sound becomes weak or distorted,
and controls .
Weight: replace the battery wrth a new one. The

Approx. 35 g (1 oz) incl. a battery battery life is approx. 200 hours.

Supplied accessories:

Sony CR2032H lithium battery (1) Notes on battery
Earphone (Open~air type) (1) - insen the battery wtth correct polarity.
Ear pad (1) 0 You cannot recharge the battery.
- When the battery is not used for a long period of
Design and specifications subject to change time, remove it.

without notice,
Cautions on lithium battery

. Keep the lithium battery and the radio out of the
reach at children.

- Should the battery be swallowed. immediately
consult a doctor.

AM RECEIVER
S 0 NY;

Page 2

ICR-504

Notes on chip component replacement

0 Never reuse a disconnected chip component.
0 Notice that the minus side of a tantalum capacitor may be damaged by heat.

SECTION 1
DISASSEMBLY

Note: Follow the disassembly procedure in the numerical order given.

PANEL (FRONT) AND PANEL (REAR) REMOVAL
Remove a panel (front) and a panel (rear) as illustrated below.

panel (from)

panel (rear)

MAIN BOARD REMOVAL
® Remove a battery holder. (See battery holder removal on page 1.)
(2) Unscrew seven screws.