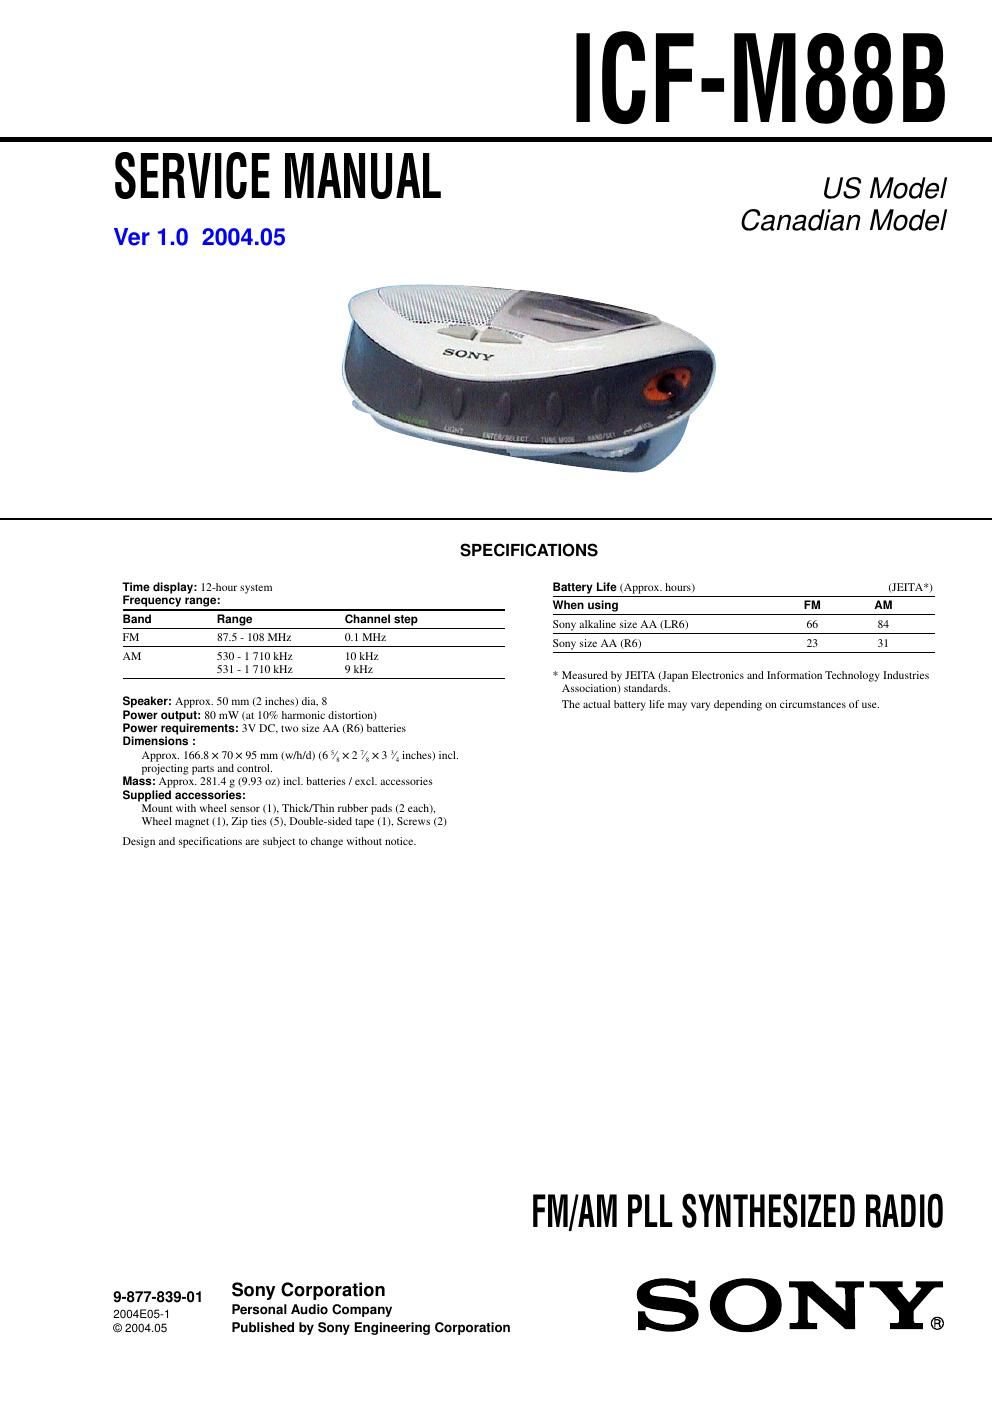
Sony icf m 88 b service manual

This is the 24 pages manual for sony icf m 88 b service manual.
Read or download the pdf for free. If you want to contribute, please mail your pdfs to info@audioservicemanuals.com.

Page: 1 / 24
left right
sony icf m 88 b service manual

Extracted text from sony icf m 88 b service manual (Ocr-read)


Page 1

2 ICF-M88B TABLE OF CONTENTS 1. SERVICING NOTES ............................................... 2 2. GENERAL ................................................................... 3 3. DISASSEMBLY 3-1. Disassembly Flow ........................................................... 4 3-2. Cabinet (Lower) Block .................................................... 4 3-3. Chassis Assy .................................................................... 5 3-4. MAIN Board .................................................................... 5 4. TEST MODE .............................................................. 7 5. ELECTRICAL ADJUSTMENTS ......................... 8 6. DIAGRAMS 6-1. Printed Wiring Boards - TUNER Section - ................... 10 6-2. Schematic Diagram - TUNER Section - ....................... 11 6-3. Printed Wiring Board - PANEL/POWER SUPPLY Section - ........................... 12 6-4. Schematic Diagram - PANEL/POWER SUPPLY Section - ........................... 13 7. EXPLODED VIEWS 7-1. Cabinet (Upper) Section .................................................. 16 7-2. Chassis Section ................................................................ 17 7-3. Cabinet (Lower) Section .................................................. 18 8. ELECTRICAL PARTS LIST ................................ 19 Notes on chip component replacement -Never reuse a disconnected chip component. -Notice that the minus side of a tantalum capacitor may be damaged by heat. SECTION 1 SERVICING NOTES UNLEADED SOLDER Boards requiring use of unleaded solder are printed with the lead- free mark (LF) indicating the solder contains no lead. (Caution: Some printed circuit boards may not come printed with the lead free mark due to their particular size) : LEAD FREE MARK Unleaded solder has the following characteristics. -Unleaded solder melts at a temperature about 40 ˚C higher than ordinary solder. Ordinary soldering irons can be used but the iron tip has to be applied to the solder joint for a slightly longer time. Soldering irons using a temperature regulator should be set to about 350 ˚C. Caution: The printed pattern (copper foil) may peel away if the heated tip is applied for too long, so be careful! -Strong viscosity Unleaded solder is more viscou-s (sticky, less prone to flow) than ordinary solder so use caution not to let solder bridges occur such as on IC pins, etc. -Usable with ordinary solder It is best to use only unleaded solder but unleaded solder may also be added to ordinary solder.

Page 2

3 ICF-M88B SECTION 2 GENERAL This section is extracted from instruction manual. Location of Controls RADIOPOWER LIGHT ENTER/SELECTTUNEMODEBAND/SET VOL BAND/SET TUNEMODE RA DIO P O W E R LIG HT V OL ENTER/SELECT MP H AM PM FM FREEZE PRESETMH z MP H kHz km /h in c h AM km /h mile CLOCK ODO DIS T RT AVG MAX mm RADIO P OWE R LIG HT ENTE R /S E LE C T TUNE MO DE BAND/S E T VO L* FM a n te n n a FM S ENS DX/LO C ALJog lever *Th e re is a tactile dot bes ide VOL to s how the direction to turn up th e volume. Setting the Clock The clock time display of this unit is a 12-hour system. When the batteries are first installed, ÒAM 12:00Ó flashes and ÒCLOCKÓ turns on in the display. 1 PressRADIO POWER to turn off the power. 2 PressMODE/FREEZErepeatedly until ÒCLOCKÓ appears. 3 Hold down ENTER/SELECTfor more than 2 seconds until ÒAM 12Ó starts flashing. 4 Push the Jog lever towards +or- to adjust the hour, then press ENTER/SELECT. The beep sounds and the minute setting starts to flash. If you hold down the Jog lever towards +orÐ, the digit changes rapidly. Midnight is indicated as ÒAM 12:00Ó and Noon is indicated by ÒPM 12:00.Ó g 5 Repeat step 4 above to adjust the minutes.Ò:Ó starts flashing and the clock starts operating. To set the current time exactly to the second, adjust the minute setting and then press ENTE R /S E LE C Tto synchronize it with a time signal (such as the telephone time signal). No t e If you do not push the Jog lever towards +orÐ, or ENTE R /S E LE C Twithin about 65 seconds, the clock setting mode will be canceled.