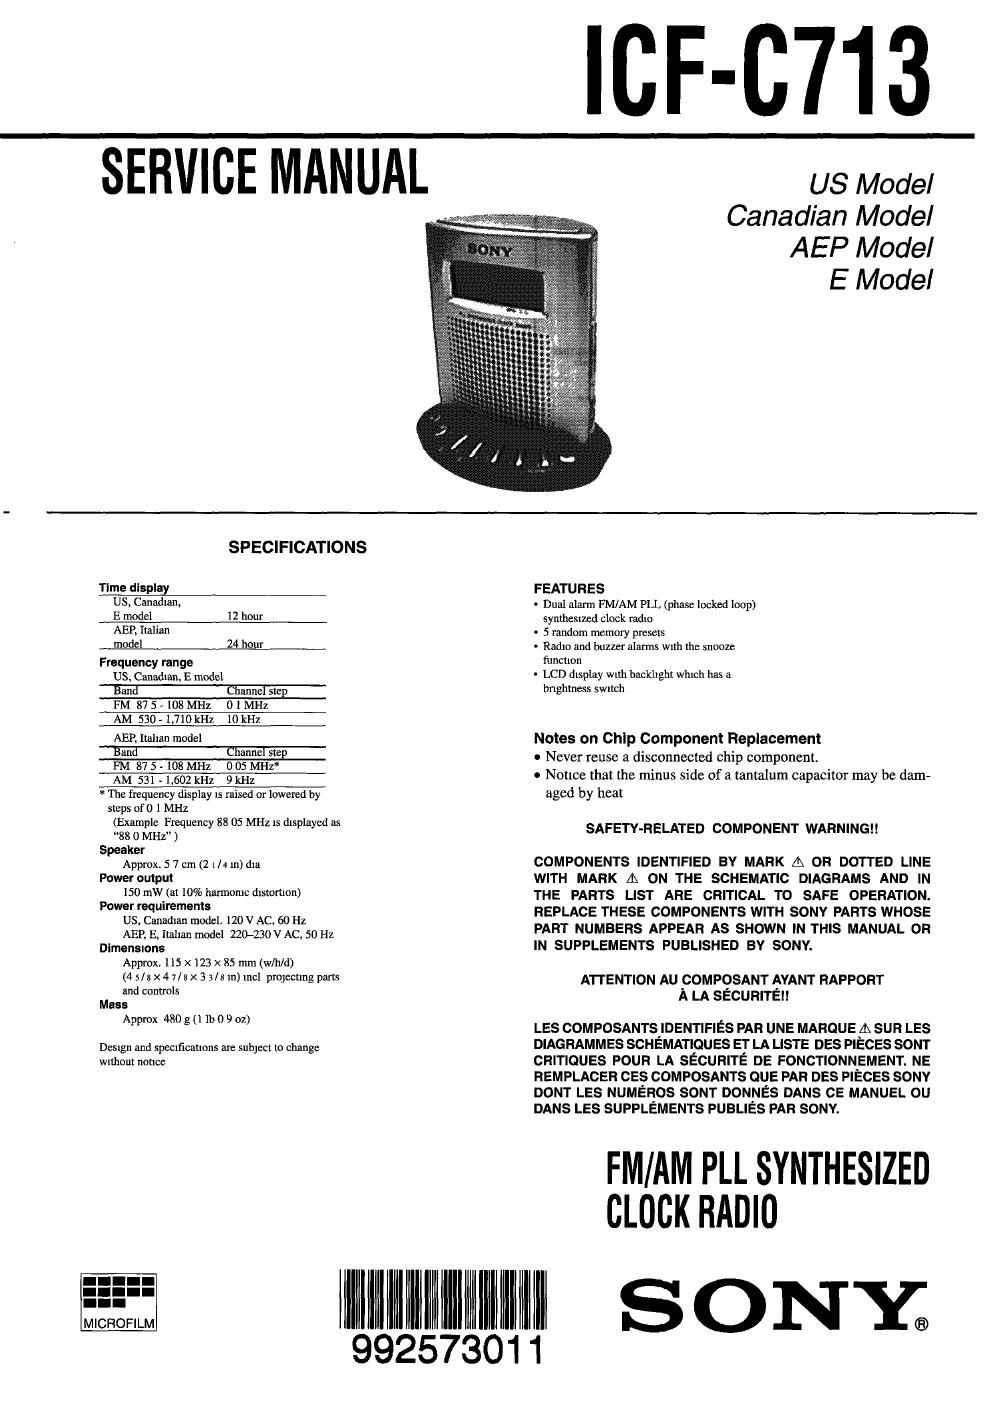
Sony icf c 713 service manual

This is the 16 pages manual for sony icf c 713 service manual.
Read or download the pdf for free. If you want to contribute, please mail your pdfs to info@audioservicemanuals.com.

Page: 1 / 16
left right
sony icf c 713 service manual

Extracted text from sony icf c 713 service manual (Ocr-read)


Page 1

ICF-C713

SERVICE MANUAL

US Model
Canadian Model
AEP Model

E Model

SPECIFICATIONS

Tline dlsplax

US, Canadian,

E model 12 hour
AEP, Italian

made] 24 lig ii-

Frequency range
US. Canadian, E. model
Ema Game slep
FM 875-108MH2 OlMHz
AM 530-1,710kHz lOkl-lz

AEP, Italian model
m
FM 87 5 - 108 MHz 005 MHz
AM 531-1,602 kHz 9 kHz
* The frequency display is raised or lowered by
steps of0 1 MHz
(Example Frequency 88 05 MHz is displayed as
38 0 MHZ )
Speaker
Approx, 5 7 cm (2 1/4 in) dia
Power output
150 mW (at 10% harmonic distomon)
Power requirement:
US, Canadian modelr 120V AC, 60 Hz
AEP. E, Italian model 22(}230 V AC. 50 Hz
Dimensions
Approx, 115 X 123 x 85 mm (w/hld)
(4 slax4 1/3 X 3 3/5 in) incl pmjecungparts
and controls
Mass
Approx 480 g (1 lb 0 9 oz)

Design and specifications ale Subject to change
Without notice

FEATU RES

- Dual alarm FM/AM PLL (phase locked loop)
synthesized clock radio

- 5 random memory presets

- Radio and buzzer alarms with [he snooze
function

- LCD display With backligh! which has a
bnghmess switch

Notes on Chlp Component Replacement

- Never reuse a disconnected chip component.

0 Notice that the minus side of a tantalum capacitor may be dam-
aged by heat

SAFETY-RELATED COMPONENT WARNING

COMPONENTS IDENTIFIED BY MARK A OR DOTTED LINE
WITH MARK A ON THE SCHEMATIC DIAGRAMS AND IN
THE PARTS LIST ARE CRITICAL TO SAFE OPERATION.
REPLACE THESE COMPONENTS WITH SONY PARTS WHOSE
PART NUMBERS APPEAR AS SHOWN IN THIS MANUAL OR
IN SUPPLEMENTS PUBLISHED BY SONY.

ATTENTION AU COMPOSANT AYANT RAPPORT
A LA SECURITEII

LES COMPOSANTS IDENTIFIES PAR UNE MAROUE A sun LEs
DIAGRAMMES SCHEMATIQUES ET LA LISTE DES PIECES SONT
CRITIQUES POUR LA SECURITE DE FONCTIONNEMENT. NE
REMPLACER eEs COMPOSANTS ouE PAR DEs PIECES sonv
DONT LES NUMEROS sour DONNE'S DANS CE MANUEL ou
DANs LEs SUPPLEMENTS PUBLIES PAR SONY.

FM/AM PLL SYNTHESIZED
CLOCK RADIO

II III III III III S ONY;

99257301 1

Page 2

SECTION 1
GENERAL

Emil/CLOCK ----o

BOOGIE/SLEEP OFF

Setting the Clock

1 Plug in the clock radio.
The display Will flash "AM 12 "0" Or 01"

2 While holding down ENTERICLOCK,
press TUNINGITIME SET + or - until the
correct time appears in the display

When you release ENTERICLOCK, the
clock begins to operate

- To set the current time rapidly, keep PKSSIflg the
+ or - button while holding down ENTER/CLOCK

- The clock system varies depending on the model
you own
12-hour system- AM l220tt" = midnight
24-hour system. "ow" = midnight

I To set the current time from zero seconds, release
ENTER/CLOCK with the time signal at step 2

- The colon ("4") in the time indication is flashing
when the radio is off and steadily displayed
when It is on

Operating the Radio
Manual Tuning

1 Press RADIO 0" to turn on the radio.
The band and frequency Wlll appear in the
display [or a few seconds Then the current
time indication returns to the display

2 Press BAND repeatedly to select the
desired band.

Instruction manual.

This section extracted from

3 Use TUNINGI'IIME SET 4- or - to tune in
the desired station.
The FM channel step is set to U 1 MHz and the
AM channel step is set to it) kH1 for the model
for the North and South America The FM
channel step is set to 005 MHZ and the AM
(MW) channel step is set to 9 kl l7 for the model
tor other countries,
A beep sounds and the tuning stops when the
upper or lower extremity of the hand range is
reached

4 Adjust volume using VOL
I To turn off the radio, press RADIO OFF
- To improve reception
FM: Extend the AC power cord fully to increase
FM reception sensitivity, since the cord acts
as an FM wire antenna
AM: Rotate the unit horizontally for optimum
reception A ferrite bar is built in to the unit
0 To check the current station. press the + button
lightly. The band and frequency are displayed tor
a law seconds, after which the current time
indication returns to the display
0 it the radio alarm A RADIO cmnes on while the
radio is playing, the station switches to the
frequency set under preset number I (the wake-
up frequency)

To set the brightness of the backltght
Set BRIGHT to HIGH or Low to make the display
visible

Preset Tuning

You can preset up to five stations for one-touch
tuning, one under each at preset buttons 1 to 5

Presetting a station

Example To set AM 1260 kHz in preset
button 2
1 Tune in the station you want to preset
(See "Manual Tuning")
2 Press ENTER/CLOCK

"P" flashes In the display for a few seconds

Wm

3 Press the preset button under which you
wish to store the station while the P"
indication is flashing
Two beeps sound to indicate successful
presetting.

m lEEQME

- When using the radio alarm, preset the station
you wish to serve as the alarm (the wake-up
frequency) under preset button 1

To change a preset station

Press the preset button again alter tuning manually
to a dittetent station The prevlous station is
replaced by the new one

Tuning In a preset station
1 Press RADIO OH to turn on the radio.

2 Press the preth button under which the
desired station is stored