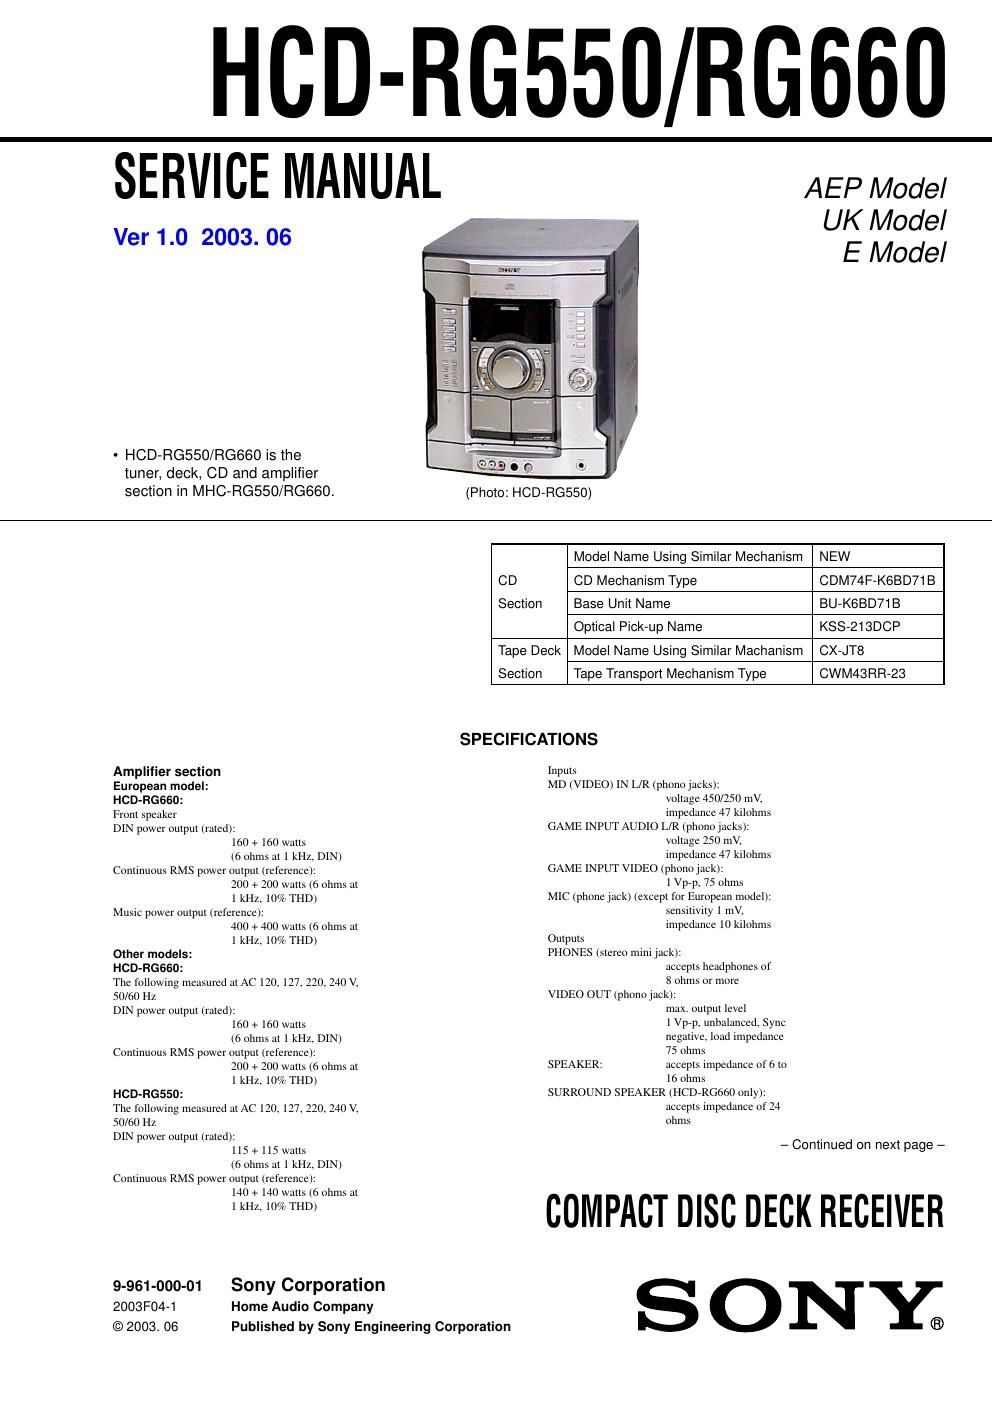
Sony hcd rg 550 hcd rg 660

This is the 76 pages manual for sony hcd rg 550 hcd rg 660.
Read or download the pdf for free. If you want to contribute, please mail your pdfs to info@audioservicemanuals.com.

Page: 1 / 76
left right
sony hcd rg 550 hcd rg 660

Extracted text from sony hcd rg 550 hcd rg 660 (Ocr-read)


Page 2

3 CAUTION Use of controls or adjustments or performance of procedures other than those specified herein may result in hazardous radiation exposure. HCD-RG550/RG660 NOTES ON HANDLING THE OPTICAL PICK-UP BLOCK OR BASE UNIT The laser diode in the optical pick-up block may suffer electrostatic breakdown because of the potential difference generated by the charged electrostatic load, etc. on clothing and the human body. During repair, pay attention to electrostatic break-down and also use the procedure in the printed matter which is included in the repair parts. The flexible board is easily damaged and should be handled with care. NOTES ON LASER DIODE EMISSION CHECK The laser beam on this model is concentrated so as to be focused on the disc reflective surface by the objective lens in the optical pick- up block. Therefore, when checking the laser diode emission, observe from more than 30 cm away from the objective lens. Laser component in this product is capable of emitting radiation exceeding the limit for Class 1. Notes on Chip Component Replacement -Never reuse a disconnected chip component. -Notice that the minus side of a tantalum capacitor may be damaged by heat. Flexible Circuit Board Repairing -Keep the temperature of soldering iron around 270°C during repairing. -Do not touch the soldering iron on the same conductor of the circuit board (within 3 times). -Be careful not to apply force on the conductor when soldering or unsoldering. MODEL IDENTIFICATION -“ BACK PANEL -“ MODEL PARTS No. RG550: E2, E3, E51 4-247-996-01 RG550: MX 4-247-996-11 RG660: E3 4-247-996-21 RG660: AEP, UK 4-247-996-31 -Abbreviation E2 : 120 V AC area in E model E3 : 240 V AC area in E model E51 : 220 V AC area in E model MX : Mexican model SETTING AND RELEASING THE CD DISC TRAY LOCK FUNCTION This set has a disc tray lock function to prevent discs for demonstration at shops from theft. While this lock function is set, the tray will not be delivered out even when the OPEN/CLOSE button is pressed. Setting method: Press the OPEN/CLOSE button while pressing the STOP button. After a few seconds, the message LOCKED will appear on the fluorescent indicator tube with the tray locked. Releasing method: Just as the lock is set, press the OPEN/CLOSE button while pressing the STOP button. After a few seconds, the message UNLOCKED will appear with the lock released. PA RTS No. LASER DIODE AND FOCUS SEARCH OPERATION CHECK Carry out the S curve check in CD section adjustment and check that the S curve waveforms is output three times. UNLEADED SOLDER Boards requiring use of unleaded solder are printed with the lead free mark (LF) indicating the solder contains no lead. (Caution: Some printed circuit boards may not come printed with the lead free mark due to their particular size) : LEAD FREE MARK Unleaded solder has the following characteristics. -Unleaded solder melts at a temperature about 40 °C higher than ordinary solder. Ordinary soldering irons can be used but the iron tip has to be applied to the solder joint for a slightly longer time. Soldering irons using a temperature regulator should be set to about 350 °C. Caution: The printed pattern (copper foil) may peel away if the heated tip is applied for too long, so be careful! -Strong viscosity Unleaded solder is more viscou-s (sticky, less prone to flow) than ordinary solder so use caution not to let solder bridges occur such as on IC pins, etc. -Usable with ordinary solder It is best to use only unleaded solder but unleaded solder may also be added to ordinary solder.