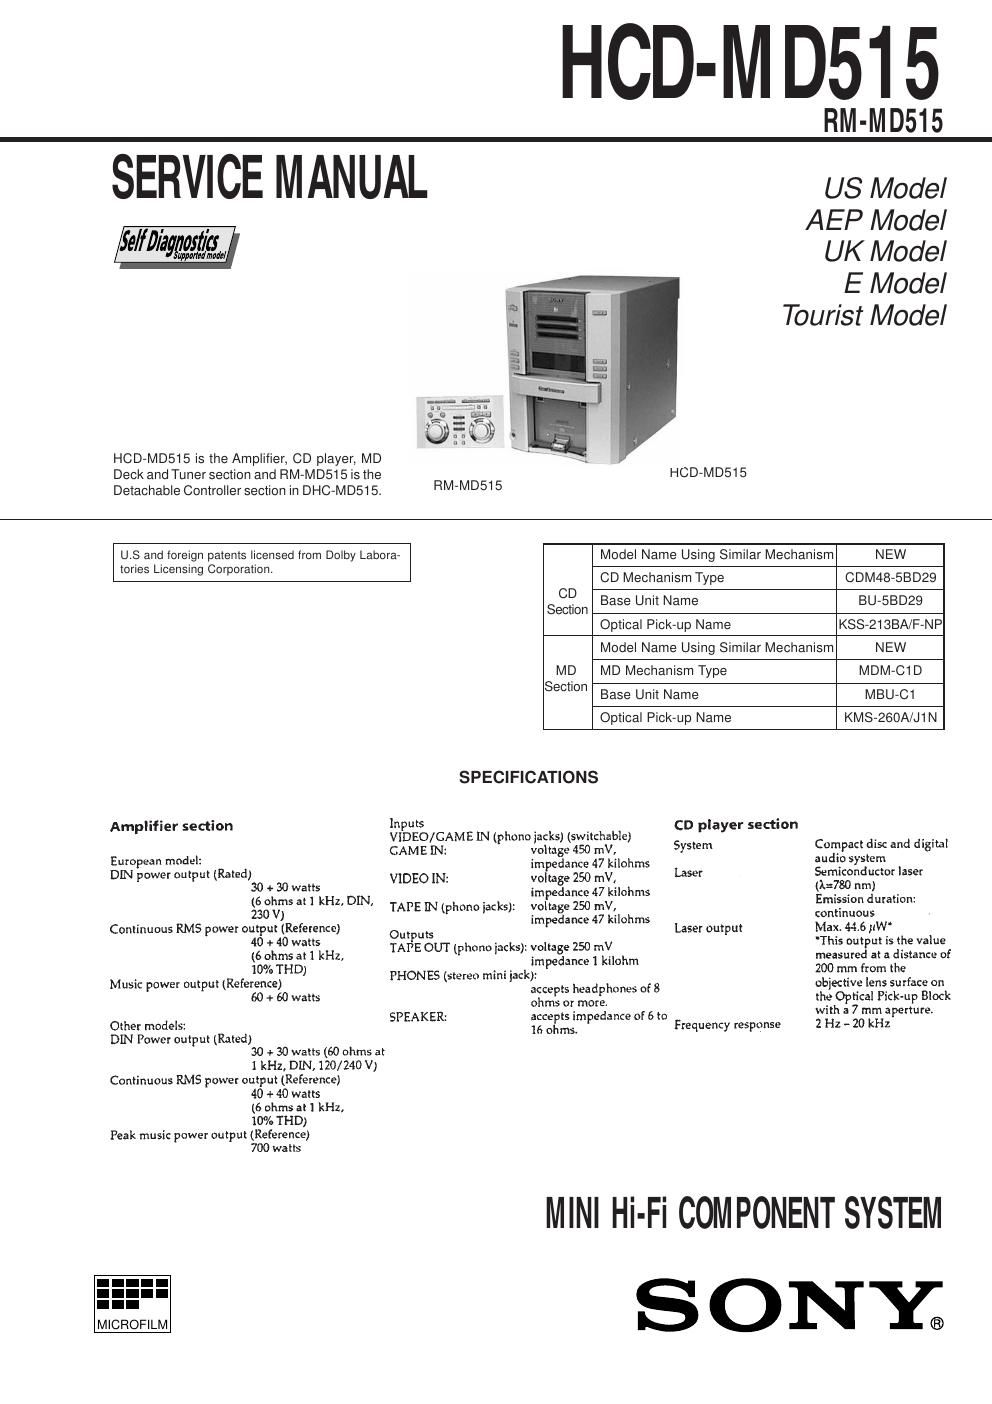
Sony hcd md 515 service manual

This is the 80 pages manual for sony hcd md 515 service manual.
Read or download the pdf for free. If you want to contribute, please mail your pdfs to info@audioservicemanuals.com.

Page: 1 / 80
left right
sony hcd md 515 service manual

Extracted text from sony hcd md 515 service manual (Ocr-read)


Page 1

Ð 2 Ð SELF DIAGNOSTICS

Page 2

Ð 3 Ð CD SECTION 1. OPERATING THE DISPLAYED HISTORYS 1. Press the DIMMER button, DBFB button, and CD 16but- ton simultaneously and enter the test mode. 2. Press the PROGRAM button, and mechanical error count and the cout of ÒNO DISCÓ that optical system judged are displyed. 3. Under this condition press the buttons in Table 2, and the re- spective operations are executed as listed below. Table 2. Button Function MD/CD 1 Mechanical error cord from latest one to last ten are dis- played each time this button is pressed. (*1) MD/CD 2 The reasons of ÒNO DISCÓ from latest one to last ten are displayed each time this button is pressed. (*2) CD 16Reset the count of mechanical error. CD 26Reset the count of ÒNO DISCÓ. (*1) Mechanical error code MD SECTION 1. OPERATING THE ERROR HISTORY MODE All operations are performed using the MULTI JOG dial and PROGRAM button. 1. Enter the test mode for MD function. (*1) 2. Turn the MULTI JOG dial and display ÒERR DP MODEÓ. 3. Press the ENTER/YES button, therefor enter the error his- tory mode and change the display Òtotal recÓ. 4. Press the EDIT/NO button, therefor end the error history mode and change the display ÒERR DP MODEÓ. (*1) See the ÒSECTION 4 TEST MODEÓ (page 21) for detail of test mode. Table 1. Contents Function Display total rec Total time of laser power high. r h About 20% of total recording time. total play Total time of playback. p h retry error Total count of record and playback r p retry error. total error Total count of error. total err history Error contents display of from 0 E (*2) latest oneÒ00Ó to last ten Ò09Ó. (Turn the MULTI JOG dial and change the error NO.) err refresh Press the PROGRAM button and complete (*3) clear the error histories memory 2. OPERATING THE DISPLAYED HISTORYS 1. Turn the MULTI JOG dial and change the display of error history contents. 2. Press the PROGRAM button and display error history func- tion. 3. Press the PROGRAM button again and back the display of error history contents. (*2) See table 1-1. for contents of each error code. (*3) Error refresh with optical pick-up exchange, another not ex- ecute. Table 1-1. Display Contents (error No./code) 0: E00 No error 0: E01 Disc error PTOC does not read 0: E02 Disc error UTOC does not read 0: E03 Loading error 0: E04 Address does not read 0: E05 Out of FOK 0: E06 Focus does not work 0: E07 Retry of record 0: E08 Record retry error 0: E09 Retry of Playback 0: E0A Playback retry error (a) The number of Mechanical error. Latest one Ò00Ó to last ten Ò09Ó (Turn the MULTI JOG dial and change the error No.) (b) ÒFFÓ: Mechanical error, when mechanical initialize to completion. Others: Mechanical error in the midst of mechanical initialize. (c) Ò4 *Ó: Mechanical error in the midst of mechanical initial- ize, when sub tray set into the stocker. Ò5 *Ó: Mechanical error in the midst of mechanical initial- ize, when sub tray take out to the stocker. (d) Ò2 *Ó: Mechanical error in the midst of elevator moving. (*2) NO DISC error code (a) The number of NO DISC error. Latest one Ò00Ó to last ten Ò09Ó (Turn the MULTI JOG dial and change the error No.) (b) Ò01Ó: Focus error Ò02Ó: GFS error Ò03Ó: Set up error (c) Ò00Ó: NO DISC error (Does not chucking retry) Ò02Ó: NO DISC error (Chucking retry to completion) (d) The status, when judged NO DISC error. Ò3 *Ó: Stop Ò4 *Ó: Set up Ò5 *Ó: TOC read Ò6 *Ó: Access Ò7 *Ó: Play Ò8 *Ó: Pause Ò9 *Ó: Manual search (Play) M0 = (a) (b) (c) (d) * ****** D0 = (a) (b) (c) (d) * ******