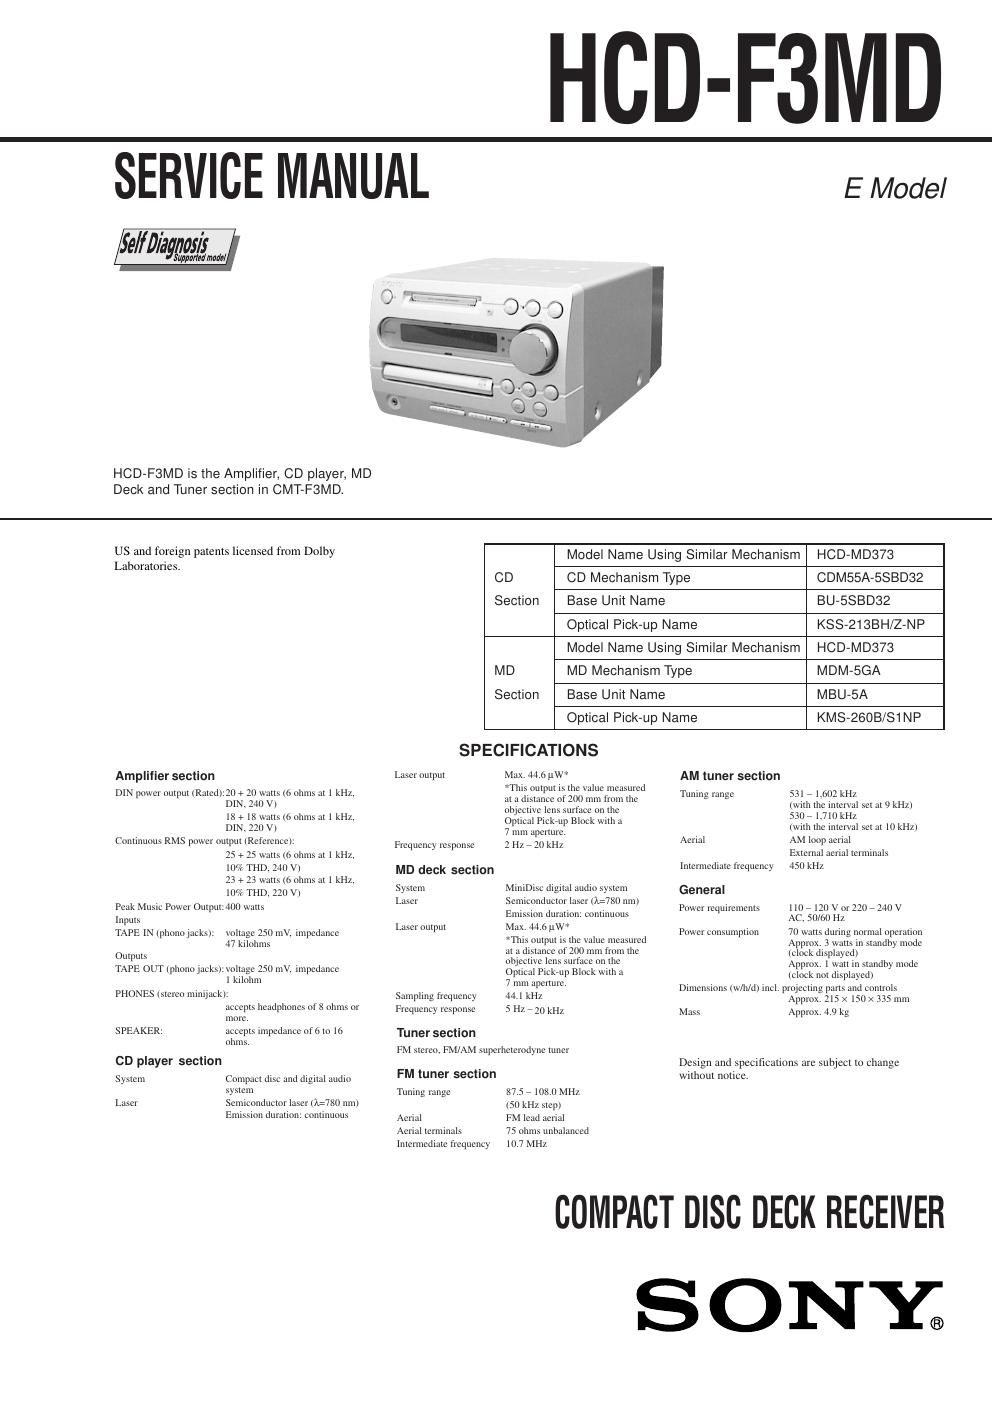
Sony hcd f 3 md service manual

This is the 96 pages manual for sony hcd f 3 md service manual.
Read or download the pdf for free. If you want to contribute, please mail your pdfs to info@audioservicemanuals.com.

Page: 1 / 96
left right
sony hcd f 3 md service manual

Extracted text from sony hcd f 3 md service manual (Ocr-read)


Page 1

2 PROCEDURE FOR USING THE SELF-DIAGNOSIS FUNCTION (ERROR HISTORY DISPLAY MODE) Note 1:About R As this unit has only a few buttons, some operations require the use of remote commander (RM-SF3MD/provided with unit: 1-476-068-11) buttons. These operations are indicated as R in this manual. Example: MENU/NO R ...Press the [MENU/NO] button of the remote commander. Note 2:Incorrect operations may be performed if the MD test mode is not entered properly. In this case, press the I/ 1 button to turn the power off, and retry to enter the MD test mode. Note 3:Perform the self-diagnosis function in the error history display mode in the MD test mode. The following describes the least required procedure. Be careful not to enter other modes by mistake. If you set other modes accidentally, press the MENU/NO R button to exit the mode. Procedure: 1. Press the I/1 button to turn the power on. 2. Press the [FUNCTION] button to set the MD function. 3. Press three buttons of s (MD) , zREC and I/1 simultaneously to enter the MD test mode and display [Check]. 4. Press the l m or M L button to display [Service], and press the ENTER/YES R button. 5. Press the l m or M L button to display ERR DP MODE. 6. Press the ENTER/YES R button to enter the error history mode and display total rec. 7. Select the contents to be displayed or executed using the l m or M L button. 8. Press the [CD-MD SYNC] button will display or execute the contents selected. 9. Press the [CD-MD SYNC] button another time returns to step 7. 10. Press the MENU/NO R button displays ERR DP MODE and release the error history mode. 11. To release the MD test mode, press the [REPEAT] button to display Initialize and release the MD test mode. SELF-DIAGNOSIS FUNCTION The self-diagnosis function consists of error codes for customers, which are displayed automatically when errors occur, and error codes, which show the error history in the test mode during servicing. For details on how to view error codes for the customer, refer to the following box in the instruction manual. For details on how to check error codes during servicing, refer to the following Procedure for using the Self-Diagnosis Function (Error History Display Mode). Self-diagnosis Display This system has a Self-diagnosis display function to let you know if there is a system malfunction. The display shows a code made up of three letters and a message alternately to show you the problem. To solve the problem refer to the following list. If any problem persists, consult your nearest Sony dealer. C11/Protected The MD is protected against erasure. cRemove the MD and slide the tab to close the slot (see page 24). C12/Cannot Copy You tried to record a CD or MD with a format that the system does not support, such as a CD- ROM. cRemove the disc and turn off the system once, then turn it on again. C13/REC Error Recording could not be performed properly. cMove the system to a stable place, and start recording over from the beginning. The MD is dirty or scratched, or the MD does not meet the standards. cReplace the MD and start recording over from the beginning. C13/Read Error The MD deck cannot read the disc information properly. cRemove the MD once, then insert it again. C14/Toc Error The MD deck cannot read the disc information properly. cReplace the MD. cErase all the recorded contents of the MD using the All Erase function on page 38. C41/Cannot Copy The sound source is a copy of a commercially available music software, or you tried to record a CD-R (Recordable CD). cThe Serial Copy Management System prevents making a digital copy (see page 53). You cannot record a CD-R.

Page 2

3 ITEMS OF ERROR HISTORY MODE ITEMS AND CONTENTS Selecting the Test Mode Display Details of History E00 No error E01 Disc error. PTOC cannot be read (DISC ejected) E02 Disc error. UTOC error (DISC not ejected) E03 Loading error E04 Address cannot be read (Servo has deviated) Table of Error Codes Error Code Error Code Details of Error total rec Displays the recording time. Displayed as rssssssh. The displayed time is the total time the laser is set to the high power state. This is about 1/4 of the actual recording time. The time is displayed in decimal digits from 0h to 65535h. total play Displays the play time. Displayed as pssssssh. The time displayed is the total actual play time. Pauses are not counted. The time is displayed in decimal digits from 0h to 65535h. retry err Displays the total number of retries during recording and number of retry errors during play. Displayed as rss pss. r indicates the retries during recording while p indicates the retry errors during play. The number of retries and retry errors are displayed in hexadecimal digits from 00 to FF. total err Displays the total number of errors. Displayed as total ss. The number of errors is displayed in hexadecimal digits from 00 to FF. err history Displays the 10 latest errors. Displayed as 0s E@@. s indicates the history number. The smaller the number, the more recent is the error. (00 is the latest). @@ indicates the error code. Refer to the following table for the details. The error history can be switched by pressing the l m or M L button. er refresh Mode which erases the retry err, total err, and err history histories. When returning the unit to the customer after completing repairs, perform this to erase the past error history. After pressing the [CD-MD SYNC] button and er refresh? is displayed, press the ENTER/YES R button to erase the history. Complete! will be displayed momentarily. Be sure to check the following when this mode has been executed. -The data has been erased. -The mechanism operates normally when recording and play are performed. tm refresh Mode which erases the total rec and total play histories. These histories serve as approximate indications of when to replace the optical pick-up. If the optical pickup has been replaced, perform this operation and erase the history. After pressing the [CD-MD SYNC] button and tm refresh? is displayed, press the ENTER/YES R button to erase the history. Complete! will be displayed momentarily. Be sure to check the following when this mode has been executed. -The data has been erased. -The mechanism operates normally when recording and play are performed. E05 FOK has deviated E06 Cannot focus (Servo has deviated) E07 Recording retry E08 Recording retry error E09 Playback retry error (Access error) E0A Playback retry error (C2 error) Details of Error