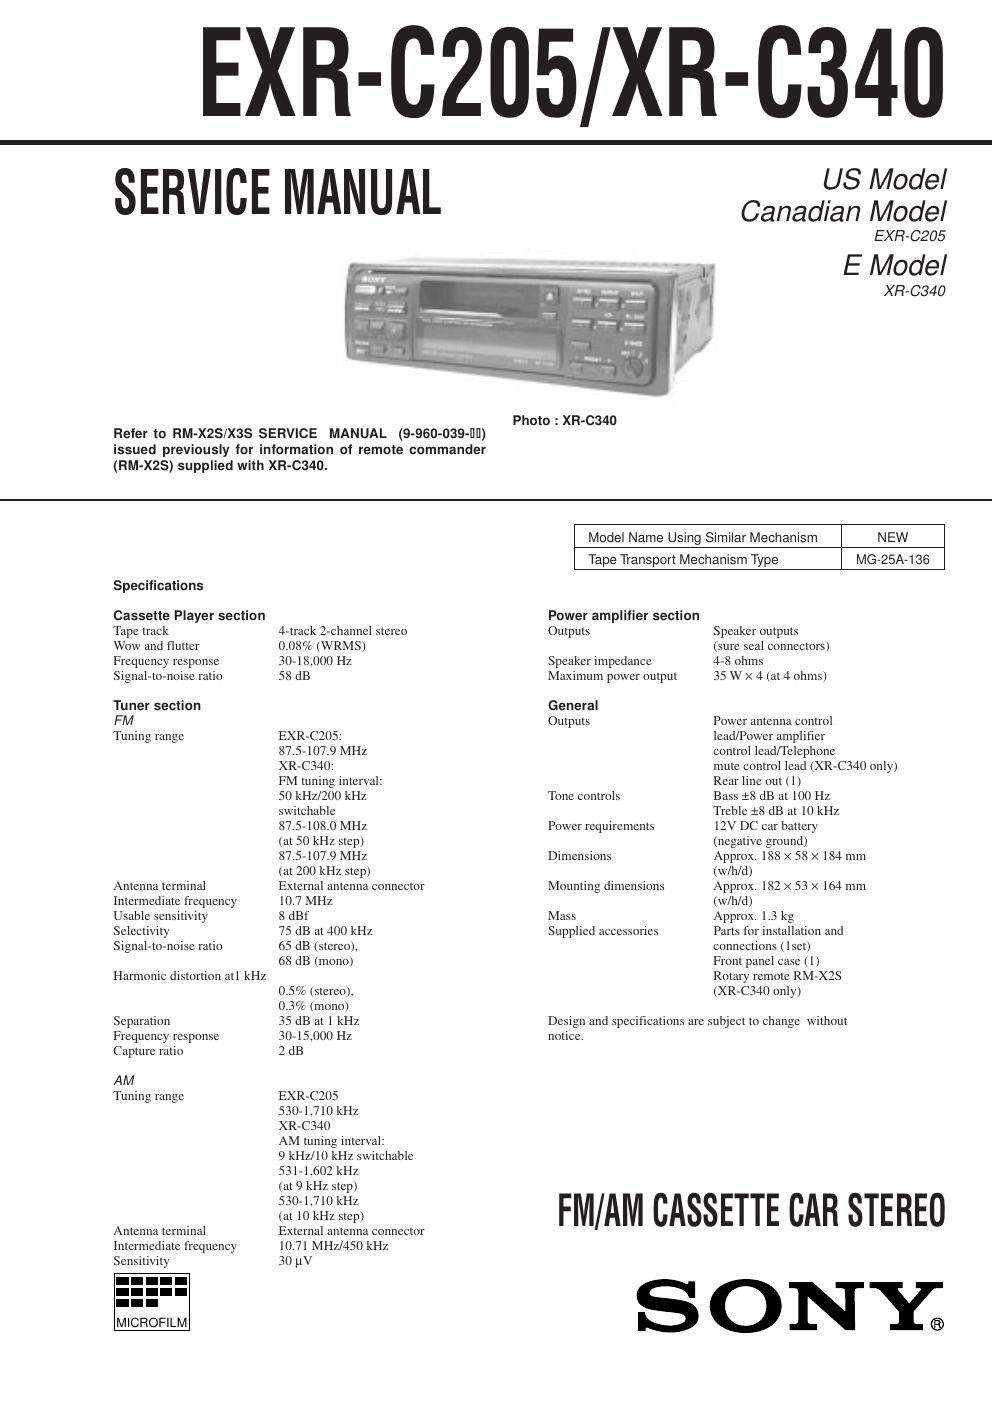
Sony exrc 340 service manual

This is the 45 pages manual for sony exrc 340 service manual.
Read or download the pdf for free. If you want to contribute, please mail your pdfs to info@audioservicemanuals.com.

Page: 1 / 45
left right
sony exrc 340 service manual

Extracted text from sony exrc 340 service manual (Ocr-read)


Page 1

Ð 2 Ð TABLE OF CONTENTS 1. GENERAL ................................................................... 3 Location of Controls ........................................................ 3 Resetting the Unit ............................................................ 3 Detaching the Front Panel ............................................... 3 Preparing the Rotary Remote .......................................... 3 Setting the Clock ............................................................. 4 Using the Rotary Remote ................................................ 4 Adjusting the Sound Characteristics ............................... 5 Muting the Sound ............................................................ 5 Changing the Sound and Beep Tone ................................ 5 Installation ....................................................................... 6 Connections ..................................................................... 7 2. DISASSEMBLY .......................................................... 10 3. ASSEMBLY OF MECHANISM DECK ........... 12 4. MECHANICAL ADJUSTMENTS ....................... 15 5. ELECTRICAL ADJUSTMENTS...................... 15 6. DIAGRAMS 6-1. IC Pin Function Description ............................................ 16 6-2. Printed Wiring Board ÐMAIN SectionÐ ......................... 20 6-3. Schematic Diagram ÐMAIN SectionÐ ............................ 23 6-4. Printed Wiring Board ÐKEY SectionÐ ........................... 27 6-5. Schematic Diagram ÐKEY SectionÐ .............................. 29 7. EXPLODED VIEWS.......................................... 31 8. ELECTRICAL PARTS LIST ................................ 34 SERVICING NOTES Flexible Circuit Board Repairing ·Keep the temperature of the soldering iron around 270 û C dur- ing repairing. ·Do not touch the soldering iron on the same conductor of the circuit board (within 3 times). ·Be careful not to apply force on the conductor when soldering or unsoldering Notes on chip component replacement ·Never reuse a disconnected chip component. ·Notice that the minus side of a tantalum capacitor may be dam- aged by heat.

Page 2

Ð 3 Ð SECTION 1 GENERAL This section is extracted from instruction manual.