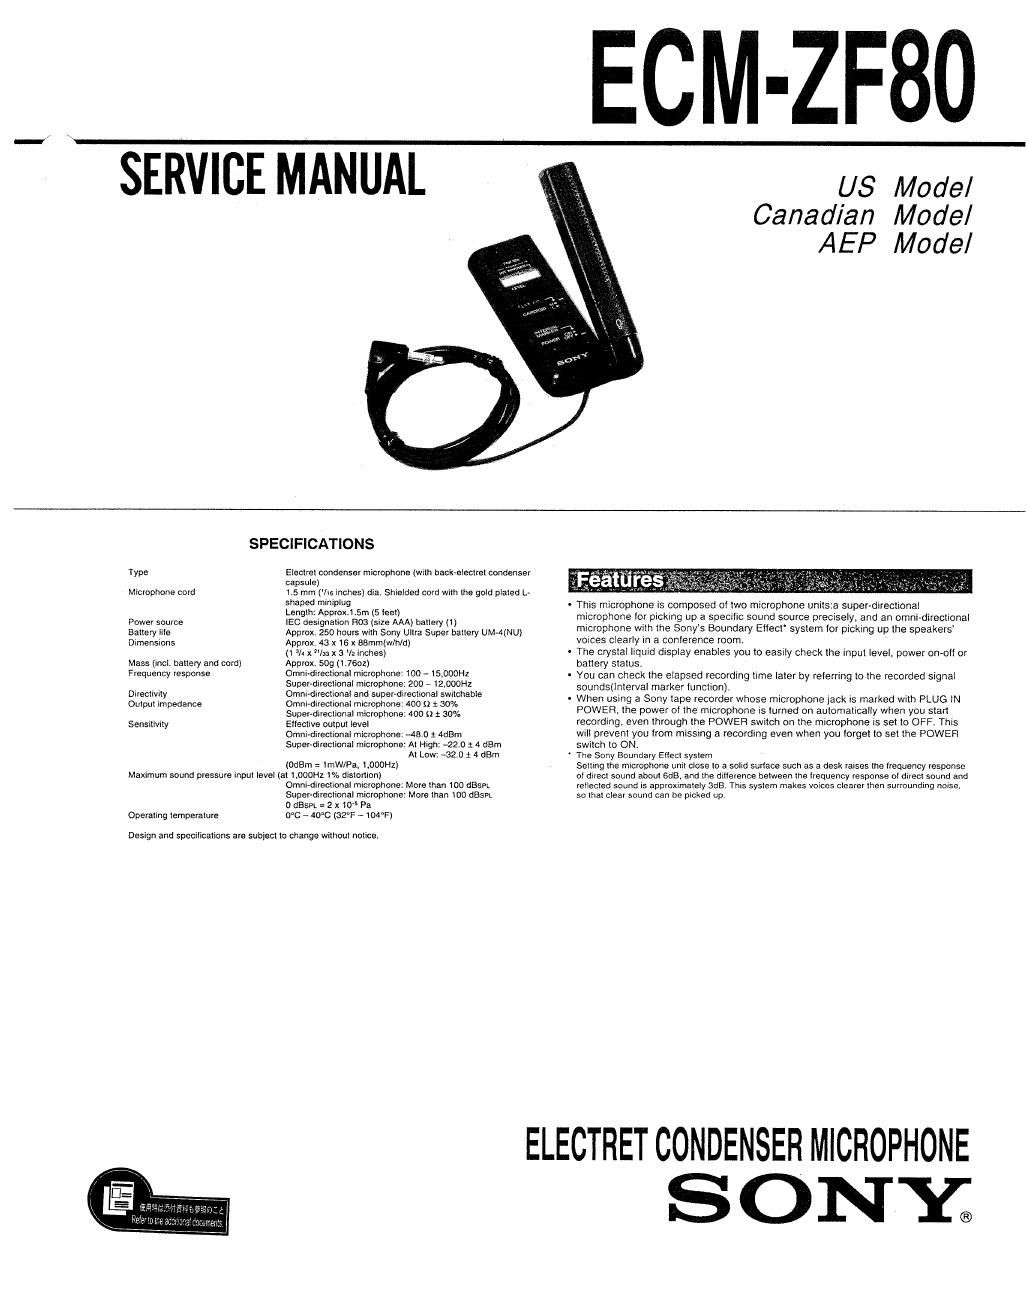
Sony ecm zf 80 service manual

This is the 11 pages manual for sony ecm zf 80 service manual.
Read or download the pdf for free. If you want to contribute, please mail your pdfs to info@audioservicemanuals.com.

Page: 1 / 11
left right
sony ecm zf 80 service manual

Extracted text from sony ecm zf 80 service manual (Ocr-read)


Page 1

ECM-ZF80

US Model
Canadian Mode/
AEP Model

SPECIFICATIONS

Type Electra condenser microphone (wflh hack-erecuer condenser
capsule)
1,5 mm (rrr rncnesr dia Shrerded oord wrrrr «he 901d prared L-
shaped mrnrprug
Length' Approx r.sm (5 lee!)
r20 designalion noa (me AAA) hauery (1)
Approx 250 hours wrlh Sony Uma Super bauery UM-MNU)
Approx. 43 x 16 x 88mm(th/d)
(r in x "In x 3 V2 inches)
Approx 509 (I 7601)
Omnr-drrecrronal microphone too , $.00qu
Supebduecflonal mrcrophone, zoo , 12»sz
amnrdrrecrronar and super-drrecllonal swxchable
Omni-fliredional rmcrophone «100 n z 30%
Super~dnec1ional micropnons, ACID :2 2 30%
Errscrwo ourpur level
Omm-flireclmnal microphone .43 o x mBm
Superrduecilonal micmphone' Ar High: 42.0 2 4 dBm

Ar Low' 42 o 2 4 dBm
rooam = ImW/Pa. LOODHz)
Maximum sound pressure inpur level (a! meow 1% disrdnmn)
Omnl-dlrecuonal microphone: More man 100 stPL
Super-arreorionar microphone More man mo ossn
o (3va = 2 X10 Pa
0°C A 40°C (32°F - ro4°r=r

Mlcrophone cord

Power source
Barrery Slle
Dimensions

Mass (mot. baflery and comp
Frequency response

Drrecrnmy
ompur Impedance

Sensnivrry

Operahng remperamre

Design and spocrrrcarrons are suorecr ro change wilhoul nohce

- ans microphone I5 composed or two mrcrophone uni|s.a super-directional
mrcrophone (or prckmg up a specific sound source precisely, and an omm-dlreclional
mrcrophone wi|h (he Sonys Boundary Eflect syslem [or picking up the speakers
voices clearly m a conference rooms
The cryslar Irqmd drsplay enabTes you to easrly check Ihe rnpur level, power on-ot! or
barrery sxalus.
You can check me elapsed recordrng \rme la1er by rererrrng to me recorded signal
soundsrlnreryal marker tuneuon).
When usmg a Sony tape recorder whose mrcropnone lack rs marked with PLUG 2N
POWER, the power of (he microphone I5 turned on aulomalically when yOu start
recording, even (hrough the POWER Swirch on me microphone Is set K) OFF. This
wIll prevent you rrom mrssrng a recording even when you rorgex Io sel the POWER
swdch \0 ON
rne Sony Boundary ENect sysrem
Sorrrng rhe mrcrophone um| close ro a 50er surlace such as a desk rarses me trequency responso
or dwscl sound doom Sue. and me drlvorance heween me Ireouenoy response or orrem sound and
rellecred sound 15 approxxmarely aura rnrs sysrom makes voices clearer men surroundrng norse.
so mar clear sound can be prcked up

ELECTRET CONDENSER MICROPHONE

SONY;

Page 2

SECTION 1 Th. t. 4 d f
IS sec ion IS extracts rom
GENERAL instruction manual.


to the microphone jack

Parts Identification and How to Use

(See lig. -).

comm-directional microphone

[2] Battery compartment

Output plug (Gold plated L-shaped mlniplug)

Connect this plug to the microphone jack ol a tape recorder.

El Super-directional microphone
Can be raised up to 60 degrees. Clicks at the angles 0130 and 60 degrees.

El Liquid crystal display

[E Recording level indicator
The indicator shows the input level in three Stages. When the sound level is
appropriate, the lelt and center indicators Wlll slay Ill and the indicator On the right
sometimes tlash Decide on the position or the microphone by relerring to the
indicator

FLAT/CARDlOID (microphone select) switch
FLAT MIC: Set the swtich to this position when using the omni-direclional
microphone. The omnidirectional microphone picks up the sounds lrom various
directions and is suitable lor using in meeting rooms.
CARDIOID: Set the SWllCh ID Hihigh) or LiLow) when using the super-directional
microphone. The super-direcltonal microphone clearly picks up the sounds lrorn
apart and is suitable in! using in seminar or lecture looms.
Select the position H or L in accordance with the noise around the microphone or
the level oi the speaker's voice.

POWER/KNTERVAL MARKER switch

POWER lNTERVAL MARKER
ON ON

ON

OFF OFF

interval marker lunclion

When the INTERVAL MARKER switch is set to ON. the signal sound Peep" will be
recorded every so seconds. and the signal sound Peep peep will be recorded every 5
minutes These sounds will be helplul when searching lor desired portion later in the
cue or review mode of the tape recorder (last lorward or rewind in the playback mode).
When you do not want the signal sound in playback. set the POWER/INTERVAL
MARKER switch to the center posrtlon when you start recording.

When the INTERVAL MARKER switch is set to ON, the ON" indication appears on the
display,

on not change the selling at the INTERVAL MARKER switch during recording.

Automatlc power-on system

When you use a Sony tape recorder whose microphone jack is marked with PLUG IN
POWER. such as M»607V or TOM-77. etc, the battery in the microphone will activate
when you start recording, even though the POWER switch on the microphone is set to
OFF in this case. the OFR"(operalion) indication appears on the display

The INTERVAL MARKER will not activate automatically.