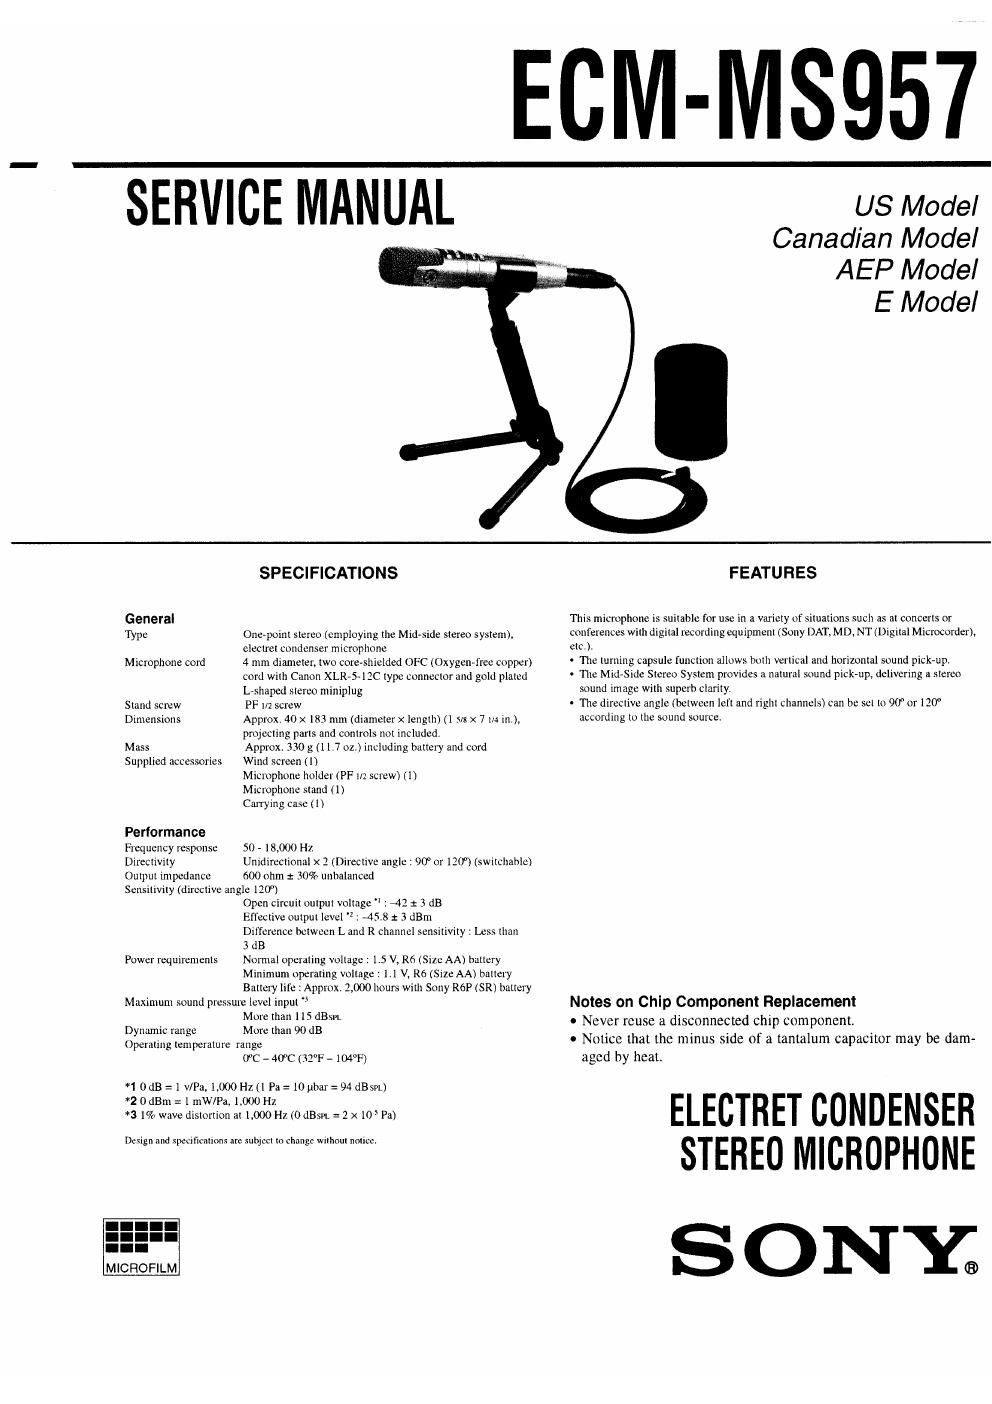
Sony ecm ms 957 service manual

This is the 6 pages manual for sony ecm ms 957 service manual.
Read or download the pdf for free. If you want to contribute, please mail your pdfs to info@audioservicemanuals.com.

Page: 1 / 6
left right
sony ecm ms 957 service manual

Extracted text from sony ecm ms 957 service manual (Ocr-read)


Page 2

SECTION 1
GENERAL This section is extracted from

instruction manual.

Installing the battery (See fig. fl)

1 1 Turn the grip counterclockwise.
2 Pull out the grip to open the battery compartment.
3 insert i new R6 (size AA) battery.
Battery life
When the power is turned on, the battery check indicator lights momentarily.
When the battery becomes weak, the initiator remains dimly lit or dies not light
E at all, In this case, replace the battery with a new one. The Sony RGIKSR)
manganese battery git-es continuous nperatlnn of the microphone for about 1300
ECM-MS9S7 ? l hours.
Notes on battery
To avoid damage to the unit from leakage and corrosion;
' Be sure to match the 0 and Oon the battery with the same marks on the
battery compartment.
~ Do not try to recharge battery.
. Remove the battery tithe microphone is not to be used lttra long period or
time.
In case ol battery leakage, wipe oil Any deposit in the battery campmmenl
before installing a new battery.

Connection (See fig. I3)

Connect the L-shitped stereo miniplug to the MIC iack oi your recording
equipment (MD, DAT, etc.) as Illustrated in rig. [3,

Parts Identification and Uses (See fig.

I3 Connecter
Insert the cttnnecter tn unttl lt cltcks, Remove the connecter by pressing the
button.
Wind screen
Attach in ordertn reduce wind or breathing noise.
Battery check indicator
When the power/directive angle switch is turned lmm OFF to ON. this
indicator lights momentarily. When the battery becomes weak, the Indicator
remains dimly lit Or does not light at all. In this case. replace the battery with
a new one.
IE Power/directive angle switch

Set the swttch according to the sound source.

or; turns power ntt.

90- Use to pick up . relatively nest, narrower sound source
(instni mental solo, birds or insects' chirp. tic.)

120' Use to pick up a relatively distant, wider sound sat-1:
(orchesrrz.chorus, train. at me, etc.)

The above gives guidelines for selecting the appropriate angle. A. ough
tollounng those guidelines is encouraged, you can freely choose «her angle
according to your own preference.
3 Microphone holder
You can also connect to a microphone stand (PF . Iz) (optional).
IE1 Grin
As shown in the illustration, it can be used as a handy microphone. Loosen
the screw and detach the grip trorn the microphone stand.
Screw
Tighten the screw alter setting the direction of the microphone.
E L-shaped stereo miniplug
Connect to the MIC jack of your recording uipment (DAT. MD, ST, etc.)
|_9_| 6) Turning capsule button (See fig. )
Set the turning capsule button according to the direction of the sound
source. As shown in the illustration, set the microphone head toward the
sound source by pressing the turning capsule button.
(9 Using the microphone vertically
This position makes a more actuate sound pick-up. Use this posirloh atter
monitoring and ldjusting the sound quality at your recording equipment.
E (9 Using the miaophone horizontally

This position makes for a successful sound pick-up without any line
adjustments.

Microphone stand (See fig. E)

As shown in the illustration, spread out the legs to use the stand.