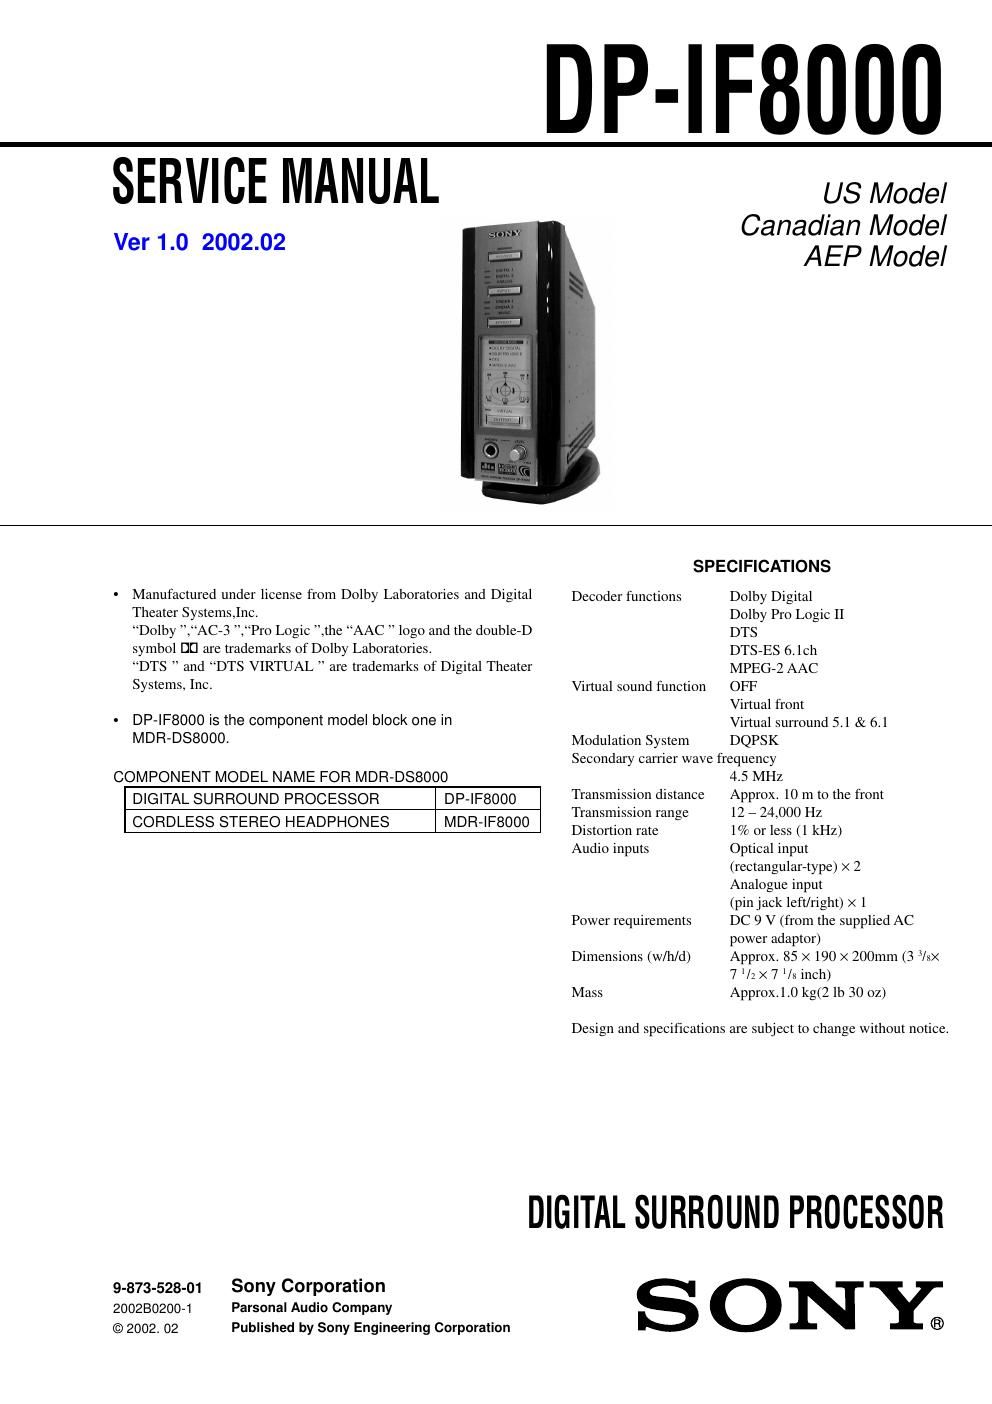
Sony dpif 8000 service manual

This is the 38 pages manual for sony dpif 8000 service manual.
Read or download the pdf for free. If you want to contribute, please mail your pdfs to info@audioservicemanuals.com.

Page: 1 / 38
left right
sony dpif 8000 service manual

Extracted text from sony dpif 8000 service manual (Ocr-read)


Page 1

DP-IFBUUU

SERVICE MANUAL us Model

Canadian Model

Ver 1.0 2002.02 AEP Model

SPECIFICATIONS
° Manufactured under license from Dolby Laboratories and Digital Decoder functions Dolby Digital
Theater Systems,lnc. Dolby Pro Logic II
Dolby ",AC-3 ",Pro Logic ",the AAC logo and the double-D DTS
symbol [1!] are trademarks of Dolby Laboratories. DTS-ES 6.1ch
DTS and DTS VIRTUAL are trademarks of Digital Theater MPEG2 AAC
Systems, Inc. Virtual sound function OFF
Virtual front
. DP-IFBOOO is the component model block one in vmual surround 5_1 & 6.1
MDFI-DS8000. Modulation System DQPSK
Secondary carrier wave frequency
COMPONENT MODEL NAME FOR MDR-DSBOOO 4.5 MHz
DIGITAL SURROUND PROCESSOR DP-IF8000 Transmission distance Approx. 10 m to the front
Transmission range 12 7 24,000 Hz
CORDLESS STEREO HEADPHONES MDR-IF8000 Distortion rate 1% or less (1 kHz)
Audio inputs Optical input

(rectangular-type) X 2
Analogue input
(pinjack left/right) X 1

Power requirements DC 9 V (from the supplied AC
power adaptor)

Dimensions (w/h/d) Approx. 85 X 190 X 200mm (3 J/st><
7 V: X 7 I/x inch)

Mass Approx.l.0 kg(2 lb 30 02)

Design and specifications are subject to change without notice.

DIGITAL SURROUND PROCESSOR
9-873-528-01 Sony Corporation S O N Y
2002B0200-t Parsonal Audio Company
© 2002. 02 Published by Sony Engineering Corporation ®

Page 2

DP4F8000

Notes on chip component replacement

- Never reuse a disconnected chip component.

- Notice that the minus side of a tantalum capacitor may be
damaged by heat.

Flexible Circuit Board Repairing

- Keep the temperature of soldering iron around 270°C during
repairing.

' Do not touch the soldering iron on the same conductor of the
circuit board (within 3 times).

- Be careful not to apply force on the conductor when soldering
or unsoldering.

Flexible Circuit Board Repairing

SAFETY-RELATED COMPONENT WARNING !!

COMPONENTS IDENTIFIED BY MARK A OR DOTTED LINEWITH
MARK A ON THE SCHEMATIC DIAGRAMS AND IN THE PARTS
LIST ARE CRITICAL TO SAFE OPERATION. REPLACE THESE
COMPONENTS WITH SONY PARTSWHOSE PART NUMBERS AP-
PEAR AS SHOWN INTHIS MANUAL OR IN SUPPLEMENTS PUB-
LISHED BY SONY.

ATTENTION AU COMPOSANT AYANT RAPPORT
A LA SECURITE!

LES COMPOSANTS IDENTIFES PAR UNE MAROUE A SUR LES
DIAGRAMMES SCHEMATIQUES ET LA LISTE DES PIECES SONT
CRITIQUES POUR LA SECURITE DE FONCTIONNEMENT. NE
REMPLACER CES COMPOSANTS QUE PAR DES PIESES SONv
DONT LES NUMEROS SONT DoNNEs DANS CE MANUEL ou
DANS LES SUPPEMENTS PUBLIES PAR SONY.

TABLE OF CONTENTS
1. GENERAL .......................................................................... 2
2. SERVICING NOTES ........................................................ 3
3. DISASSEMBLY

37]. Cover
32. Chass
3.3_ TX Board .....
34. LED Board, AMP Board.

4.TEST MODE ...................................................................... 11
5. ELCTORICAL AJUSTMENT ......................................... 12
6. DIAGRAMS

6e]. Explanation of IC Terminal
6-2. Block Diagram (1/2) 7
63. Block Diagram (2/2) 7
64. Printing Wirning Board 7 LED Section
66. Schematic Diagram 7 LED Section 7.
6-6. Printed Wiring Board 7 TX Section 7.
677. Schematic Diagram 7 TX Section (1/4)
6%. Schematic Diagram 7 TX Section (2/4)
6). Schematic Diagram 7 TX Section (3/4) .
6-10. Schematic Diagram 7 TX Section (4/4) 7

7. EXPLODED VIEWS ........................................................ 29

8. ELECTRICAL PARTS LIST ........................................ 30

SECflON1
GENERAL

LOCATING THE CONTROLS

m DIGITAL 1,2 input indicator
ANALOG input Indicator
INPUT button
Pie\\ to tetect the input \ource (DIGITAL
l/DlGl'lAL 2/ANALoGi
Q POWER indicator
'l int tndtettor it ghh green when you
turn on the pmcexstu
POWER switch
Pteo to turn on and oft the prtteestor
CINEMA 1,2 indicator
MUSIC Indicator
EFFECT buttontsce page 20 for
details)
lie\\ to \elecl the sound field (CINEMA
l/ClNhMA Z/MUSICI
Decode mode indicatortsee page
19 rot aetntis)
E PHONES jackscc page 20. 24 tor
dct I<)
c ct your heudphtine\ to this tuck
ct the MDK7H hetdphone (\tiid
\eparttlely) for optintnnt ntrronnti eitet-t
@ PHONES 7 LEVEL control
rum to adjust the volume oi the
hendphonm mitt tepurateiyi connected
to the PHON ES tack
OUTPUT button
1 Pie\\ to teiect the output tnotte tOFF/
vuu UAL PRUNl lVlR l'LiAL
SURROUN D)
Inlrared emitter

Front Panel of the
Processor

I E E

Set the emitter in u ponttnn m thut there
[3 u u «might. nnohtttueteti pttth to the
temor

This section is extracted from
instruction manual.

m DIGITAL IN 1,2 Jack(scc page t3 rot
Rear Panel of the denim

Processor connect i mp pt.y

Dtgttni B tldcihung eIiue Recetter.
LD pinyer. or other LI . ornponent
mitt \epnttehi to this tech

E] ATT (attenuator) switch
Set this \wllCII to Haiti when the roiutne u
too low in analogue tnptu Normally. thu
twtteh should he set to 7XLIB

E] LINE IN iacktscc page rot-detain)
Connect the ttntho output iuck on ntuito/
video equipment (mid \epnritehi. \ucit
or i video Cilhetle player or TV, to lhi\
Jack

E] DC IN lack
Connect the otpohed Ac ptiwei adaptor
to tho rich use one to the the tupohett
AC power adaptor chug pioducts with
tittierent plug poiinty or other
ehrtttctemttct etn chute it tnaitttnctton I

IV.