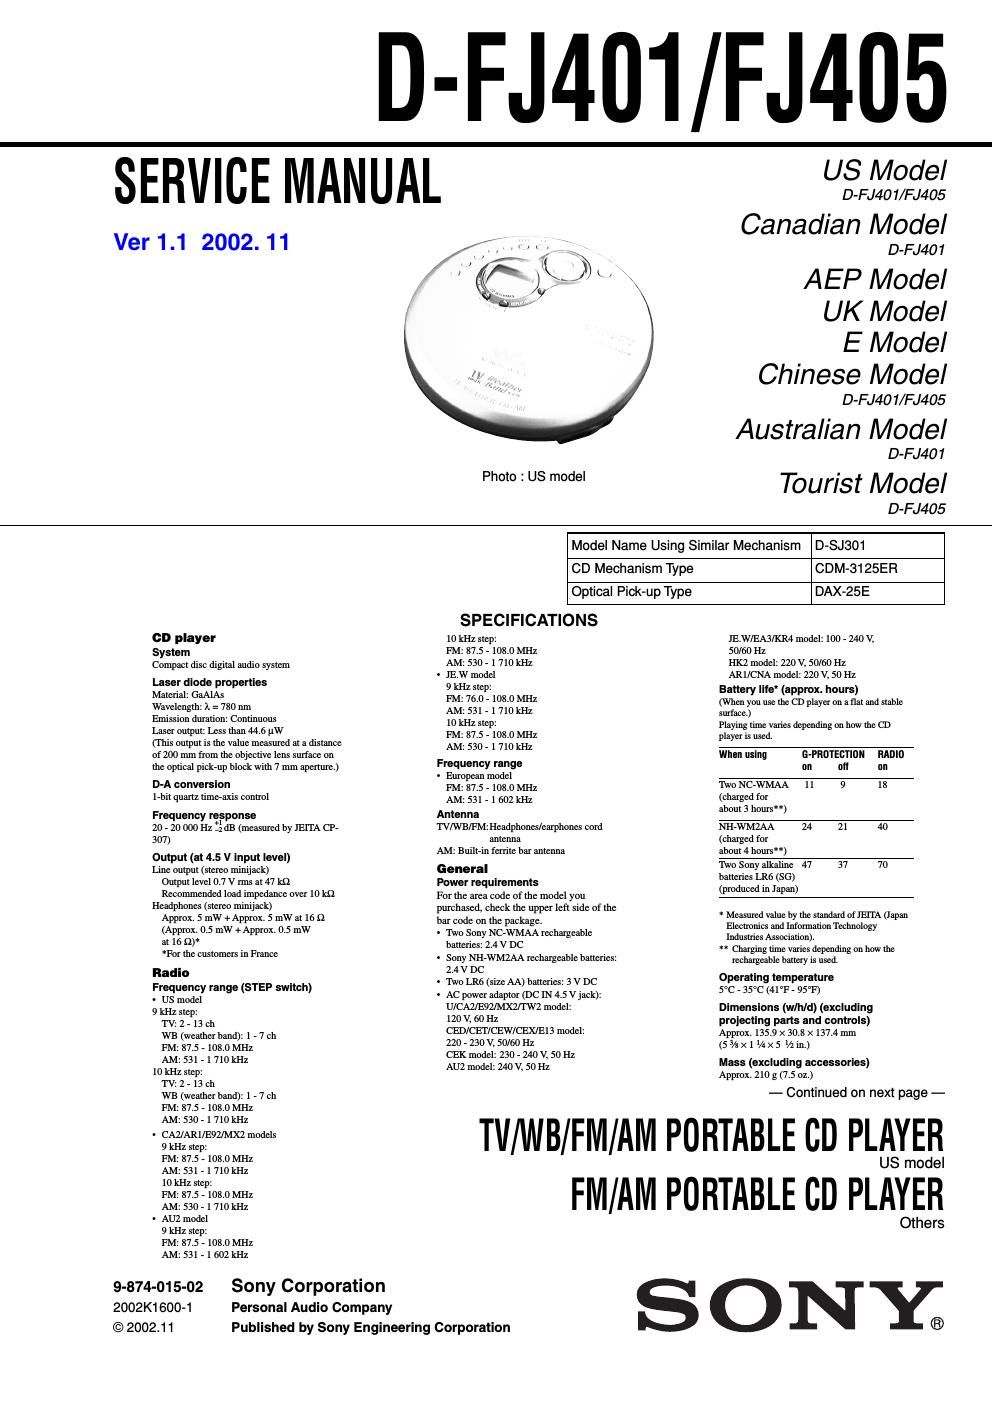
Sony d fj 401 service manual

This is the 34 pages manual for sony d fj 401 service manual.
Read or download the pdf for free. If you want to contribute, please mail your pdfs to info@audioservicemanuals.com.

Page: 1 / 34
left right
sony d fj 401 service manual

Extracted text from sony d fj 401 service manual (Ocr-read)


Page 1

2 SAFETY-RELATED COMPONENT WARNING!! COMPONENTS IDENTIFIED BY MARK 0 OR DOTTED LINE WITH MARK 0 ON THE SCHEMATIC DIAGRAMS AND IN THE PARTS LIST ARE CRITICAL TO SAFE OPERATION. REPLACE THESE COMPONENTS WITH SONY PARTS WHOSE PART NUMBERS APPEAR AS SHOWN IN THIS MANUAL OR IN SUPPLEMENTS PUBLISHED BY SONY. ATTENTION AU COMPOSANT AYANT RAPPORT ร- LA Sร‰CURITร‰! LES COMPOSANTS IDENTIFร‰S PAR UNE MARQUE 0 SUR LES DIAGRAMMES SCHร‰MATIQUES ET LA LISTE DES PIรˆCES SONT CRITIQUES POUR LA Sร‰CURITร‰ DE FONCTIONNEMENT. NE REMPLACER CES COMPOSANTS QUE PAR DES PIรˆSES SONY DONT LES NUMร‰ROS SONT DONNร‰S DANS CE MANUEL OU DANS LES SUPPร‰MENTS PUBLIร‰S PAR SONY. D-FJ401/FJ405 Flexible Circuit Board Repairing -Keep the temperature of the soldering iron around 270ยฐC during repairing. -Do not touch the soldering iron on the same conductor of the circuit board (within 3 times). -Be careful not to apply force on the conductor when soldering or unsoldering. Notes on chip component replacement -Never reuse a disconnected chip component. -Notice that the minus side of a tantalum capacitor may be dam- aged by heat.This Compact Disc player is classified as a CLASS 1 LASER product. The CLASS 1 LASER PRODUCT label is located on the rear exterior. CAUTION Use of controls or adjustments or performance of procedures other than those specified herein may result in hazardous radiation exposure. Laser component in this product is capable of emitting radiation exceeding the limit for Class 1. DANGER Invisible laser radiation when open and interlock failed or defeated. Avoid direct exposure to beam. - Abbreviation D-FJ405 D-FJ401 Supplied accessories For the area code of the location in which you purchased the CD player, check the upper left side of the bar code on the package. AC power adaptor (1) aa Headphones/earphones with a*1 a remote control (1) Headphones/earphones (1) a*2 -“ Rechargeable batteries (2) -“ a Battery carrying case (1) -“ a AC plug adaptor (1) -“ a*3 *1Supplied with AR1 model only *2Not supplied with AR1 model *3Supplied with JE.W model only For US customers The AC power adaptor supplied is not intended to be serviced. Should the AC power adaptor cease to function in its intended manner, during the warranty period, the adaptor should be returned to your nearest Sony Service Center or Sony Authorized Repair Center for replacement, or after warranty period, it should be discarded. AR1 : Argentine model AU2 : Australian model CA2 : Canadian model CAN : Chinese model CED : AEP model CEK : UK model CET : East European and Russian models CEW : France model CEX : France model E13 : 220-230V AC area in E model E92 : 120V AC area in E model EA3 : Saudi Arabia model HK2 : Hong Kong model JE.W : Tourist model KR4 : Korean model MX2 : Mexican model TW2 : Taiwan model U : US model Design and specifications are subject to change without notice. On AC power adaptor -Use only the AC power adaptor supplied or recommended in Accessories (supplied/ optional). Do not use any other AC power adaptor. It may cause a malfunction. Polarity of the plug -When disconnecting the AC power adaptor from the AC outlet, grasp the adaptor itself. Do not pull it by the cord. -Do not touch the AC power adaptor with wet hands.

Page 2

3 D-FJ401/FJ405 The laser diode in the optical pick-up block may suffer electrostatic breakdown because of the potential difference generated by the charged electrostatic load, etc. on clothing and the human body. During repair, pay attention to electrostatic breakdown and also use the procedure in the printed matter which is included in the repair parts. The flexible board is easily damaged and should be handled with care. NOTES ON LASER DIODE EMISSION CHECK The laser beam on this model is concentrated so as to be focused on the disc reflective surface by the objective lens in the optical pick-up block. Therefore, when checking the laser diode emission, observe from more than 30cm away from the objective lens. Before Replacing the Optical pick-up Block Please be sure to check thoroughly the parameters as per the Optical pick- up Block Checking Procedure (Part No. : 9-960-027-11) issued separately before replacing the optical Pick-up block. Note and specifications required to check are given below. - FOK output : IC601 yg pin (TP610) When checking FOK, remove the lead wire to disc motor. - RF signal P-to-P value : 0.4 to 0.5Vp-p SECTION 1 SERVICING NOTES Laser Diode Checking Methods During normal operation of the equipment, emission of the laser diode is prohibited unless the upper panel is closed while turning ON the S801 (push switch type). The following two checking methods for the laser diode are operable. Method : Emission of the laser diode is visually checked. 1. Open the upper lid. 2. Push the S801 as shown in Fig. 1 . 3. Check the object lens for confirming normal emission of the laser diode. If not emitting, there is a trouble in the automatic power control circuit or the optical pick-up. During normal operation, the laser diode is turned ON about 2.5 seconds for focus searching. NOTES ON HANDLING THE OPTICAL PICK-UP BLOCK OR BASE UNIT Fig.1 Method to push S801 TABLE OF CONTENTS S801 1. SERVICING NOTES ยทยทยทยทยทยทยทยทยทยทยทยทยทยทยทยทยทยทยทยทยทยทยทยทยทยทยทยทยทยทยทยทยทยทยทยทยทยทยทยทยทยทยทยทยทยทยทยทยทยทยทยทยทยทยท 3 2. GENERAL ยทยทยทยทยทยทยทยทยทยทยทยทยทยทยทยทยทยทยทยทยทยทยทยทยทยทยทยทยทยทยทยทยทยทยทยทยทยทยทยทยทยทยทยทยทยทยทยทยทยทยทยทยทยทยทยทยทยทยทยทยทยทยทยทยทยทยทยทยทยทยทยทยทยท 4 3. DISASSEMBLY ยทยทยทยทยทยทยทยทยทยทยทยทยทยทยทยทยทยทยทยทยทยทยทยทยทยทยทยทยทยทยทยทยทยทยทยทยทยทยทยทยทยทยทยทยทยทยทยทยทยทยทยทยทยทยทยทยทยทยทยทยทยทยทยท 6 3-1. Cabinet (Middle) Sub Assy, Upper Lid Assy, MAIN PC Board Assy ยทยทยทยทยทยทยทยทยทยทยทยทยทยทยทยทยทยทยทยทยทยทยทยทยทยทยทยทยทยทยทยทยทยทยทยทยทยทยทยทยทยทยทยทยทยทยทยทยทยทยท 6 3-2. MD Assy (CDM-3125ER) ยทยทยทยทยทยทยทยทยทยทยทยทยทยทยทยทยทยทยทยทยทยทยทยทยทยทยทยทยทยทยทยทยทยทยทยทยทยทยทยทยทยทยทยท 6 3-3. Turn Table Motor Assy ยทยทยทยทยทยทยทยทยทยทยทยทยทยทยทยทยทยทยทยทยทยทยทยทยทยทยทยทยทยทยทยทยทยทยทยทยทยทยทยทยทยทยทยทยทยทยทยทยทยท 7 3-4. Sled Motor Assy, Optical Pick-up (DAX-25E) ยทยทยทยทยทยทยทยทยทยทยทยทยท 7 3-5. Switch Unit, Lid Cover ยทยทยทยทยทยทยทยทยทยทยทยทยทยทยทยทยทยทยทยทยทยทยทยทยทยทยทยทยทยทยทยทยทยทยทยทยทยทยทยทยทยทยทยทยทยทยทยทยทยท 7 4. ELECTRICAL ADJUSTMENTS ยทยทยทยทยทยทยทยทยทยทยทยทยทยทยทยทยทยทยทยทยทยทยทยทยทยทยทยทยทยทยทยทยท 8 5. DIAGRAMS ยทยทยทยทยทยทยทยทยทยทยทยทยทยทยทยทยทยทยทยทยทยทยทยทยทยทยทยทยทยทยทยทยทยทยทยทยทยทยทยทยทยทยทยทยทยทยทยทยทยทยทยทยทยทยทยทยทยทยทยทยทยทยทยทยทยทยทยทยทยทยทยท 9 5-1. Block Diagrams ยทยทยทยทยทยทยทยทยทยทยทยทยทยทยทยทยทยทยทยทยทยทยทยทยทยทยทยทยทยทยทยทยทยทยทยทยทยทยทยทยทยทยทยทยทยทยทยทยทยทยทยทยทยทยทยทยทยทยท 10 5-2. Printed Wiring Board -“ Side A -“ ยทยทยทยทยทยทยทยทยทยทยทยทยทยทยทยทยทยทยทยทยทยทยทยทยทยทยทยทยทยทยทยท 12 5-3. Printed Wiring Board -“ Side B -“ ยทยทยทยทยทยทยทยทยทยทยทยทยทยทยทยทยทยทยทยทยทยทยทยทยทยทยทยทยทยทยทยท 13 5-4. Schematic Diagram -“ Tuner Section (1/2) -“ ยทยทยทยทยทยทยทยทยทยทยทยทยทยท 14 5-5. Schematic Diagram -“ Tuner Section (2/2) -“ ยทยทยทยทยทยทยทยทยทยทยทยทยทยท 15 5-6. Schematic Diagram -“ CD Section (1/3) -“ ยทยทยทยทยทยทยทยทยทยทยทยทยทยทยทยทยทยท 16 5-7. Schematic Diagram -“ CD Section (2/3) -“ ยทยทยทยทยทยทยทยทยทยทยทยทยทยทยทยทยทยท 17 5-8. Schematic Diagram -“ CD Section (3/3) -“ ยทยทยทยทยทยทยทยทยทยทยทยทยทยทยทยทยทยท 18 5-9. IC Pin Function Descriptions ยทยทยทยทยทยทยทยทยทยทยทยทยทยทยทยทยทยทยทยทยทยทยทยทยทยทยทยทยทยทยทยทยทยทยทยทยทยท 19 5-10. IC Block Diagrams ยทยทยทยทยทยทยทยทยทยทยทยทยทยทยทยทยทยทยทยทยทยทยทยทยทยทยทยทยทยทยทยทยทยทยทยทยทยทยทยทยทยทยทยทยทยทยทยทยทยทยทยทยทยท 23 6. EXPLODED VIEWS ยทยทยทยทยทยทยทยทยทยทยทยทยทยทยทยทยทยทยทยทยทยทยทยทยทยทยทยทยทยทยทยทยทยทยทยทยทยทยทยทยทยทยทยทยทยทยทยทยทยทยทยทยทยท 24 6-1. Cabinet Upper Section ยทยทยทยทยทยทยทยทยทยทยทยทยทยทยทยทยทยทยทยทยทยทยทยทยทยทยทยทยทยทยทยทยทยทยทยทยทยทยทยทยทยทยทยทยทยทยทยทยท 24 6-2. Cabinet Lower Section ยทยทยทยทยทยทยทยทยทยทยทยทยทยทยทยทยทยทยทยทยทยทยทยทยทยทยทยทยทยทยทยทยทยทยทยทยทยทยทยทยทยทยทยทยทยทยทยท 25 6-3. Optical Pick-up Section (CDM-3125ER) ยทยทยทยทยทยทยทยทยทยทยทยทยทยทยทยทยทยทยทยท 26 7. ELECTRICAL PARTS LIST ยทยทยทยทยทยทยทยทยทยทยทยทยทยทยทยทยทยทยทยทยทยทยทยทยทยทยทยทยทยทยทยทยทยทยทยทยทยทยท 27