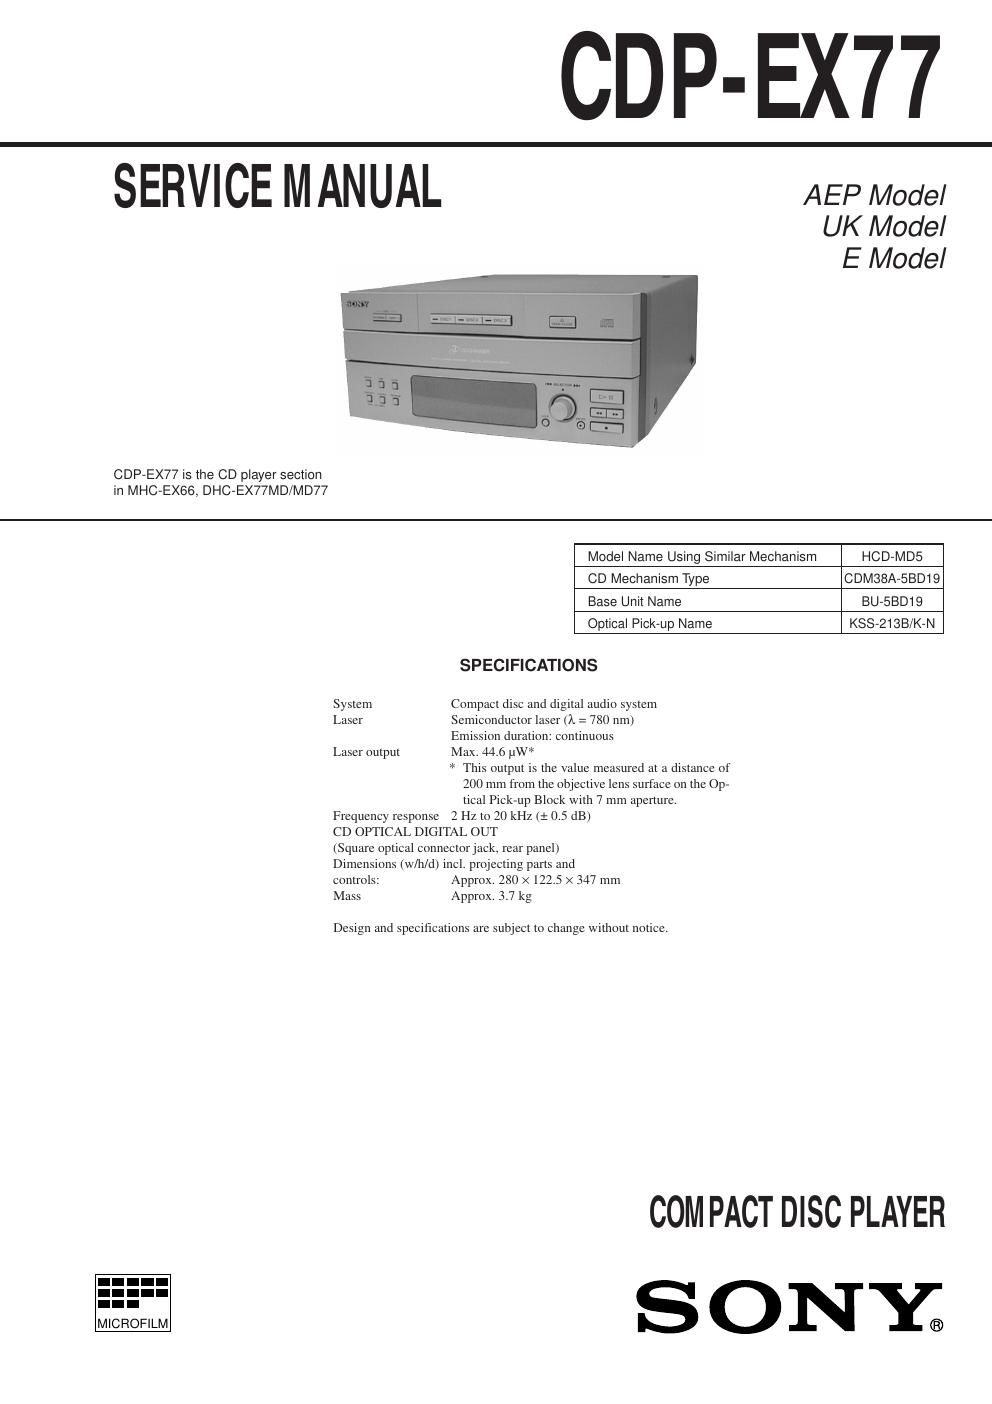
Sony cdp ex 77 service manual

This is the 36 pages manual for sony cdp ex 77 service manual.
Read or download the pdf for free. If you want to contribute, please mail your pdfs to info@audioservicemanuals.com.

Page: 1 / 36
left right
sony cdp ex 77 service manual

Extracted text from sony cdp ex 77 service manual (Ocr-read)


Page 1

Ð 2 Ð TABLE OF CONTENTS 1. SERVICING NOTES 1-1. Power Supply During Servicing ...................................... 3 1-2. Fluorescent Indicator Tube/Key Check Mode ................. 3 2. GENERAL ................................................................... 4 3. DISASSEMBLY .......................................................... 9 4. ELECTRICAL ADJUSTMENTS ......................... 14 5. DIAGRAMS ................................................................ 16 5-1. Printed Wiring Board Ð BD Section Ð ............................. 17 5-2. Schematic Diagram Ð BD Section Ð ................................ 19 5-3. Schematic Diagram Ð MAIN/PANEL/MOTOR Section Ð .............................. 23 5-4. Printed Wiring Boards Ð MAIN/PANEL/MOTOR Section Ð .............................. 27 5-5. IC Pin Function Description ............................................ 34 6. EXPLODED VIEWS ................................................ 36 7. ELECTRICAL PARTS LIST ................................ 41 NOTES ON HANDLING THE OPTICAL PICK-UP BLOCK OR BASE UNIT The laser diode in the optical pick-up block may suffer electro- static break-down because of the potential difference generated by the charged electrostatic load, etc. on clothing and the human body. During repair, pay attention to electrostatic break-down and also use the procedure in the printed matter which is included in the repair parts. The flexible board is easily damaged and should be handled with care. NOTES ON LASER DIODE EMISSION CHECK The laser beam on this model is concentrated so as to be focused on the disc reflective surface by the objective lens in the optical pick-up block. Therefore, when checking the laser diode emis- sion, observe from more than 30 cm away from the objective lens. This appliance is classified as a CLASS 1 LASER product. The CLASS 1 LASER PRODUCT MARKING is located on the rear exterior. Laser component in this product is capable of emitting radiation exceeding the limit for Class 1. The following caution label is located inside the unit. LASER DIODE AND FOCUS SEARCH OPERATION CHECK Carry out the ÒS curve checkÓ in ÒCD section adjustmentÓ and check that the S curve waveforms is output three times. CAUTION Use of controls or adjustments or performance of procedures other than those specified herein may result in hazardous radiation exposure. Notes on chip component replacement ·Never reuse a disconnected chip component. ·Notice that the minus side of a tantalum capacitor may be dam- aged by heat. Flexible Circuit Board Repairing ·Keep the temperature of the soldering iron around 270 ûC dur- ing repairing. ·Do not touch the soldering iron on the same conductor of the circuit board (within 3 times). ·Be careful not to apply force on the conductor when soldering or unsoldering. SAFETY-RELATED COMPONENT WARNING!! COMPONENTS IDENTIFIED BY MARK ! OR DOTTED LINE WITH MARK ! ON THE SCHEMATIC DIAGRAMS AND IN THE PARTS LIST ARE CRITICAL TO SAFE OPERATION. REPLACE THESE COMPONENTS WITH SONY PARTS WHOSE PART NUMBERS APPEAR AS SHOWN IN THIS MANUAL OR IN SUPPLEMENTS PUBLISHED BY SONY.

Page 2

Ð 3 Ð SECTION 1 SERVICING NOTES 1-1. Power Supply During Servicing This unit is not able to operate on its own because it does not have its own power supply. During servicing, connect to other units. Power is supplied when the SYSTEM POWER button of the amplifier (TA-EX66/EX77) is turned ON. If the other units are not available, use a service box (PFJ-1) and jig (J-2501-078-A). In this case, press the STOP button and TIME button simultaneously to turn on the power. [Connection Diagram] FH-E939, 838, 937 CDP/TC POWER SW SERVICE BOX (PFJ-1) JIG (J-2501-078-A) CN904 17P CN902 7P CORD WITH CONNECTOR 17 P (Provided with PFJ-1)CORD WITH CONNECTOR 7 P (Provided with unit)CN101 7P SYSTEM CONTROL UNIT (CDP-EX77) 1-2. Fluorescent Indicator Tube/Key Check Mode After turning on the power, press the STOP button, TIME button, and DISC 1 button simultaneously to perform the Fluorescent indi- cator tube check. The steps of the Fluorescent Indicator Tube check mode will proceed onto the next one by the above multiple pressing. During the Fluorescent Indicator Tube check mode, press any button or rotate the selector knob to set the key check mode. To end the mode, press the above three buttons simultaneously. Note 1)When the three buttons pressed to enter the Fluorescent Indicator Tube all lit mode are released together, the Fluorescent Indica- tor Tube all lit mode will remain on. When released separately, the key check mode will be set soon after the Fluorescent Indicator Tube all lit mode. In Òmultiple pressingÓ, if the three buttons are pressed and released together, the next mode will be set. If not, the key check mode will be set. Note 2)In the key check mode, each time the button is pressed, the ÒKEY=Ó number on the Fluorescent indicator tube increases. When the SELECTOR knob is rotated, the ÒKEY=Ó number on the Fluorescent indicator tube increases in the + direction and de- creases in the Ð direction. Fluorescent Indicator Tube all lit mode Multiple pressing Segment pattern 1 mode Multiple pressing Segment pattern 2 mode Multiple pressing End of test mode Key check mode Press any key or roted the SELECTOR kno b Multiple pressing