Shure sr 107 service manual

This is the 20 pages manual for shure sr 107 service manual.
Read or download the pdf for free. If you want to contribute, please mail your pdfs to info@audioservicemanuals.com.

Page: 1 / 20
left right
shure sr 107 service manual

Extracted text from shure sr 107 service manual (Ocr-read)


Page 1

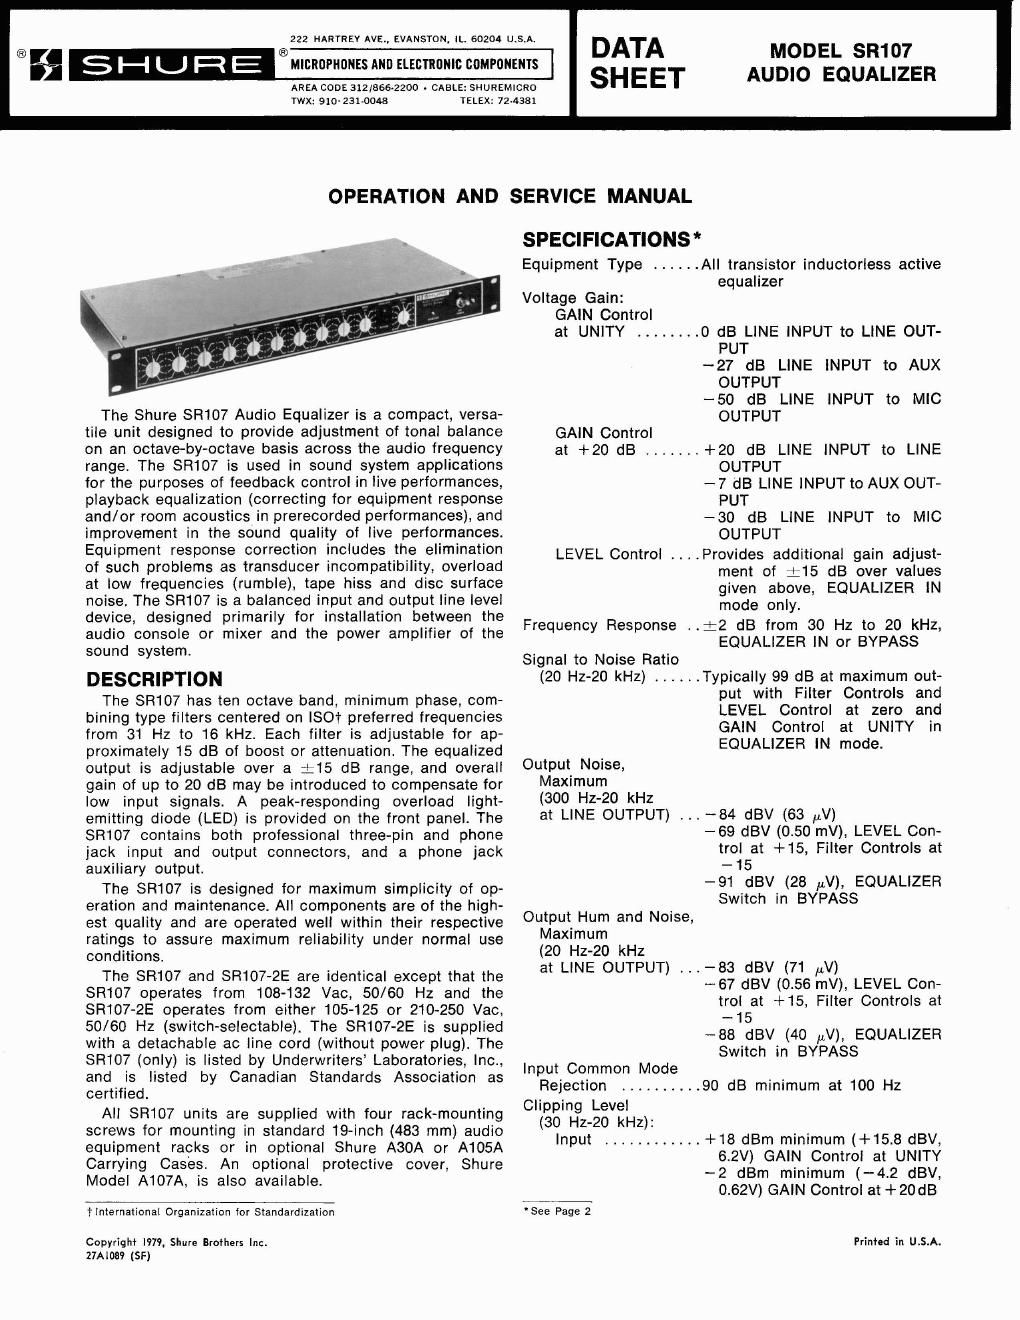
I 2 34 5 6 FIGURE 1. SR107 FRONT PANEL Output ........... +18 dBm minimum (+15.8 dBV, Typical filter frequency re- 6.2V) at LINE OUTPUT sponse characteristics are -10.2 dBV minimum (0.31V) at shown in Figures 5A and 58. AUX OUTPUT Filters are minimum phase, -34.2 dBV minimum (19.5 mV) combining type and electrical- at MIC OUTPUT ly isolated. Overload Indicator .... Illuminates 3 dB 21.5 dB before Operating Voltage ......... output clipping occurs and Power SR107: 120 Vac t lo%, 50/60 Input Impedance ..... .70 kilohms actual, balanced Hz; 6 watts maximum bridging (for use with line lev- SR107-2E: 105-125 or 210-250 el source, 10 kilohms or less.) Vac, 50/60 Hz; 6 watts maxi- Output Impedance: mum MIC OUTPUT .... .I ohm actual, balanced (for use Accessory Power ...a -31 Vdc open circuit, 27 Vdc at with 25- to 600-ohm inputs) 10 mA, maximum LINE OUTPUT ... .I15 ohms actual, balanced (for Temperature use with 600-ohm lines) Operating ........ -7°C to 57°C (20°F to 135°F) .......... AUX OUTPUT ... .630 ohms actual, unbalanced Storage -29°C to 71°C (-2O0Fto 160°F) (for use with auxiliary circuits Dimensions ......... .44.4 mm height x 483 mm width of 600 ohms or more imped- x 218 mm depth (1-314 in. x ance) 19 in. x 8-9/16 in.) (Figure 3) .............. Distortion: Weight .3.5 kg (7 Ib, 12 oz) lntermodulation .. .0.25% max. at 12.2 dBm (3.2V) Finish ............... Matte black (LINE OUTPUT) with a 60 Hz Installation .......... .Equipped for standard 19 in. and 7.0 kHz input at a 4:l ratio (483 mm) audio rack mount- Harmonic ....... .I% max. total harmonic distor- ing; may be operated in op- tion at 12.2 dBm (3.2V) (LINE tional A30A or A105A Carrying OUTPUT), 30 Hz-20 kHz with Case (with other equipment) ........ Filter Controls at +15, GAIN Certifications .Listed by Underwriters' Labora- Control +20 dB and LEVEL tories, Inc.; listed by Canadian Control at +15 Standards Association as cer- Phase Pin 3 and tip contacts of LINE tified (SR107 only) ............... INPUT Connectors are in * Measurement conditions unless otherwise specified: Operating voltage I~OV, 60 Hz (SR107). 230V 60 Hz with VOLTAGE SELECTOR Switch in 220V posi- phase with pin of MIC/L'NE tion (~~107-2i). LI~E INPUT 7 volt at 1 kHz through 600 ohms. LlNE OUTPUT and tip contacts of OUTPUT and A'UX OUTPUT terminated in 600 ohms, MIC OUTPUT' termi- nated in 150 ohms; GAlN Control at UNITY: Filter Controls and LEVEL LlNE and AUX OUTPUT Con- control at zero; EQUALIZER Switch set to IN. nectors Equalization Filters: Center Frequencies ..... .Octave spaced from 31 Hz to 16 kHz. Accurate to within t10% of labeled value Characteristics .. .15.5 f 2 dB boost or attenuation at center frequency 6.5 t2 dB at maximum boost or attenuation at one-half octave above or below center fre- quency OPERATING INSTRUCTIONS I I I WARNING I I TO reduce the risk of fire or electric shock, do not I I expose this appliance to rain or extreme moisture. I I I Functional Description (Refer to Figures 1 and 2) 1. 31 Hz to 16 kHz Filter Controls- Provide _+I5 dB level adjustment at center frequency of each of ten octave band filters. SO/M w. 6 WLlTS 17 16 SR107-2E ONLY 15 7 8 9 10 11 12 13 14 FIGURE 2. SR107 REAR PANEL 2

Page 2

EQUALIZER IN/BYPASS Slide Switch - Disables filters and LEVEL Control in BYPASS position and returns gain of Equalizer (LINE INPUT to LlNE OUT- PUT) to value determined by rear-panel GAlN Con- trol. LEVEL Control -Operative only in EQUALIZER IN mode. Provides adjustment of Equalizer output level of +I5 dB to compensate for changes in gain re- sulting from Filter adjustments. OVERLOAD LED - Provides peak signal visual in- dication when peaks in output signal approach actual clipping level of output amplifier. POWER ON/OFF Switch - Controls ac power to unit. Power-On lndicator Lamp - Indicates ac power is being applied to unit. 30 VDC Accessory Power Jacks - Provide 31 Vdc open circuit (27 Vdc at 10 mA max.) for accessory equipment. AUX OUTPUT Phone Jack- Provides unbalanced low-impedance output for connection to audio con- sole or amplifier-mixer link input. LlNE OUTPUT Phone Jack - Provides balanced or unbalanced line level output to power amplifier. MIC/LINE Slide Switch - Connects line level or low-impedance microphone level signal to 3-pin OUTPUT Connector. OUTPUT 3-Pin Male Connector - Provides bal- anced output at either line level or low-impedance microphone level as selected by MIC/LINE switch. May be unbalanced externally. GAlN Control - Provides gain adjustment range from UNITY to +20 dB to accommodate various input and output requirements. Operates in both EQUALIZER IN and BYPASS modes. LlNE INPUT 3-Pin Female Connector - Provides balanced bridging, high-impedance input connec- tion from audio console or mixer-preamplifier. May be unbalanced externally. LlNE INPUT Phone Jack - Provides balanced or unbalanced bridging, high-impedance input con- nection from audio console or mixer-preamplifier. Ac Grounded Line Cord -Connects unit to ac power source (SR107 only). VOLTAGE SELECTOR Slide Switch - Permits se- lection of 105-125 or 210-250 Vac 50/60 Hz opera- tion (SR107-2E only). AC (MAINS) POWER 3-Pin Connector - Connects unit to ac (mains) power source via supplied line cord (SR107-2E only). General Operating Instructions The SR107 Audio Equalizer is primarily intended for connection in a sound system between the output of an audio console or mixer-preamplifier and the input to the power amplifier(s). A typical installation provides a line level input to the Equalizer and utilizes its line level out- put to drive the power amplifier. In a system using a limiter or compressor between the mixer and power am- plifier, the SR107 should be connected between the limiter or compressor and power amplifier to achieve best signal-to-noise performance. An alternate location for the SR107 is between the Link Out and Link In jacks of a console or mixer equipped with these jacks. The SR107 can provide satisfactory operation at the lower signal levels characteristic of this location and is equipped with an auxiliary output of ap- propriate level for the Link In connection. In the follow- ing general operating procedure, variations in connec- tion for Link operation are indicated where applicable. 1. Using hardware provided, install SR107 Audio Equalizer securely in standard 19 in. (483 mm) rack or optional A30A or A105A Carrying Case prior to making electrical connections. 2. Connect audio console or mixer-preamplifier line level output to SR107 LlNE INPUT 3-pin connector or phone jack (13. 14). (For Link use, connect link output of console or mixer to either SR107 LlNE INPUT Connector.) 3. Connect SR107 LlNE OUTPUT phone jack or 3-pin OUTPUT Connector (9, 11) to power amplifier input. If 3-pin connector is used, place MIC/LINE Switch in LlNE position. (For Link use, connect SR107 AUX OUTPUT (8) to link input of console or mixer.) 4. Place all Filter Controls (1) and LEVEL Control (3) in zero position. Move EQUALIZER IN/BYPASS Switch (2) to BYPASS. Set GAlN Control (12) to UNITY. (For Link use, set GAlN Control to $20 dB.) 5. SR107: Connect ac line cord (15) to grounded 108- 132V, 50/60 Hz ac source. SR107-2E: Move VOLTAGE SELECTOR Switch (16) to 115V or 220V position as appropriate. Attach suitable &pin male power plug to ac line cord and insert chassis connector into AC (MAINS) POWER Connector (17). Connect ac line cord to grounded 105-125V or 210-250V, 50/60 Hz ac source. 6. Position speakers in desired operating locations and aim for uniform coverage of audience area. Position microphones (if used) as required by per- formance or application involved. Basic precautions relative to microphone and speaker locations should be observed to reduce feedback potential. Set all tone controls in audio console or mixer to their zero or flat position. Set output phase switch (if any) to 0" or in-phase condition. 7. Apply power to sound system. Place POWER ON/ OFF Switch (5) in ON position. Power-On lndicator Lamp (6) will go on, indicating operation of unit. 8. Using voice, program material or tone generator (such as Shure Model A15TG) for input to sound system, increase console or mixer output level until SR107 OVERLOAD lndicator (4) flickers. Increase volume control on power amplifier until amplifier clipping distortion is evident. OVERLOAD lndicator now indicates onset of clipping in both SR107 and power amplifier. NOTE: This step does not apply to Link operation. 9. Using voice or program material as source, adjust console or mixer output to provide desired sound level in room. (For Link use, adjust individual chan- nel volume controls for desired mix and set to level that will cause only occasional flickering of SR107 OVERLOAD lndicator on peaks of high level pro- gram material.) If microphones are used as sound source, satisfactory sound level may not be possible due to feedback. In this case, set volume to stable point just below feedback level. 10. Operation of SR107 such that OVERLOAD lndicator flickers slightly, on only the loudest program peaks, is recommended. This will maximize signal-to-noise ratio, but will generally not result in audible distor- tion since lndicator threshold is 3 dB below actual clipping level. Operating with OVERLOAD lndicator always off may result in less than optimum signal-to-noise per- formance.