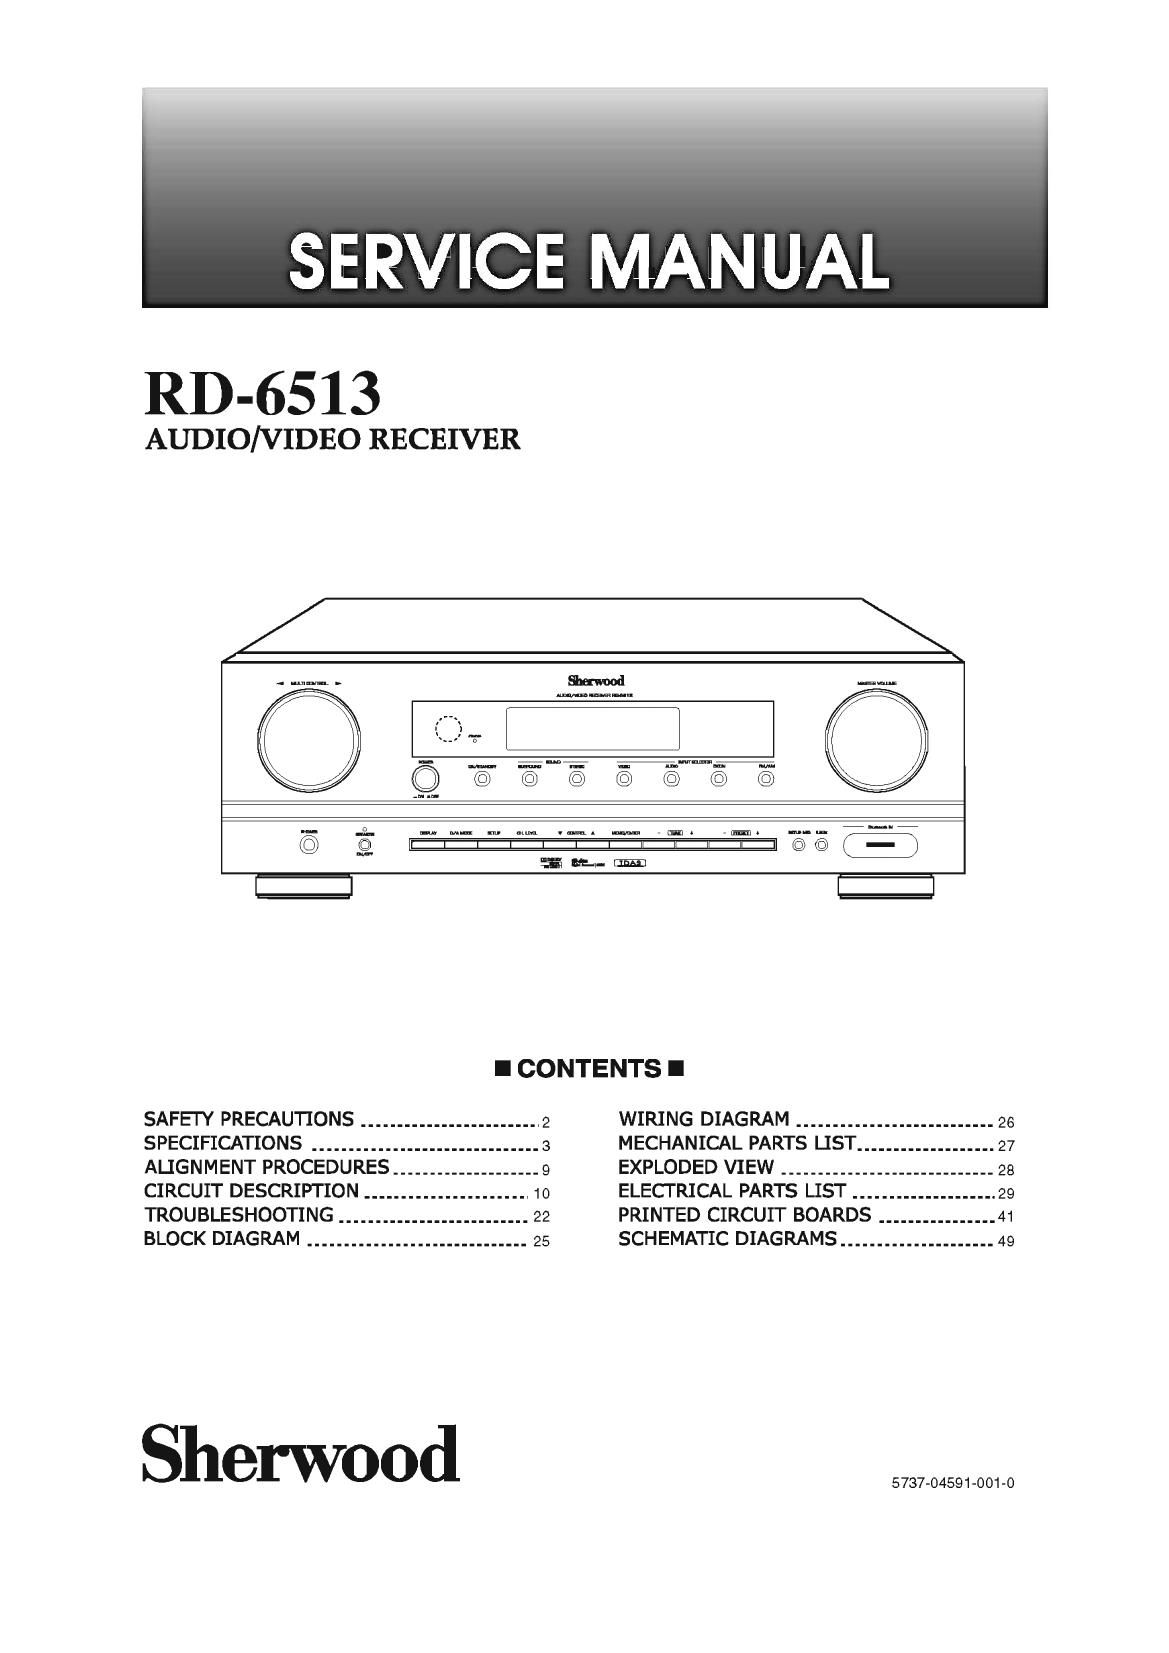
Sherwood RD 6513 Service Manual

This is the 57 pages manual for Sherwood RD 6513 Service Manual.
Read or download the pdf for free. If you want to contribute, please mail your pdfs to info@audioservicemanuals.com.

Page: 1 / 57
left right
Sherwood RD 6513 Service Manual

Extracted text from Sherwood RD 6513 Service Manual (Ocr-read)


Page 1

SERVICE MANUAL

RD-6513

AUDIO/VIDEO RECEIVER

- mm - flan-wood mm
A. mm... : >
© "6 "©- E <23: <65 555 E:
6 :6: \Imlmnl m Imml In lmll H II 253-6 E
1% ELI- 1m
l CONTENTS I

SAFEI'Y PRECAUTIONS _________________________ 2 WIRING DIAGRAM ........................... 26
SPECIFICATIONS _______________________________ 3 MECHANICAL PARTS LIST ................... 27
ALIGNMENT PROCEDURES ____________________ 9 EXPLODED VIEW ............................. 28
CIRCUIT DESCRIPTION _______________________ 1o ELECTRICAL PARTS LIST .................... 29
TROUBLESHOOTING __________________________ 22 PRINTED CIRCUIT BOARDS ................ 41
BLOCK DIAGRAM ______________________________ 25 SCHEMATIC DIAGRAMS ..................... 49

Sherwood

5737-04591-001-0

Page 2

SAFETY PRECAUTIONS

WARNING

Before servicing this unit, familiarize yourself with the following precautions:

1. Many electrical and mechanical parts in this chassis parts of the cabinet, such as terminals, screw heads,

have special safety characteristics that often pass
unnoticed and the protection afforded by them cannot
necessarily be obtained by using replacement
components rated for higher voltage, wattage, etc.
Replacement parts that have these special safety
characteristics are identified in this manual and its
supplements: electrical components having such
features are identified by A: in the schematic
diagram and the parts list.

Before replacing any of these components, read the
parts list in this manual carefully. The use of
substitute replacement parts that do not have the
same safety characteristics as specified in the parts
list may create shock, fire, or other hazards.

. Before returning the set to the customer, always do
an AC leakage current check on the exposed metal

and metal overlays, to be sure the set is safe to
operate danger of electrical shock. Plug the AC line
cord directly into a 120 V AC outlet(USA Version) or
230 V AC outlet(EU Version). (Do not use a line
isolation transformer during this check.) Be sure your
AC voltmeter has a sensitivity of 5000 0 per volt or
greater. Then connect a 1500 Q 10 watt resistor,
paralleled by a 0.15 uF 150 V AC capacitor, between
a known good earth ground(such as a water pipe, or
conduit) and the exposed metallic parts, one at a
time. Measure the AC voltage across the combination
of a 1500 Q resistor and a 0.15 pF capacitor. Reverse
the AC plug at the AC outlet and repeat AC voltage
measurements for each exposed metalic part.
Voltage measured must not exceed 0.75 V RMS. This
corresponds to 0.2 mA AC. Any value exceeding this
limit constitutes a potential shock hazard and must be
corrected immediately.

At 5000 $2 per volt or greater sensitivity,
the reading should not exceed 0.75 V.

Set

AC Outlet

0
AC Voltmeter
Good earth ground. such as
a water pipe or conduct
1500 Q
10 Watt
W
\_| _:_
0.15 uF 150 VAC.

Place the probe on each exposed metalic part.