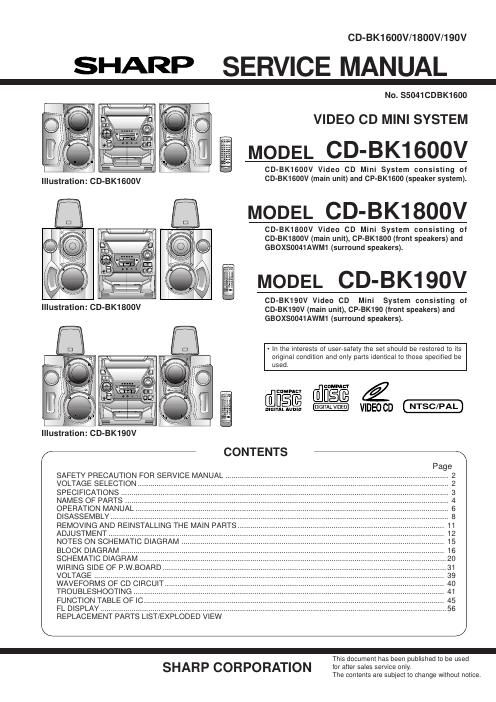
Sharp cd bk 1800 v service manual

This is the 72 pages manual for sharp cd bk 1800 v service manual.
Read or download the pdf for free. If you want to contribute, please mail your pdfs to info@audioservicemanuals.com.

Page: 1 / 72
left right
sharp cd bk 1800 v service manual

Extracted text from sharp cd bk 1800 v service manual (Ocr-read)


Page 2

CD-BK1600V/1800V/190V
SAFETY PRECAUTION FOR SERVICE MANUAL

Precaution to be taken when replacing and servicing the Laser Pickup.

The AEL (Accessible Emission Level) of Laser Power Output for this model is specified to be lower than Class 1 Requirements
However, the following precautions must be observed during servicing to protect your eyes against exposure to the Laser beam.

(1) When the cabinet has been removed, the power is turned on without a compact disc. and the Pickup is on a position outer than
the lead-in position, the Laser will light for several seconds to detect a disc. Do not look into the Pickup Lens.

The Laser Power Output of the Pickup inside the unit and replacementservice parts have already been adjusted priorto shipping.
No adjustment to the Laser Power should be attempted when replacing or servicing the Pickup.

Under no circumstances look directly into the Pickup Lens at any time.

CAUTION - Use of controls or adjustments, or performance of procedures other than those specified herein may result in
hazardous radiation exposure.

(2
(3
(4
(5

CAUTION Laser Dtode Properties
Material: GaAlAs
Wavelength. 780 nm
Emission Duration: continuous

Laser Output: max 0.6 mW
ELASS i LASER PRODUCT

APPAREIL R LASER DE CLASSE 1
PRflDUCTU LASER RE ELISE I

This Video CD Mini System is classified as a CLASS 1
LASER product.

The CLASS 1 LASER PRODUCT label is located on the
rear cover.

Use of controls. adiustments or performance at proce-
dures other than those specified herein may result in
hazardous radiation exposure.

As the laser beam used in this compact disc player is
harmlul to the eyes do not attempt to disassemble the
cabinet. Refer servicing to qualified personnel only.

«mm imNttt} LuER mum mm m,» um m MH 31st mu
1 «MKM ixmuuavw
x mm m in Orr-Mr) mm
in r um 07mm lMrtuMle

mamimiviim-uamimm mm immmm
m l mm H m w mm W): tilmkF amt-mm

VOLTAGE SELECTION

Thevoltage selector is located on the rearpanel of the unit. If adjustment is necessary, use a screwdriverin ordertoturn the selector
in either direction until the correct voltage figure is displayed in the window

QACCBOOl 2AW00 QACCA0004AW00

DIDH

D

QACCE0007AW00 QPLGAOOO3AWZZ QPLGA0004AWZZ

QACCJOOOGAWOO


D

Figure 2 AC POWER SUPPLY CORD AND PLUG ADAPTOR

-2-