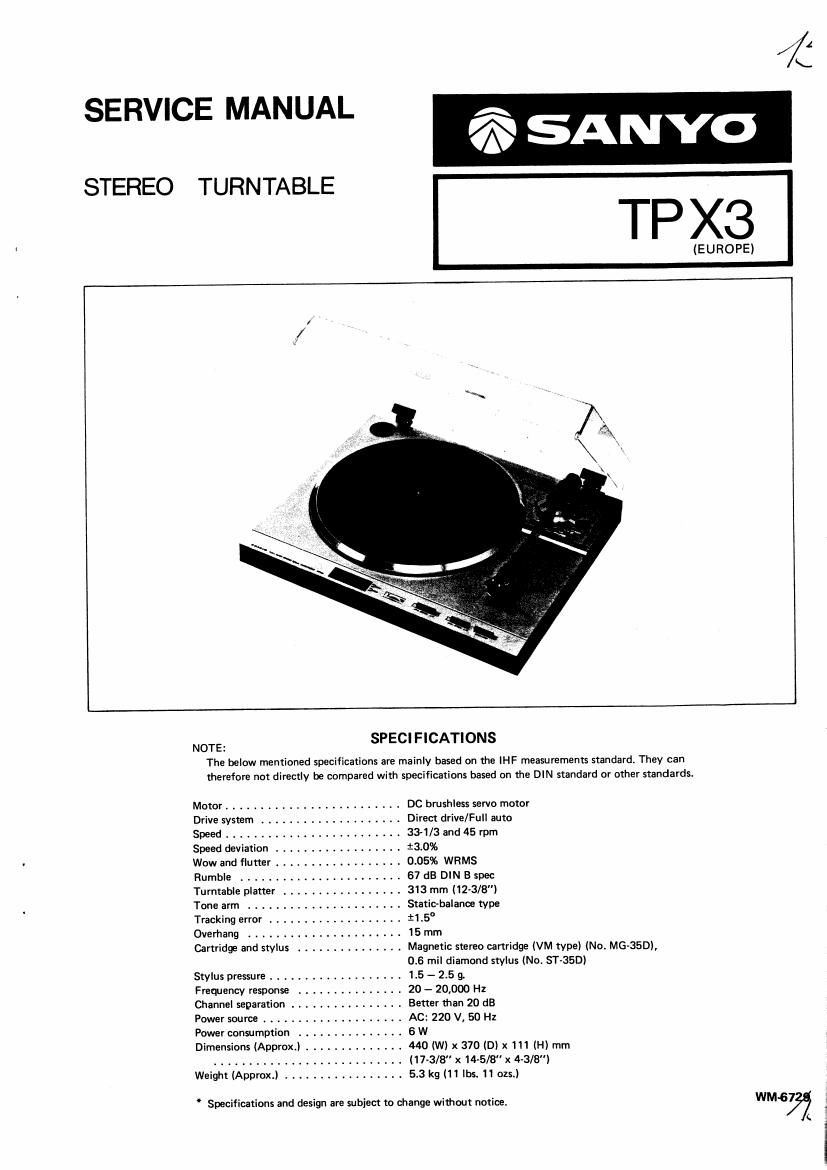
Sanyo tp x3

This is the 9 pages manual for sanyo tp x3.
Read or download the pdf for free. If you want to contribute, please mail your pdfs to info@audioservicemanuals.com.

Page: 1 / 9
left right
sanyo tp x3

Extracted text from sanyo tp x3 (Ocr-read)


Page 1

//
\.

SERVICE MANUAL A
75 SANYO

TP X3

(EUROPE)

STEREO TURNTABLE

NOTE: SPECIFICATIONS

The below mentioned specifications are mainly based on the HF measurements standard. They can
therefore not directly be compared with specifications based on the DIN standard or other standards.


Motor ......................... DC brushless servo motor
Drive system .................... Direct drive/Full auto
Speed ......................... 3134/3 and 45 rpm
Speed deviation .................. 13.0%
Wow and flutter ..... . 0.05% WRMS
Rumble 87 dB DIN B spec
Turntable platter . . 313 mm (12-3/8")
Tone arm ...................... Static-balance type
Tracking error ................... :1.5°
Overhang . . . . . 15 mm
Cartridge and stylus ............... Magnetic stereo cartridge (VM type) (No. MG»35D),
0.6 mil diamond stylus (NOV ST-35D)
Stylus pressure ................... 1.5 - 2.5 9.
Frequency response ............... 20 -- 20,000 Hz
Channel separation ................ Better than 20 dB
Power source .................... AC: 220 V, 50 Hz
Power consumption ...... 6 W
Dimensions (Approx) . . ...... 440 (W) x 370 (D) x 111 (H) mm
. ...... (17-3/8" x 1455/8" x 4-3/8)
Weight (Approx.) ................. 5.3 kg (11 lbs. 11 ozs.)

' Specifications and design are subject to change without notice. WM'537

Page 2

ADJUSTMENT

ADJUSTMENT OF HEADSHELL

The headshell attached to the tonearm should not be
inclined either to the right or to the left, If necessary, loosen
the two screws on the bottom of the tubular arm and adjust
the headshell. Be sure that the stylus is normal to the record
surface.

NOTE: Do not take out these screws.

ADJUSTMENT 0F TONE ARM SET-DOWN.

When the start/stop (START/STOP) button is pressed to start

for the automatic operation, the stylus descends automatically

and sets down on the lead-in groove of the record. Though this
adjustment has been made properly by the factory, the stylus
may set down too far inside or outside of the lead-in groove.

Therefore when mounting an alternative cartridge, if this

occurs, you can correct as follows:

NOTE: Remove the rubber cap covering the adiustmenthole
before making the adjustment. Replace it after
adjusting.

a. Be SUre the overhang and anti-skating force adjustments
have been made correctly. Also, check if the cartridge shell
has been mounted horizontally to the tone arm.

b. Place a 12" (30 cm) record on the turntable.

c. Set the speed/disc size select (SPEED) button to the "33"
position.

d. In the automatic operation, turn the adjusting screw
clockwise or counterclockwise as shown in Figure so that
the stylus tip will correctly set down on the lead-in groove
of the record.

NOTES: " If the stylus tip sets down too far inside of the
lead-in grooves, turn me adjustment screw
clockwise.

* If it sets down too far outside of the lead-in
grooves, turn it accordingly counter-clockwise.
Turning the adjustment screw too far will cause
fire arm return not to function correctly.