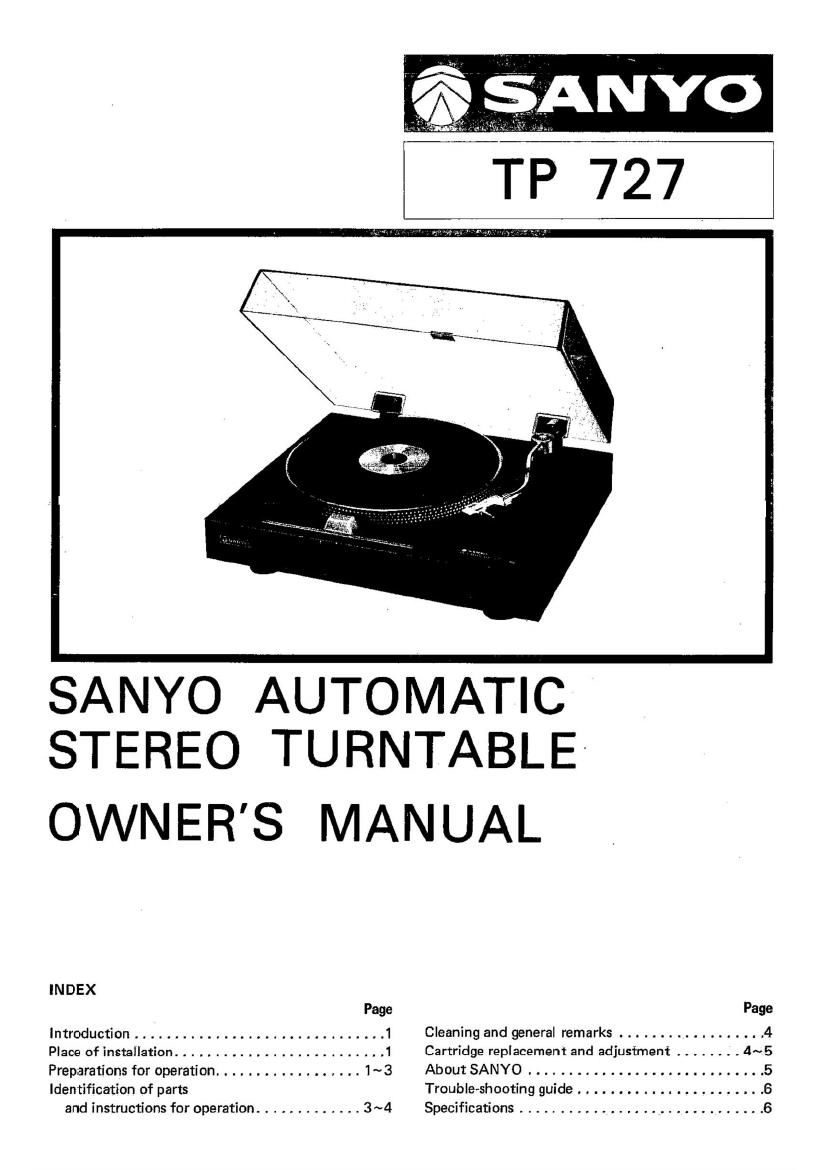
Sanyo TP 727 Owners Manual

This is the 8 pages manual for Sanyo TP 727 Owners Manual.
Read or download the pdf for free. If you want to contribute, please mail your pdfs to info@audioservicemanuals.com.

Page: 1 / 8
left right
Sanyo TP 727 Owners Manual

Extracted text from Sanyo TP 727 Owners Manual (Ocr-read)


Page 1

TP 727

SANYO AUTOMATIC
STEREO TURNTABLE-

OWNER'S MAN UAL

INDEX

Page
Introduction ............................... 1
Place of installation .......................... 1
Preparations for operation .................. 1~3

Identification of parts
and instructions for ope ration ............. 3 ~ 4

Page
Cleaning and general remarks .................. 4
Cartridge replacement and adjustment ........ 4~.5
About SANYO ............................. 5
Trouble-shooting guide ....................... 6
Specifications .............................. 6

Page 2

The SANYO Model TP 727 automatic turntable is designed for
use with your audio system. Take the time to read the instruc~
tions in this Owners Manual before setting up your unit, so
you can avoid damage due to faulty installation or operating
errors. Keep the Manual for future reference.

PLACE OF INSTALLATION

For safe and satisfactory operation, avoid the following places
when installing your unit.
O A place which is directly exposed to sunlight or is near

a source of intense heat sUCh as a stove.

0 A humid or dusty place.

0 A place where there is not sufficient ventilation for heat.
dissipation.

0 A shaky or unstable foundation.

NOTE:

(1) Noise interference may occur if your system is oper-
ated near a TV receiver during the reception of tele-
vision programs.

(2) Be sure to take power from an AC outlet.

PREPARATIONS FOR OPERATION,

l. UNPACKING AND ATTACHMENT OF DISASSEMBLED
PARTS.
Remove all the protective materials and fastening screws
used for packing the unit for shipment. Store them for
use if the unit is to be trasported again. (Fig. 1)

String for securing tomarm

Tape for securing trip

Screws for fastening transformer Voltage seIeCtor

Fig.1

' PROCEDURAL INSTRUCTIONS

(1) Remove the two screws fastening the power transformer.

(2) Screw the counterweight onto the rear end of the tonean'n
as in Fig. 2.
(The tonearrn counterweight is shipped in a plastic bag.)

(3) Peel off the tape securing the trip. Make the cutout
section of the drive gear meet the turntable shaft. Then,
push the trip in the arrow-marked direction. (Fig. 3)

(4) Be sure that a belt is attached to the turntable. Then,
put the turntable onto the turntable shaft.

(5) The drive belt can be reached through the openingin the
turntable. Put it onto the pulley, taking care not to twist
it. (Fig. 4)

(6) Place the rubber mat on the turntable.

(7) Uncle and remove the string holding the tonearm.


Fig. 2
Drive gear
Rotating
direction
v Trip
Turntable shaft
Cutout in drive gear .
Fig. 3
Turntable
Belt
Pulley
Fig. 4

0 IMPORTANT

When belting the pulley, the portion of the drive belt running
raround the belt flange of the turntable should be placed uni-
formly in the middle of the flange. Unless the belt is kept
leve1,it may run off the flange.

2. ADJUSTMENT OF TONEARM

For the best sound reproduction, the stylus must have an
optimum contact pressure. The stylus force should not be
too small nor too large. Make necessary adjustment according
to the following instructions for maximum enjoyment of
music.

0 BALANCING TONEARM

Prior to making this adjustment, lower the protective cover so
that the stylus will not be damaged by accidentally hitting
the tumtable or the tumtahle board.

Lift the tonearm off its rest. Turn the counterweight, thus
moving it in one direction or the other, until aperfect balance
is achieved or and the tonearm stays level. (Fig. 5)