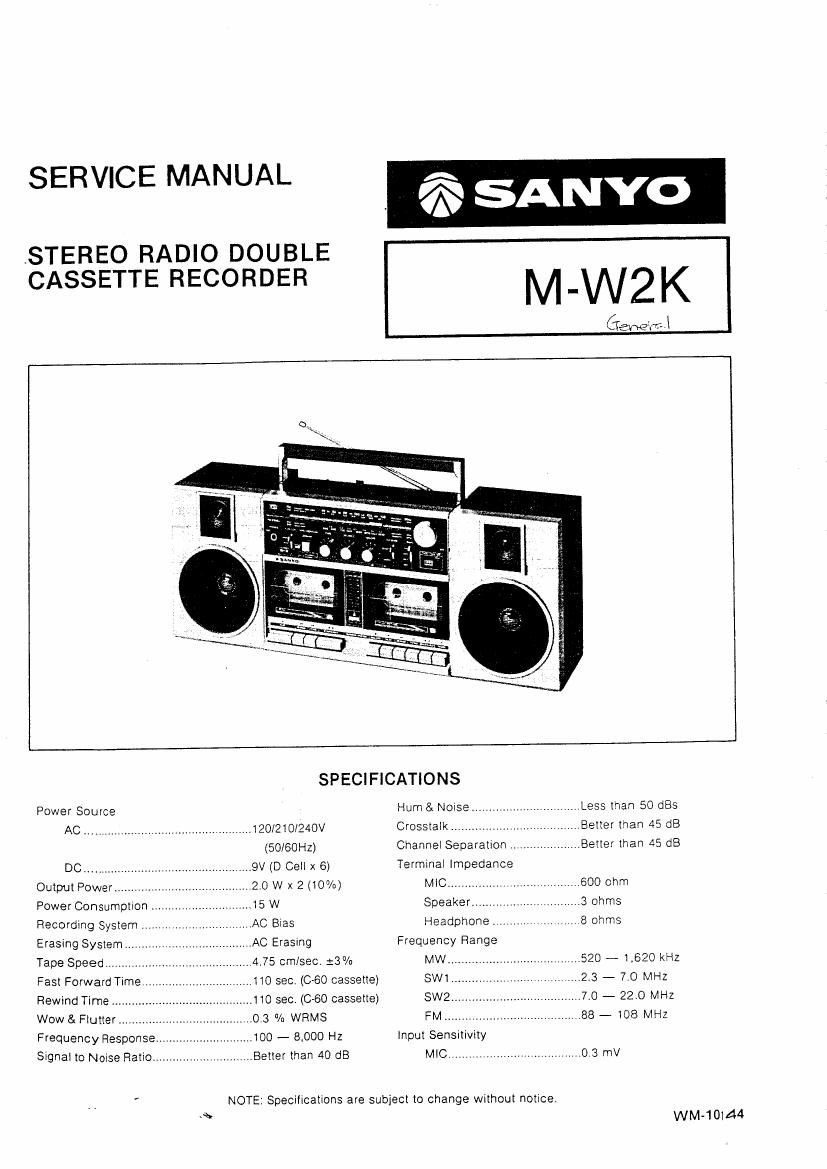
Sanyo m w2k

This is the 10 pages manual for sanyo m w2k.
Read or download the pdf for free. If you want to contribute, please mail your pdfs to info@audioservicemanuals.com.

Page: 1 / 10
left right
sanyo m w2k

Extracted text from sanyo m w2k (Ocr-read)


Page 1

SERVICE MANUAL

.STEREO RADIO DOUBLE
CASSETTE RECORDER

33 SANYO

M-W2K

63w???»

SPECIFICATiONS
Power Source Hum & Noise ................. .,.Less than 50 (185
AC ................................................ 120/210/24OV Crosstalk ................ Better than 45 dB
(SO/SOHZ) Channei Separation ,..Betier than 45 dB
DC. ....................................... 9V (D Celt x 6) Terminai Impedance
Output Power ........................................ 2.0 W x 2 (10%) MIC...
Power Consumption ................. ...15 W Speaker ,
Recording System AC Bias Headphone. 8 ohms
Erasing System ...... MAC Erasmg Frequency Range

Tape Speed ............................................ 4.75 cm/sec. 53% MW.... ...520 - 1.620 kHz
Fast Forward Tlme. ,..1i0 sec. (060 cassette) SW1 . 2.3 - 7.0 MHZ
Rewind Time . ...110 sec. (0-60 cassette) SW2 ...................................... 7.0 - 22.0 MHz
Wow&F|utter. .......................... 0.3 /n WRMS FM ........................................ 88 - 108 MHz
FreCXuency Response ............................. 100 - 8.000 H2 Input Sensitivity
Signai to Noise Ratio .............................. Better than 40 dB MIC ............................. ,,.,o 3 mV

NOTE: Specifications are subject to change without notice.

WM-10tA4

Page 2

ALIGNMENT PROCEDURES

FM ALIGNMENT

Standard test frequency 400 Hz and deviation 22.5 kHz

Connections Frequency Tuning Dial Ad R k
Step Alignment oi Signal iustment emar 5
INPUT OUTPUT Generator Setting
n
Calibration Place ouptut of :fpnfiSII $1952?
1 of gene-scope on 10 7 MHz Lowest end T1 and T2
scope to
IF TP1 TF2
10 7 MHZ
marker
2 Calibration Connect signal Connect VTVM with 87.2 MHz L3 Obtain Sine-curve
of generator to antenn 4 ohm dummy load and maxtmum amplitude.
Tuning Range terminal (J1) and OSCilioscope to h
3 through dummy speaker terminal. 108.5 MHz Highest end \_,T2 (PVC)
4 Adjustment antenna 90 MHz 90 MHz L2 Max Q
5 °f, 106 MHz 106 MHZ CT1 (PVC)
Tracking
6 Repeat the above adjustments.

" Use a screwdriver with plastic grip for all adjustment

MW ALIGNMENT Standard test frequency 400 Hz and modulation 30% at AM

Connections Frequency Tunin Dial
Step Alignment of Signal 9 Adjustment Remarks
lNFUT OUTPUT Genera), Setting
Calibration Obtain symmeircal curve
nit i
1 01 ll: Connect input and maXirnUrn amcitde
for AM Place output of .
rehescope to terminal Of 455 kHz Lowest end T3 and T4
Adjustment 3 in (ICU generscope to Max
2 of p TP2
lF Gain W
3 Calibration Connect standard 515 kHz L5 Obtain Sinerwave o' 400 Hz
of loop antenna to Connect VTVM with and maximum amplitude
A Tuning Range output of Signal 4 ohm dummy load 1660 kHz Highest end CTS 2
generator. and oscilloscope to L8 f .
, I
5 Adjustment Place bar antenna speaker terminal, 500 kHz 500 kHz (bar ant COII) Max I IVI
of 60 cm away from
6 Tracking loop antenna. 1400 kHz 1400 kHz 0T6
7 Repeat the above adjustments,
FM MPX ALIGNMENT
Connections .
Tuning Dial .
Ste ' <
p Ag"me" INPUT OUTPUT Setting Adlus'mem Remy
Connect TP2 Connect Frequency
1 .-
FM MPX 0 the GND. counter to TP3 SVRi 32:11:29 kHz on the frequency/J
SW1 ALIGNMENT
. Connections Frequency
Ste Tuning Dial
D Atignment INPUT OUTPUT of Signal Setting Adjustment i Remarks
Generator
Calibration
1 Obtain Sine-wave Ql 400m
OI Connect stgnal Connect VTVM with 2 2 MHZ LOWESI and L6 and maxrmum ampii tude
2 Tuning Range generator to 4 ohm dummy load 7 4 MHz Highest end CT3 (PVC)
3 wmmaw [mough and oscilloscope to L9
Actiustment dummy antenna E speaker 2 5 MHZ 2 5 MHZ Mar
OI terminal I
4 Trackmg V 6.5 MHz 5.5 MHz -
5 Repeat the above adiustmeng.