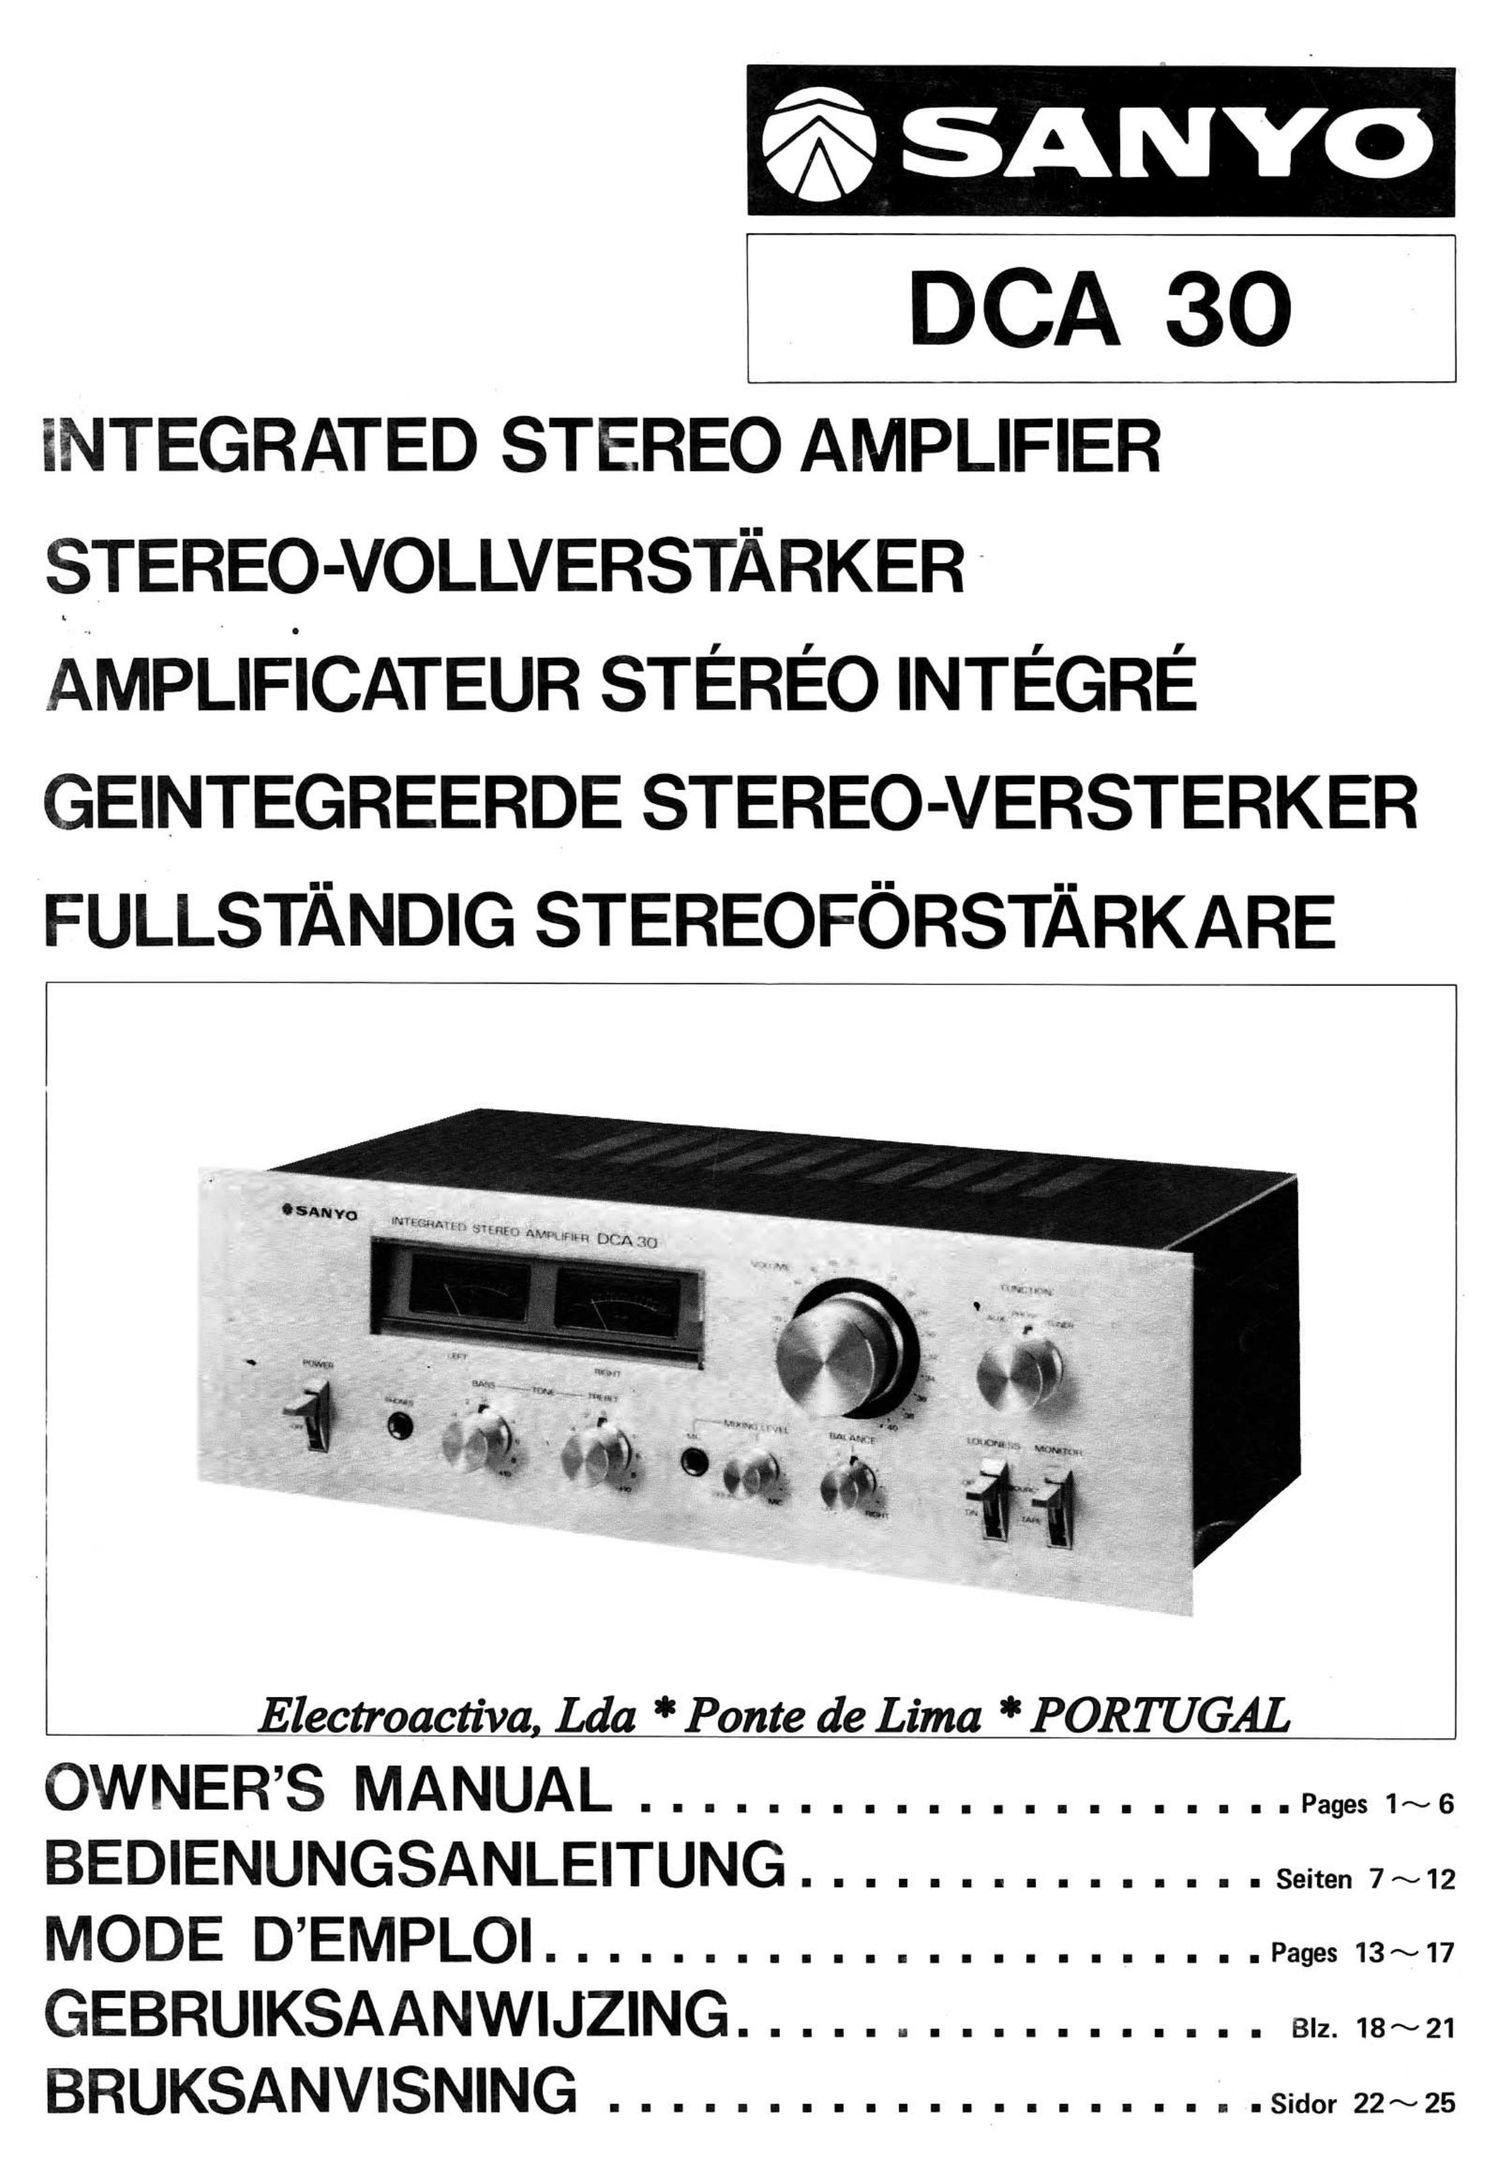
Sanyo DCA 30 Owners Manual

This is the 27 pages manual for Sanyo DCA 30 Owners Manual.
Read or download the pdf for free. If you want to contribute, please mail your pdfs to info@audioservicemanuals.com.

Page: 1 / 27
left right
Sanyo DCA 30 Owners Manual

Extracted text from Sanyo DCA 30 Owners Manual (Ocr-read)


Page 1

DCA 3O

iNTEGRATED STEREO AMPLIFIER
STEREO-VOLLVERSTARKER -
AMPLIFiCATEUR STEREO INTEGRE
GEINTEGREERDE STEREO-VERSTERKER
FULLSTISNDIG STEREOFORSTARKARE

Electroactiva, Lda * Ponte de Lima * PORTUGAL

OWNERS MANUAL ..................... pages1~s
BEDIENUNGSANLEITUNG ............... gene" 7~12
MODE DEMPLOI ....................... pages 13~17
GEBRUIKSAANWIJZING ................. 3.2. 1s~21

BRUKSANVISNING ..................... Siam 22~25

Page 2

ENGLISH

INTRODUCTION

This INTEGRATED STEREO AMPLIFIER was developed
and engineered by Sanyo to be a source of entertainment and
listening pleasure for many years to come.

Before you install and start Operating your unit, please read
the instructions in this booklet carefully. This will prevent
errors in operation and will assure faultless performance of
your unit and maximum listening enjoyment.

PREPARATION

l.
2.

3.

Unpack the unit. (Save carton and fillers for future use.)
Make all connections before inserting line cord into an AC
wall outlet.

This model has been set previously to the power line for
220 V, however it is switchable to 110 V by the switch
on rear panel.

HOW TO CONNECT INPUT/OUTPUT TERMINALS
ON REAR PANEL (Fig. 1)

1.

INPUT connections

I PHONO (Connecting turntable)

t»)

Connect the OUTPUT cables of a turntable (with magnetic

cartridge) to the jacks marked PHONO INPUT.

The upper INPUT jack is for the L (left) channel and the

lower one for the R (right) channel. Be sure to make the

correct connections.

The ground wire of the turntable should be connected

to the terminal marked GND on the amplifier.

NOTE:

(1) In some rare instances involving particular types of
turntables and cartridges, the use of a ground wire
causes a noise problem. Should this be the case, do
not make this ground connection.

(2) There are various types of cartridges for turntables.
They may differ in output voltage and impedance.

AUX

The AUX INPUT jacks are spare input jacks for use when

connecting an 8-track tape player or a second system tuner.

TUNER (Connecting tuner)

Connect the OUTPUT cables of the system tuner to the

jacks marked TUNER INPUT, matching the L (left) and

R (right) marks.

. GROUND (GND)

This terminal is provided for a connection to the system
turntable and system tuner.

. TAPE (Connecting tape deck)

Be sure to make correct connections, taking note of the
REC, P/B, L and R marks.

REC jacks (tape recording jacks)

Connect these jacks to the LINE INPUT terminals on the
system tape deck for making tape recordings.

P l B jacks (playback jacks)

Make a connection between P/ B and LINE OUTPUT of the
system tape deck for playing tapes.

. TAPE connector

The TAPE connector has the same function as the TAPE
jacks and is designed for use when connecting a tape deck
which has a socket for the DIN-type plug.

Just one patch cord with a DIN-type plug at each and
provides connectings for both recording and playback
Operations.

. PROTECTOR (Protector fuse)

Protector fuses protect your speaker and the amplifier.
If a fuse blows, turn the power switch to OFF and make
sure the speaker terminals are not shorted at the amplifier
or speaker end.

Then replace fuse with the same type fuse.

. SPEAKERS (Connecting speaker systems)

Connect to the speaker terminals marked L the speaker
system which is to be placed to the left of the amplifier
as seen from the listening position and the right channel
speaker system to those marked R.

Be careful to observe the correct polarity of the speaker
connection. The (+) and (-) poles of speakers must match
the (.+) and (-) terminals of the amplifier. (Use two-
color speaker leads for correct connection.)

If the polarity is not indicated on the speaker system,
connect them anyhow. If the sound does not come from a
point between the two speakers, and if bass response
appears insufficient, the speaker connections are out of
phase. Change the (+) and (-) connections on one of the
speakers.

CAUTION:

Be careful not to cause a short circuit between the speaker
terminals.

. AC SELECTOR switch

THIS UNIT WAS F ACTORY-ADJUSTED TO OPERATE

ON YOUR LOCAL AC VOLTAGE AS INDICATED BY

THE AC SELECTOR. TO CONVERT THE UNIT TO

110 V OR 220 V OPERATION, PROCEED AS FOLLOWS:

(1) First, disconnect the power plug from the AC wall
outlet.

(2) Remove the screw of the guide board and slide the
switch to the other setting.

(3) Secure the guide board with the other screw after
turning it in the opposite direction.

NEVER LOOSEN THE GUIDE BOARD SCREW AND

OTHER SCREW AT SAME TIME.

. AC (Power cord)

After completing the connections of all system compo-
nents, make sure that the POWER switch on the front panel
of this amplifier is set to OFF.

Then, plug the power cord into an AC wall outlet.

NOTE:

Hold the power cord by the plug when disconnecting it
from the power source. Do not pull on the cord.