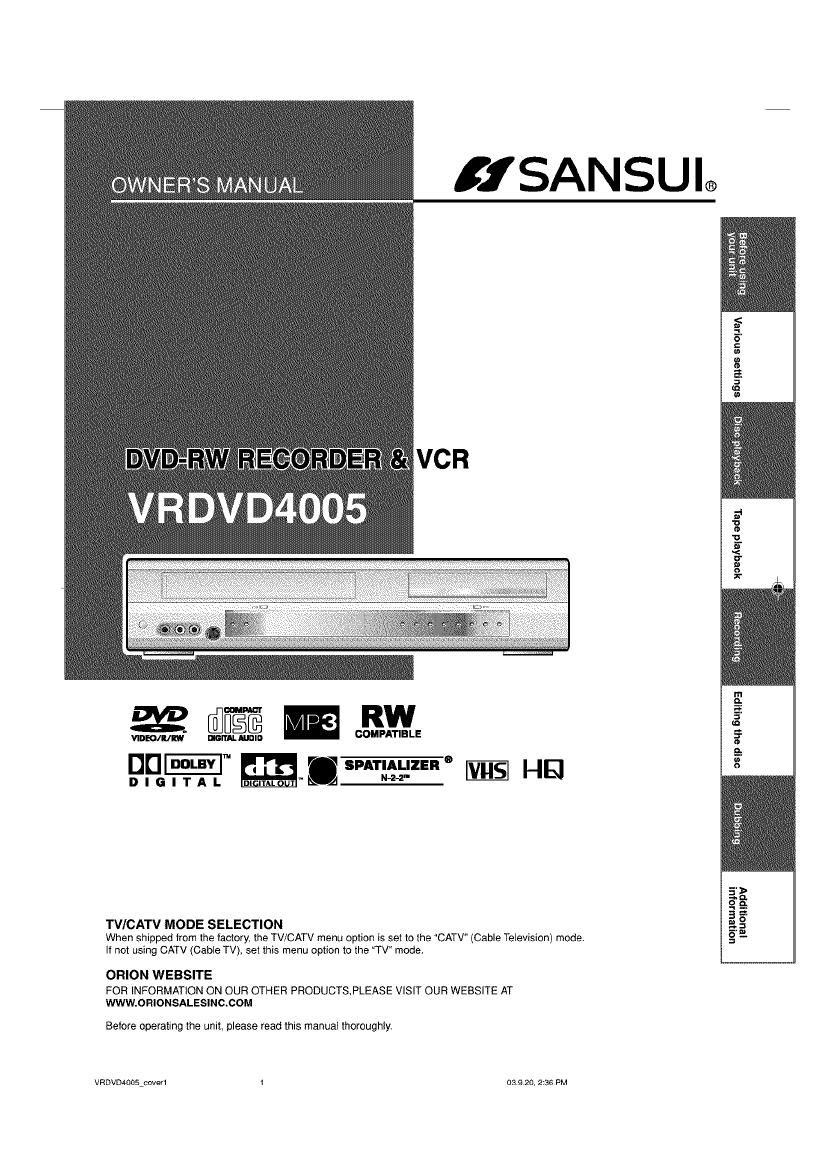
Sansui VR DVD 4005 Owners Manual

This is the 88 pages manual for Sansui VR DVD 4005 Owners Manual.
Read or download the pdf for free. If you want to contribute, please mail your pdfs to info@audioservicemanuals.com.

Page: 1 / 88
left right
Sansui VR DVD 4005 Owners Manual

Extracted text from Sansui VR DVD 4005 Owners Manual (Ocr-read)


Page 1

W '1 IISANSUI®

% gm CORMPAwTIBLE

WGEHR

TV/CATV MODE SELECTION
When shipped 1mm the factory. the TV/CATV menu option is set to the CATV" (Cable Television) model
If not using CATV (Cable TV), set this menu option to the TV" mode

ORION WEBSITE

FOR INFORMATION ON OUR OTHER PRODUCTSPLEASE VISIT OUR WEBSITE AT
WWW.ORIONSALESINC.COM

Before operating the uni! please read this manual thoroughly

VRDVDdOOSfioVsfl 1 03.9 20, 2:36 PM

nub ml
Evian was

11

W
,9.
. 8.,

' xoeqfiefiosjq sfiumassnogen

new au16umpa nova/Md adv;

uoueuuow!
ueuomPPV

Page 2

Contents

Contents ................................
Sansui Dual Deck DVD Recorder
Warranty .................................. ..
Master Protection Agreements

[Before using your unit

CAUTION .
IMPORTANT SAFEGUARDS
Disc .,.
Handling discs
Discs which can be played 556k-
Discs on which video can be recorded ..
Recording format .................
Disc playback in other players .
Parts and functions ..................
Front ..
Rear
Display window
Remote control
Power Source ..
Antenna connections .
CATV (CABLE TV) connections ...................
Connections with the TV or audio component .
Auto clock setting
Setting the video channe ..


Various settings _ _ I

SETUP MENU
Using the SETUP MENU.
Setting the language.
OSD LANGUAGE
DVD MENU ..
AUDIO u
SUBTITLE,
Setting the parental control ..
Selecting parental control
Temporarily cancelling parental control .
Setting the clock
CLOCK (manually) ..
AUTO CLOCK .....
STANDARD TIME (Time zone)


DAYLIGHT SAVING TIME 26
Setting the disc .................... .. 27
REFORMAT ............

NEW DISC FORMAT .
FINALIZE
PROTECT DISC t
UNDO FINALIZE
Other (SYSTEM SETUP) ..
DIMMER (Brightness of the display Window)
DISPLAY/CALL (Turning the screen display
ON" or OFF") .................................................... 28

2

VRDVUAOOSJOQPQT 2

Setting the screen .
TV SCREEN H
STILL MODE .
NO NOISE BACKGROUND
EXTERNAL VIDEO INPUT .....

Setting the image quality t
BRIGHTNESS

Setting the audio. .,,
DRC. H.
VIRTUAL SURROUND (Spatializer N- 2 2TM
EXTERNAL AUDIO INPUT.
SAP (Second Audio Program)

Setting the recording
INITIAL REC TO .......
INITIAL REC MODE .
AUTO CHAPTER
INDEX PICTURE ..

Setting the channel ..
TV/CATV SELECT
AUTO CH MEMORY .
ADD/DELETE (channels)

Setting other items
JPEG INTERVAL ..


| DiSc playback
Playback procedure ............
Playback by selecting a title
Checking media information
Special playback ..........
Fast forward playback ..
Review playback
Still playback ..
Frame advance ..
Slow motion playback tttttt
Locating a chapter or track .
Commercial skip ..................
Locating a specific scene
Repeat playback
One touch repeat ..
A»B repeat playback
Title, Chapter repeat playback
Title selection .


DVD menu ...... .39
Changing angles .40
Zooming .. .40

Changing soundtrack language .
Subtitles.
Turning the subtitles On and Off
Various operations on CD
MP3/WMA/JPEG playback
Progressive scan" t t.

03 9,20 2137 PM

Page 3

Contents

[raps playback r , - , : _ |

I Dfibbing

Loading and unloading a cassette tape .................. 48
Cassette tape playback .t
Special playback H
Picture search
Still picture
Slow motion ..
Frame by frame picture
Adjusting tracking condition
Repeat playback
Commercial skip
To display VCR operation status
ZERO RETURN functioant ..
Video index search system


| Recording

Read this before recording on disc H
Types ol disc .....
Recording modes
Disc remaining time
Images that cannot be recorded

Recording a TV program

One-touch Timer Recording (CTR) ..

Timer recording ............................ H

Stereo recording and playback


I Editing Ithé-diSLG _ __ __ _ _________________________ :-

Editing the discs
Editing a playlist
Creating a playlist
Changing a title name ttttt
Erasing a scene (Edit title) .
Combining the title ..........
Erasing a playlisi H
Editing an original title
Adding a chapter mark
Combining chapters
Changing an original title name
Erasing a scene (Edit title) .
Erasing an original title
Changing a disc name
Using the keyboard screen

Media mark
Each applicable media are indicated using the symbol shown below

Dubbing a tape onto a disc ..................................... 78
Dubbing a disc onto a tape ttttt
Dubbing using other equipment .t

I Additionalinformation,
Glossary .............
Language code list i
Error/Warning message list WWWWW
Problems and troubleshooting
Video head cleaning
Specifications .......................................................... 85


:ovovrdeo

@115) :DVD»R

cm :DVDRW in vn mode @3

:Audio CD and CD-R/CDRW

U
Video

:DVD»RW in Video mode

: Video tape

VRDVDdOOPLPOQAPQi 3

03,920, 2:37 PM

Page 27

Setting the disc
You can format, protect or finalize the disc.

Preparation:

- Turn ON the TV and set it to the video input mode.

- Select DISC SETUP from "SYSTEM SETUP. For
the procedure, see steps 1 to 3 in Using the SETUP
MENU on page 23.

REFORMAT

You can format a recorded DVD~FtVlL

Check the content of the disc before format. it you for:
mat the disc, the recorded content of the disc will be
erased.

To format a DVD in the video mode, select REFOR
MAT AS DVD VIDEO", and to format it in the VR mode,
select REFORMAT AS [ND VR.

The screen below will appear.

- When you select START and press ENTER, format
will start. The screen below will appear.

- When you select CANCEL and press ENTER, the
DISC SETUP screen will appear.

NOT E:
You cannot format Ver. 1.0 DVDARW and DVDAR.

DQ'OADDE P23

NEW DISC FORMAT

ltyou insert a blank DVD~RW, the disc is automatically
formatted.

Select NEW DISC FORMAT" and select the mode to
be used for automatic format from the list below.

YR: Format the DVD in the VR mode.
Video: Format the DVD in the Video mode.

When you insert a blank DVD~RW, the following mes:
sage screen will appear.

sfiumos snouegt

- When you select START and press ENTER, format
will start. The screen below will appear.

- When you select "CANCEL" and press ENTER, the
normal TV screen will appear.

NOTES:

' The automatic format is effective only for Ver. 1.1 or
later DVDARW.

. Even if the recorded disc is inserted the above screen
may appear due to any scratch or contamination on
the disc. In this case, select CANCEL.

FlNALlZE

When you finalize the disc recorded or edited by this
unit, you can playback the disc on other DVD players.
When *FiNALIZE" is selected. the screen below will ap~
pean

27

03 920, 2145 PM

Page 45

MPSNVMAIJPEG playback

@3 Playing back MP3MMA files

'1 Press A or V to select MP3 or WMA file.
- in case the disc includes more than 11 files, you can turn to the
next or the previous page. (See page 42.)

MP3 CD
- MP3 files must have the extension
letters .mp3",
- Standard, sampling frequency, and
the bit rate:
MPEG-1 Audio 2 Carry out either of the item a or b below.
32kHz, 44.1kHz, 4BkHz a: Press ENTER.
32kbps to 320kbps (constant bit b: Press p to select PLAW and press ENTER.
rate or variable bit rate) The TRACK lNFO screen appears to playback the selected file.
- The recommend recording setting For the details of the TRACK lNFO screen, see Various opera:
for a high quality snund is 441 kHz tions of CD on page 42.

of sampling frequency and
128kbps of constant bit rate.

WMA CD

- When creating a WMA disc, make
sure that the copyright function is
off. DEM (Digital Rights Manage:
ment) files cannot be played back.
WMA tiles must have the extension
letters *wma't

- Standard, sampling frequency, and
the bit rate:

WMA version 7 and 8

SZkHz, 48kbps

44.1kH2, 48kbps to 192kbps
48kHz,128kbps to 192kbps

The file recorded by mono, 48kHz,
48 kbps is not available to this unit.

To return to the BROWSER screen, press RETURN
. To stop playback of the MP3 orWMA tiles, press TITLE MENU4

45

VRDQODDE PEEP £15 03 920, 2142 PM

Page 50

Special playback

@331

Picture search

Reverse picture search iunction

Press REW x 1 or x 2 during the playback.
Forward picture search function

Press EPWD x 1 or x 2 during the playback.

SPEED SEARCH TIMES
f TAPE SPEED PICTURE SEARCl-I SPEED
PRESS ONCE PRESS TWICE
SP (Standard Play) 3 X 5 X
LP (Long Play) 7 X 9 X
LSLP (Super Long Play) 9 X 15 X 1

To return to playback: Press PLAY.

Still picture
Press PAUSE during playback.
To resume normal playback: Press PLAY or PAUSE.

Slow motion
During playback press SLOW.
To return to playback: Press PLAY or SLOW.

Slow tracking and vertical lock adjustment

ll noise bars appear in the picture during slow motion,
press the TRK + or - to reduce the noise bars.

If the still picture jitters excessively, press TRK 4- or - to
stabilize the still picture.

Frame by frame picture

Press PAUSE during playback.

Press SLOW one by onezThe picture advances frame
by frame

To return to playback: Press PLAV or PAUSE.

Adjusting tracking condition

Automatic tracldng adjustment

Whenever you insert a tape and start playback, automatic

tradring starts working and continuously analyzes the signal

to enable opt'mum picture quality during playback

Manual tracking adjustment

ll automatic tracking cannot eliminate noises well during

playback, press TFlK 44- to eliminate the noises.

"MANUAL TR. will appear. Press it briefly for a fine ad-

justment, or press and hold for a coarse adjustment.

- Press ATR to reactivate automatic tracking again.
AUTO TR." will appear.

NOTES:

- The audio output is muted during SPEED SEARCH,
STlLL, FRAME ADVANCE and SLOW MOTlON.

. During picture search mode there will be noise bars
which are caused by the system.

- The Special Playback will automatically change to
playback after approx. 5 minutes to protect the video
tape against excessive wear.

50

VRDJD-fioflfi Fri-PEG El)

Repeat playback

The entire video tape will be played until its end. The
tape will then automatically rewind to the beginning and
the playback will be repeated.

1 Press REPEAT while VCR is played back.

2 By pressing REPEAT
each time, REPEAT
ON"or REPEAT OFF
is selected in turn.

3 When REPEAT ON is selected, the tape is played
back to the end, and then, it is automatically re-
wound to the starting point and played back again.
The display REPEAT ON goes out in about 3 secs
onds.

To cancel repeat playback: Press REPEAT to se-
lect REPEAT OFF.

Commercial skip

Press CM SKIP during playback.

The video is rapidly forwarded for approx. 30 seconds
and playback resumes.

You may press the button up to six times in a root to
move 180 seconds ahead.

To display VCR operation status
Press DISPLAVICALL. The clock, day of the week and
more information will be indicated.

While watching TV

DAY OF THE WEEK

CHANNEL

$TEREO AND
SECON D

AU DIO
PROGRAM
(SAP)

TAPE SPEED

REAL TIME COUNTER
While operating a tape

OPERATING
Hm MODE
STEREO
militant
AUTO 7 TAPE m
REPEAT

To cancel the display: Press DISPLAYIGALL until all
indicators disappear.

0392i), 247 FM

Page 76

Dubbing a tape onto a disc
"@7133 mm] Preparation:

. _ . Turn ON the TV and set to the video input mode.
"f a" "9 699°" d °" - Load a source video tape and a disc ior recording.
a we" tape onto a disc. - Remove the erase protection tab of the source video tape to prevent
the data from accidentally being erased.
- Confirm the disc space before operation.

1 Press DVDNCR to set this unit to DVD mode.
The DVD indicator will light.

2 Press REG MODESPEED and select the recording mode.
- When REC MODEJSPEED is pressed each time, SP". "LP,
SLF or "XP" is selected in this order.
- The recording mode is indicated on both the TV screen and the
display window.
. For the details of the recording mode, see page 52.

3 Press DVDNCR and set the unit to VCR mode.

\\ l /'/
é rm
7 \s

NOT E:

Confirm that the VCR indicator lights.

4 Press DUBBING.
. The unit is changed to DVD mode automatically.
- The VCR is waiting for playback and the DVD is waiting for re-
cording. Then the following message will appear.

5 Press 4 or p to select YES" and
press ENTER.
Dubbing starts.
- To cancel dubbing, select NO
and press ENTER.

In dubbing, VCR playback, DVD recording and dub (dubbing) in-

NOTES: dicator appear on the display window.
- Dubbing cannot be carried out
when > I END

~ a copy guard supporting tape is I I
use i, L7 L10 -
~ disc protection is set. A i
, disc has no recording space.
- Dubbing stops when , ,
~ the video tape is played back to Video playback DVD recording
the end and stops.
~ recording space becomes full. 6 T0 siOp dubbing. press STOP.
. The videos recorded from TV pro:
grams or movies can be used only
for your personal enjoyment with:
out permission of the copyright
holder.

76

VROVDdOOES P61