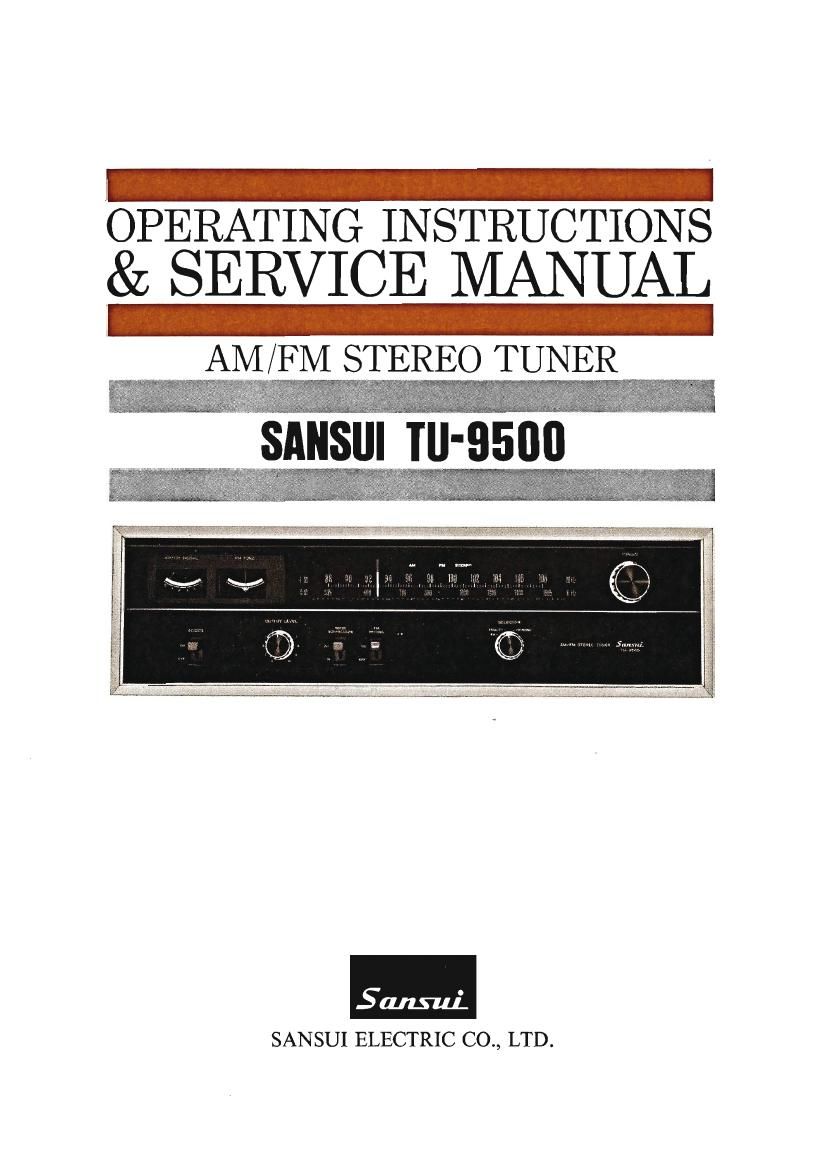
Sansui TU 9500 Service Manual

This is the 31 pages manual for Sansui TU 9500 Service Manual.
Read or download the pdf for free. If you want to contribute, please mail your pdfs to info@audioservicemanuals.com.

Page: 1 / 31
left right
Sansui TU 9500 Service Manual

Extracted text from Sansui TU 9500 Service Manual (Ocr-read)


Page 2

We are grateful for your choice of the TU-9500 AM/FM Stereo
Tuner.

For over a quarter of a century, Sansui has been building hi-fi
audio equipment, and nothing else. Our mission is very old and
at once ever new to use: to bring the reproduced sound closer and
closer to the original.

The TU-9500 now in your hands is one answer from us to this
never-ending quest. It is a product of the cream of highly ad-
vanced modern audio-electronics knowhow, coupled with our long
experience. As such, we present it to you with our full confidence.
It offers a multitude of high-performance features, among which are:
a sensitive FM frontend utilizing 3 dual»gated MOS FETs and a 5-
gang variable capacitor; a low-distortion FM IF amplifier with four
bi-resonator ceramic filters and three ICS; a multiplex circuit em-
ploying a differential demodulator for improved separation and
phase linearity; a sensitive and selective AM tuner with an RF stage
and a ceramic filter; a multi-path terminal for correct installation of
an FM antenna, and a discriminator output terminal for receiving
future discrete 4-channel broadcasts. It also has such refinements as
an FM muting switch, an FM/AM noise suppressor switch, two
large tuning meters, an FM muting level control, and an FM-750
COAXIAL CABLE terminal.

This manual has been prepared to guide you in operating and caring
for the tuner correctly, so that you will Obtain the most out of its
built-in high performance.

May we suggest that you read it once carefully?

CONTENTS

SWITCHES AND CONTROLS ....................................... 3, 4
CONNECTIONS/OPERATION ....................................... 5, 6
CONNECTING OUTDOOR FM ANTENNA WITH

COAXIAL CABLE ................................................... 7, 8
HOW TO INSTALL OUTDOOR FM

ANTENNA CORRECTLY ....................................... 9, 10
SIMPLE MINTENANCE HINTS ................................. 11, 12
GENERAL TROOBLESHOOTING CHART ........................ 13
SPECIFICATIONS/ACCESSORIES ................................. 14
SCHEMATIC DIAGRAM .......................................... 15, 16
DISASSEMBLY PROCEDURE ....................................... 17
TEST POINTS .......................... . ................................. 18
ALIGNMENT ......................................................... 19, 20

PRINTED CIRCUIT BOARDS AND PARTS LIST
........................ 21, 22, 23, 24, 25, 26, 27, 28
OTHER PARTS AND THEIR LOCATION ON CHASSIS 29, 30

Page 4

SWITCHES AND CONTROLS

Signal and Tuning Meters
Tune in the desired station while watching these
meters.

AM Indicator <_-~
Lights when the Selector Control is :et to AM.

If you are tuning in an FM station:
Adjust the Tuningr Control lirst for maximum
deflection of the Signal Meter on the left, Then
ZlClelSl. it so that the 'lunim,r Meter on the right
will indirate the exact renter. lhc tuner will

pinpoint the station and l'C('Cl\'C it with the
best tone quality,

If you are tuning in an AM station:
Simply adjust the TunineT Control for maximum
deflection of the Signal Meter. Ignore the
Tuning Meter when tuning" on :\;\l.

Power Switch
Pull up to UN to turn on the tuner.

Output Level Control
Adjusts the output signal level of the tuner. 'luln
clockwise to increase it.

Noise Suppressor Switch

Push down to IN if loud noise is mixed with an
FM stereo or AM broadcast. Norse will he sup
pressed and the broadcast will sound more pleas-
ant to hear.

if you hear no noise, he sure to keep it at OUT.

Important

As a rule, it is hetter to use the Output Level
Control to match the tuners output signal level
with those of your turntable and tape deck, then
adjust the over-all volume with the volume con-
trol of your amplifier.

Page 6

CONNECTIONS/OPERATION

Connecting Antennas

The quality of reception depends pretty much on
the effectiveness of the antennas. Connect and in-
stall them correctly for noise-free pleasant reception.

AM Antennas

AM Ferrite Bar Antenna

The sensitive AM ferrite bar antenna provided on
the tuners rear panel provides a clear AM reception
in most areas. To use, simply pull it out as illus-
trated.

Outdoor AM Antenna

Should the bar antenna fail to give you a clear re-
ception, however, connect a piece of polyvinyl wire
supplied to the AM-A terminal on the tuners rear
panel and stretch it outside a window or on the
roof. Still better results would be obtained by
grounding the tuner.

FM Antennas

T-shaped Feeder Cable Antenna

If you live relatively close to FM stations, quality
reception can be usually achieved by just installing
the T-shaped feeder cable antenna supplied with the
tuner. Connect it to the tuners FM 3000 termi-
nals, referring to the diagram at right. Stretch the
antenna to a complete T shape, then prepare the
tuner for FM reception. Adjust the height and
direction of the antenna while actually listening to
your favorite FM station.

Outdoor FM Antenna (also see page 7)

If the T-shaped feeder antenna fails to eliminate
noise and otherwise give you good sensitivity, in-
stall an exclusive FM antenna outdoors. Such an
antenna is usually available with either 3, 5 or 7
elements. Generally speaking, the more elements
an antenna has, the more sensitive and more cli-
rectional it is. The rule of thumb is to select one
that best suits the needs of your area, and it is re-
commended to consult your electric appliance dealer.
When setting up the antenna, observe the following
precautions:

1. As an antenna is directional, adjust its direction
while actually listening to your favorite FM station
and fix it where it offers the best reception (refer to
pages 9 and 10).

2. In order .to avoid automobile ignition noise, set
it up as far away from streets as possible.

3. Be absolutely sure that it does not contact electric
cable and other objects.

4. Be also sure to secure the antenna firmly with
the help of the accessory parts supplied with the
antenna.

Connect the outdoor antenna to the tuner with
feeder cable, connecting the cable to the FM-3OOQ
terminals on its rear panel. Keep the cable as short
as possible, and secure it with clamps and standoffs
at proper points. Try to keep away from metallic
objects.

Connecting to an Amplifier
Connect the OUTPUT terminals of the tuner with
the TUNER or AUX terminals of your amplifier
(integrated amplifier or preamplifier), using the pair
of pin plug cables supplied, as illustrated.

FM Reception

1. Set the Selector Control to FM AUTO.

2. Tune in the desired station by turning the Tun-
ing Control. It is pinpointed when the Signal Meter
pointer has swung as far to the right as possible
and the Tuning Meter pointer is accurately centered.
3. If a stereo broadcast is too noisy, push the Noise
Suppressor Switch down to IN. If noise still per-
sists, turn the Selector Control to FM MONO and
hear the broadcast in mono.

AM Reception

1. Set the Selector Control to AM.

2. Select the desired station by adjusting the Tun-
ing Control so that the Signal Meter pointer will
swing as far to the right as it will go near the fre-
quency of that station.

3. If the broadcast is too noisy, push the Noise Sup-
pressor Switch down to IN.