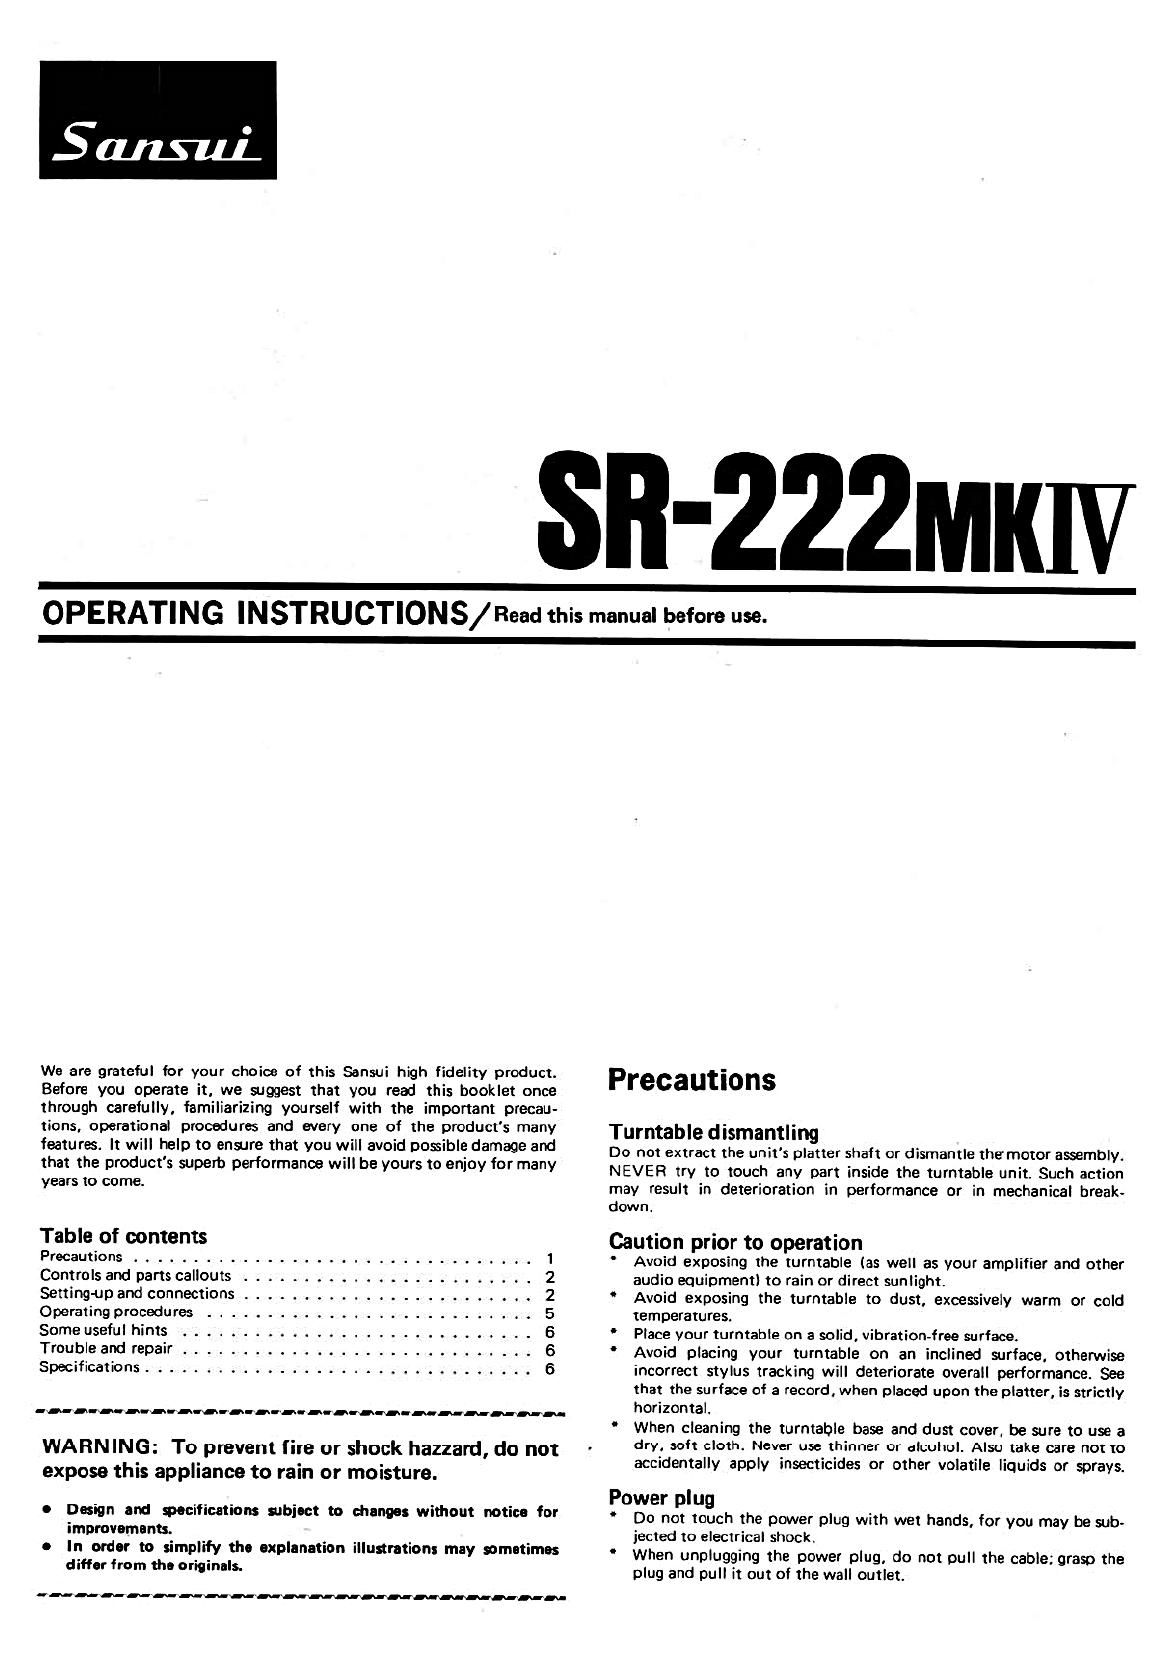
Sansui SR 222 Mk IV Owners Manual

This is the 6 pages manual for Sansui SR 222 Mk IV Owners Manual.
Read or download the pdf for free. If you want to contribute, please mail your pdfs to info@audioservicemanuals.com.

Page: 1 / 6
left right
Sansui SR 222 Mk IV Owners Manual

Extracted text from Sansui SR 222 Mk IV Owners Manual (Ocr-read)


Page 1

Sli-ZZZMKIV

OPERATING INSTRUCTIONS/ Read this manual before use.

We are grateful for your choice of this Sansui high fidelity product. '
Before you operate it, we wggest that you read this booklet once PrecaUtlons
through carefully, familiarizing yourself with the important precau-
tions, operational procedures and every one of the product's many
features. It will help to ensue that you will avoid pessible damage and
that the product's superb performance will be yours to enjoy for many
years to come.

Turntable dismantling

Do not extract the units platter shaft or dismantle the motor assembly.
NEVER try to touch any part inside the turntable unit. Such action
may result in deterioration in performance or in mechanical break.

down.
Table of contents Caution prior to operation
Precautions ................................. 1 ' Avoid exposing the turntable (as well as your amplifier and other
Controls and parts callouts ........................ 2 audio equipment) to rain or direct sunlight.
Setting-up and connections ........................ 2 ' Avoid exposing the turntable to dust. excessively warm or cold
Operating procedures ........................... 5 temperatures.
Some useful hints ............................. 6 ' Place your turntable on a solid. vibration-free surface.
Trouble and repair ............................. 6 ' Avoid placing your turntable on an inclined surface, otherwise

Specifications ................................ 6 incorrect stylus tracking will deteriorate overall performance. See

that the surface of a record. when placed upon the platter, is strictly

When cleaning the turntable base and dust cover, be sure to use a

WARNING' To prevent fire or shock hazzard do not . dry, soft cloth. Never use thinner or alcohol. Also take care not to
' I

. . . . I 'n id 0 h l ' ,
expose thls appliance to mm or morsture. accudenta Iy apply l sectic as r ot er volati e liqmds or sprays
. . . . . Power plug
. Pi'" d specifications bl." dunes: Without notice fl" " Do not touch the power plug with wet hands, for you may be sub-
improvements. jected to electrical shock.
o In order to simplify the explanation illustrations mly sometimes . When unplugging the power plug, do not DU" the cable; grasp the
differ from the originals.

plug and pull it out of the wall outlet.

run...-

"mnumum

Page 2

2

Controls and parts callouts

Main weight

Tracking-force dial

Bias knob
(Anti-skating Device)

Arm lifter lever
Center spindle

Arm rest
Rubber mat
Tonearm
Platter Locking screw
Headshell
POWER Switch

Setting-up and connections

\ JV
6
K
This turntable is composed of high-precision parts and to prevent 1sening up turntable

damage during transportation, they are packed separately. Before using

_ ' . .With a screwdriver remove the two shipping screws together with
your turntable, assemble and connect as indicated by the followrng

the cardboards.

procedure. 2. Mount the platter on the center spindle, pressing the drive belt to
. . . the outer rim of the platter with your thumb.

M°m'"9 "3!" we'ght , . 3. Place the drive belt over the motor capstan. When it is placed over

Fit the main weight on the weight shaft of the tonearm and pull It the upper part of the motor ca stan the record sad is set at 33

toward you while turning it gently to the right. p ' sp

rpm; when placed over the lower part. it is set at 45 rpm.
4. Place the rubber mat on the platter.