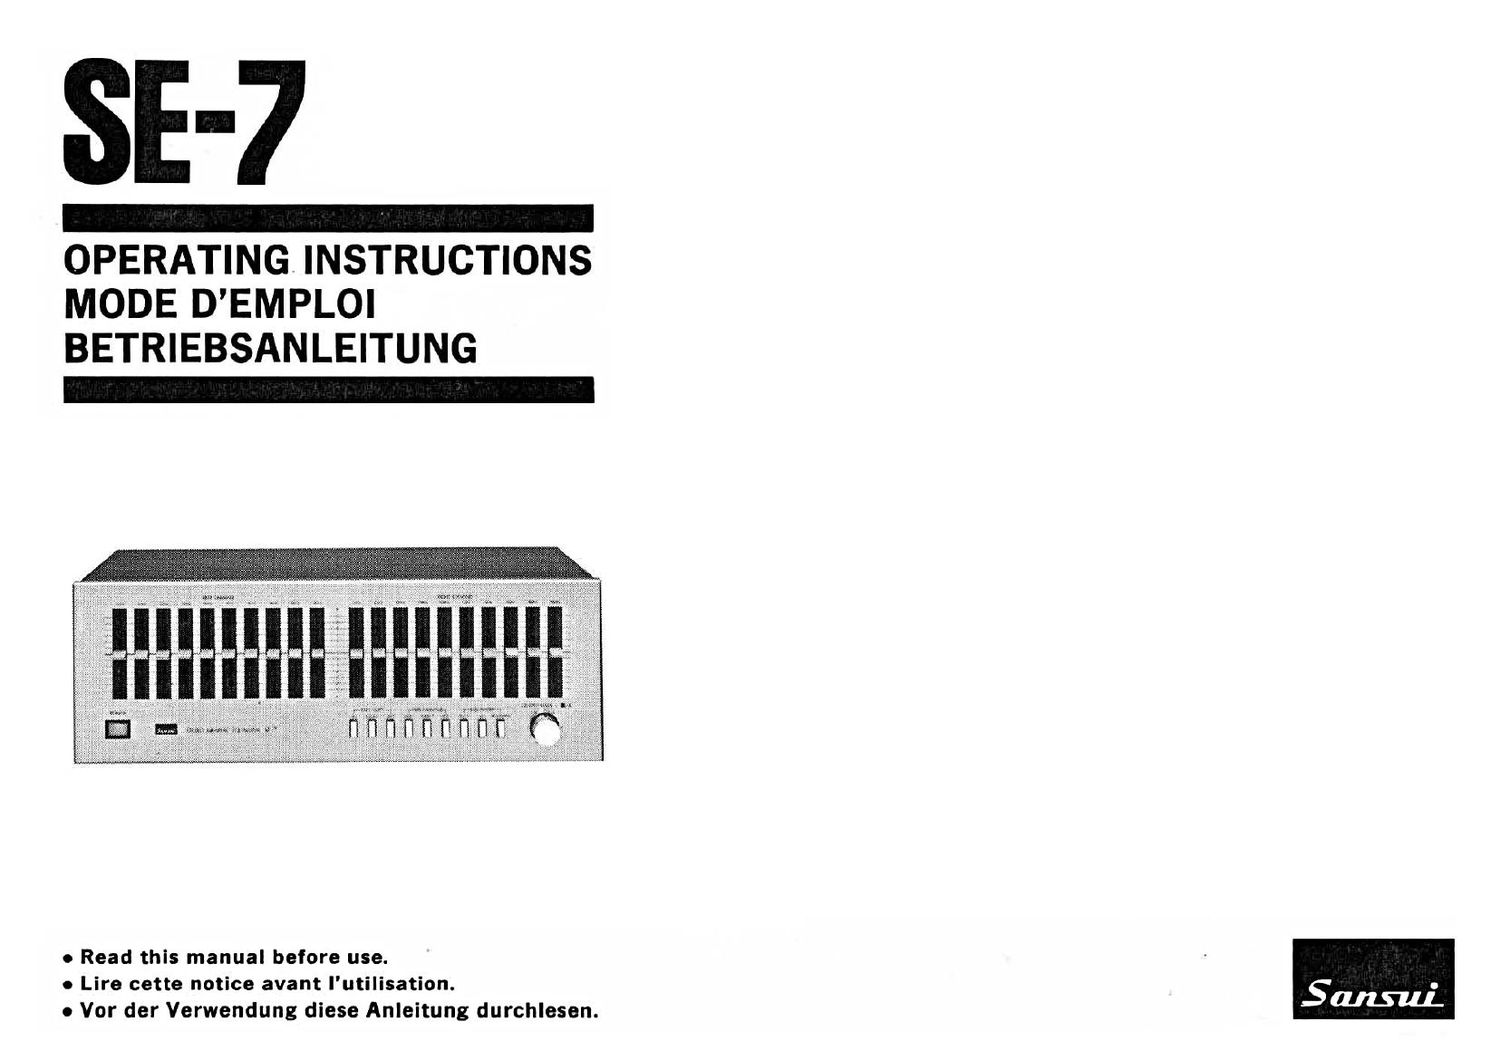
Sansui SE 7 Owners Manual

This is the 22 pages manual for Sansui SE 7 Owners Manual.
Read or download the pdf for free. If you want to contribute, please mail your pdfs to info@audioservicemanuals.com.

Page: 1 / 22
left right
Sansui SE 7 Owners Manual

Extracted text from Sansui SE 7 Owners Manual (Ocr-read)


Page 1

OPERATING INSTRUCTIONS
MODE DEMPLOI

BETRIEBSANLEITUNG

mama: mum

nnnnnnnnr F

o Read this manual before use.
0 Lire cette notice avant I'utilisation.
o Vor der Verwendung diese Anleitung durchlasen.

Page 2

We are grateful for your choice of this Sansui high fidelity product.
Before you operate it, we suggest that you read this booklet once
through carefully, familiarizing yourself with the important mm-
cautions, operational procedures and every one of the product's r
features. It will help to ensure that you will avoid possible damage and
that the products superb performance will be yours to enjoy for many
years to come.

Table of contents

Precautions ................................. 4
Connections . . ~ ............................... 6
How to attach rack mounting adaptors

(Use these with the black type only) ................... 8
Panel information ............................. 9
Operating procedures ........................... 14
Specifications ................................ 20

WARNING: To prevent fire or shock hazard,
do not expose this appliance to rain or
moisture.

* The model SE-7 graphic equalizer comes with a choice between
colors for the paneling: silver and black. The photos in this inst-u..-
tion booklet and the illustrations are based on the silver type.

0 The Model No. and Serial No. of your unit are shown on its back
panel.

0 Do not lose the Warranty Card that carries your unit's Model No.
and Serial No.

Page 17

Enregistrement dl'un disque ou d 'une émission avec
compensation de qualité sonore

Entzerrte Aufnahme von Schallplatten- oder Rund-
funkprogrammen ' w '

1. Enfoncer I'interrupteur POWER pour placer Iappareil sous tension. 1. Das Gerét durch Druck auf den POWER Schalter einschalten.
2. Enfoncer Ie commutateur EOUALIZER "RECORDING". 2. Den EQUALIZER "RECORDING" Schalter driicken.
3. Enfoncer Ies commutateurs TAPE COPY "SOURCE" et TAPE 3, TAPE MONITOR "SOURCE" und TAPE COPY "SOURCE"
MlONITOR "SOURCE". Schalter driicken.
Ihoisie '3 source é enregistrer 3 laide dU sélecteur d6 fonction d8 4. Die gewiinschte Programmquelle am Verstérker einstellen und den
' l'amplificateur et régler Ie commutateur de surveillance de bande Mithbrschalter des Verstérkers auf "Tonband" stellen.
e la position "tape". 5. Das Tonbandgeréit anschalten und auf Aufnahme einstellen.
5- Faire fonctionner le magnétophone et '6 placer en mode d'attente 6. Das Klangbild der Programmquelle mit Hilfe der Schieberegler des
d'enregistrement (stand-by). Entzerrers nach Wunsch einstellen.
6. Se servir alors des commandes dégalisation pour modifier selon ses 7_ Die Aufnahme aussteuern und mit der Aufnahme beginnen_
preferences la qualité sonore de la source 6 enregistrer. 8. Zum MithOren der Aufnahme den TAPE MONITOR "TAPE-1"bzw.
7. Régler le niveau d'enregistrement et commencer a enregistrer. "TAPE-2" Schalter drficken.
8. Pour surveiller l'enregistrement en cours, enfoncer le commutateur o Hinterbandkontrolle Ist nur mit Tonbandgeréten mc'iglich, die mit
TAPE MONITOR TAPE-1 " ou "TAPE-2". drei separaten TonkOpfen (Aufnahme-, Wiedergabe- und Léschkopf)
0 Le contrOIe n'est possible quavec le genre de platine de magnéto- ausgestattet sind. Verfiigt dasTonbandgerét nur ijber zwei Tonképfe

phone qui posséde tois tétes de lecture séparées, une pour l'en-
registrement, une pour la reproduction et une pour l'éffacement. II
nest pas possible avec le genre de platine de magnétophone qui ne
posséde que deux tétes, une pour |enregistrement/reproduction
et une pour I'effacement; enfoncer I'interrupteur TAPE MONITOR
"SOURCE", et écouter Ies signaux qui vont étre enregistres.

(Aufnahme/Wiedergabe-Kombikopf und Léschkopf) dann ist der
TAPE MONITOR "SOURCE" Schalter zu driicken, wonach Vor-
bandkontrolle ermOglicht wird.