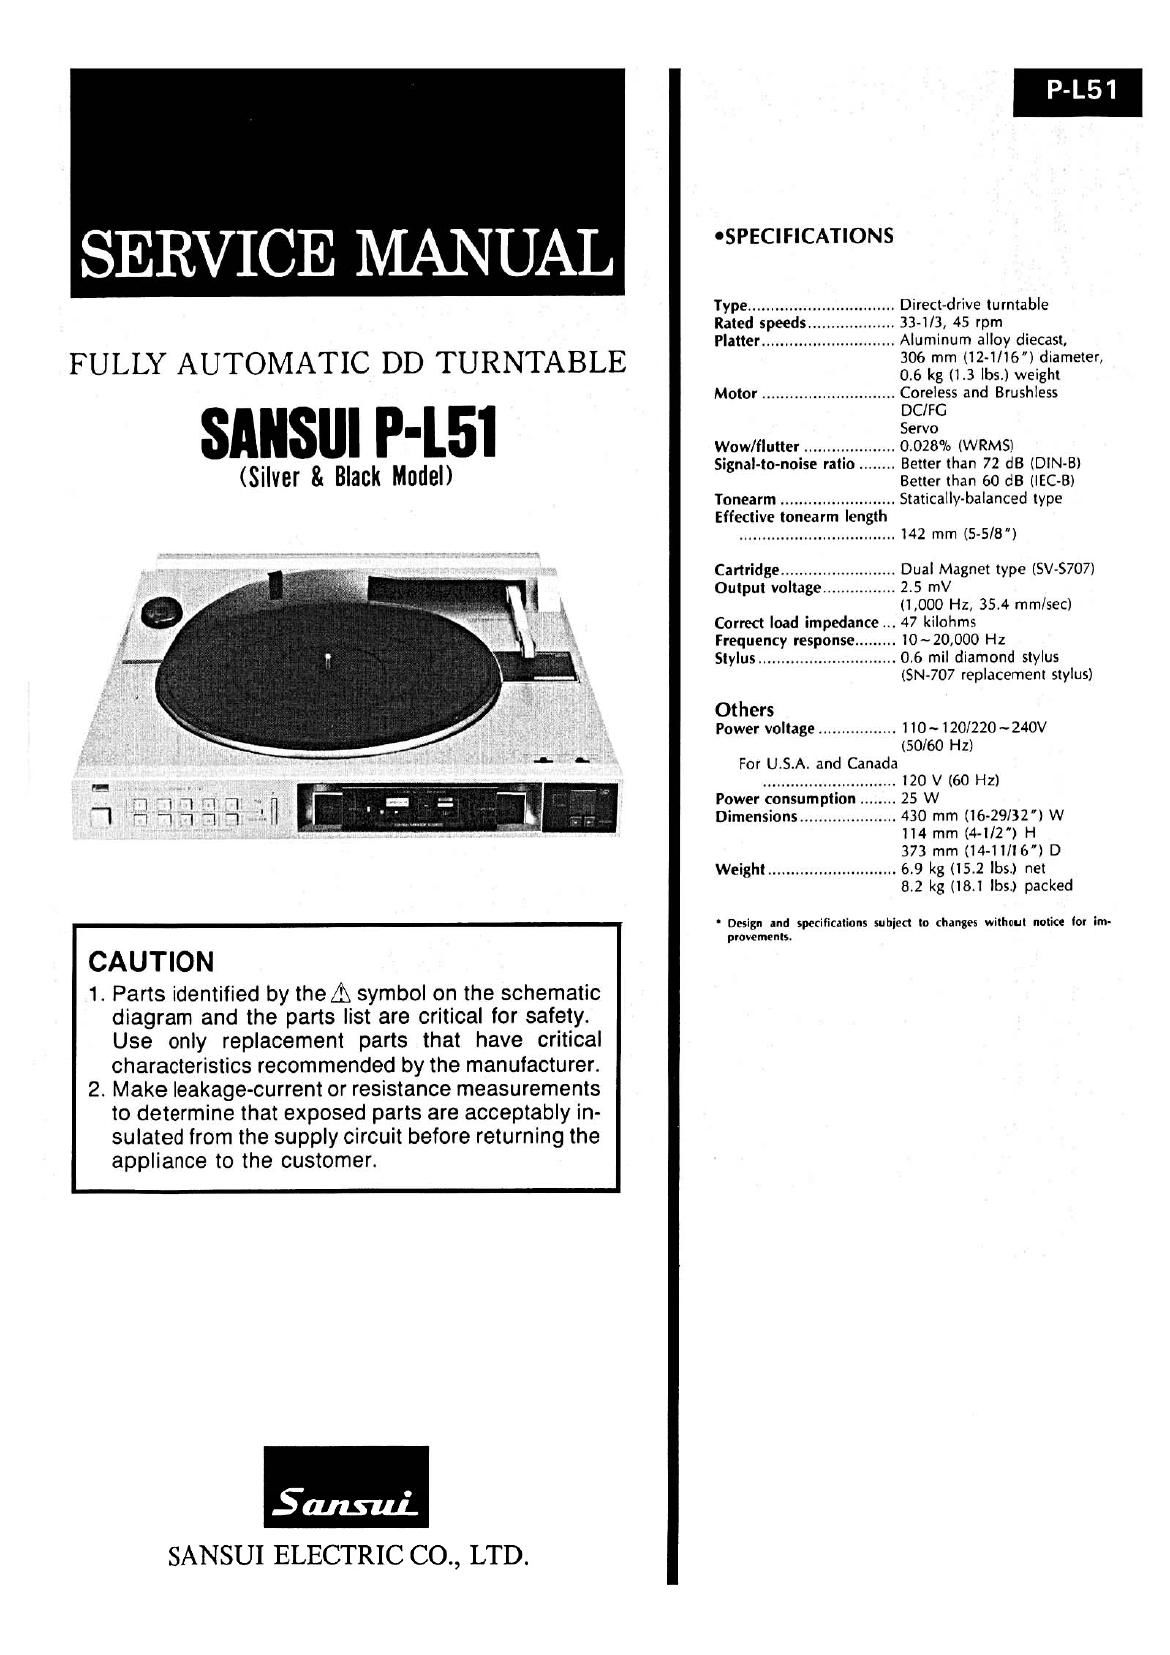
Sansui P L51 Service Manual

This is the 18 pages manual for Sansui P L51 Service Manual.
Read or download the pdf for free. If you want to contribute, please mail your pdfs to info@audioservicemanuals.com.

Page: 1 / 18
left right
Sansui P L51 Service Manual

Extracted text from Sansui P L51 Service Manual (Ocr-read)


Page 1

SERVICE MANUAL OSPECIFICATIONS

Type ................................ Direct-drive turntable
Rated speeds... ...... 334/3, 45 rpm
Platter ............................. Aluminum alloy diecast,
FULLY AUTOMATIC DD TURNTABLE 393;;71};2,;;;6w;iggmeten
Motor ............................. Coreless and Brushless
DC/FG
- Servo
Wow/flutter .................... 0.028% (WRMSl
- Signal-to-noise ratio ........ Better than 72 d8 (DIN-B)

(Silver 3 Black Model) Better than so (33 llEC-B)

Tonearm ......................... Statically-balanced type

Effective tonearm length
.................................. 142 mm (5-5/8)

Cartridge ......................... Dual Magnet type (SV-S707)

Output voltage ................ 2.5 mV
(1,000 Hz, 35.4 mm/sec)

Correct load impedance 47 kilohms

Frequency response ......... 10~20,000 Hz

Stylus .............................. 0.6 mil diamond stylus
(SN-707 replacement stylus)

Others

Power voltage ................. 1 lO~ l20/220~240V
(50/60 HZ)

For U.S.A. and Canada
............................. 120 V (60 HZ)

Power consumption ........ 25 W

Dimensions ..................... 430 mm (16-29/32) W
114 mm (4-1/2) H

373 mm (14-11/16) D
Weight ............................ 6.9 kg (15.2 lbs.) net
8.2 kg (18.1 lbs.) packed

- - ' Design and specifications subject to changes without notice for im-
provements.

CAUTION

1. Parts identified by theA symbol on the schematic
diagram and the parts list are critical for safety.
Use only replacement parts that have critical
characteristics recommended by the manufacturer.

2. Make leakage-current or resistance measurements
to determine that exposed parts are acceptably in-
sulated from the supply circuit before returning the
appliance to the customer.

SANSUI ELECTRIC CO., LTD.

Page 2

P-L51

CAUTION

1. The symbols, UL, CSA, SA, BS, UK, EU, AS and XX (EXPORT) on
the parts list and the schematic diagram mean followings respectively.

UL ....................... Manufactured for U.S.A market.
(Underwriters Laboratories approved model.)

CSA .................... Manufactured for Canadian market.

SA ....................... Manufactured for South African market.

BS, UK ............... Manufactured for United Kingdom market.

EU ...................... Manufactured for European market.

AS ....................... Manufactured for Australian market.

xx (EXPORT) ..... Standard Version.

NON MARK ........ Common Parts.

2. Some printed circuit boards are not supplied as the assembled.

To separate these in this service manual, the stock No's are not in-
dicated at the ends of the board names. However, the individual parts
on the circuit boards are provided by orders.

3. Since some of capacitors and resistors are omitted from parts lists
in this service manual, refer to the Common Parts List for capacitors
& resistors, which was issued on February 1983.

4. Abbreviations in this service manual are as follows.

C.Fl.
S.R.
Ce.R.
M.R.
F.R.
N.|.R.
A.R.
G.C.
C.T.

E.C.
E.L.

E.B.

- oAbbreviations List

: Carbon Resistor

: Solid Resistor

: Cement Resistor

: Metal Film Resistor

: Fusing Resistor

: Non-lnflammable Resistor
: Array Resistor

: Ceramic Capacitor

: Ceramic Capacitor,

Temoerature Compensation

: Electrolytic Capacitor
: Low Leak Electrolytic

Capacitor

: Bi-Polar Electrolytic

Capacitor

E.B.L.

Ta.C.
F.C.
M.P.
P.C.
G.C.
A.C.
V.R.
S.V.R.
SW.
Chip R. :
Chip C. :

: Low Leak Bi-Polar

Electrolytic Capacitor

: Tantalum Capacitor

: Film Capacitor

: Metalized Paper Capacitor
: Polystyrene Capacitor

: Gimmic Capacitor

: Array Capacitor

: Variable Resistor

: Semi Variable Resistor

: Switch

Chip Resistor
Chip Capacitor

Page 17

8. MAIN PARTS REPLACEMENT

(See Top View on page 13 and Exploded View of Mechanism on page 12)

8-1. Replacement of Mechanism Assembly

1 )
2)
3)
4)

5)
6)
7)
8)

Take off turntable sheet and turntable platter.

Remove the player case cover.

Loosen 7 screws 6) (See Fig. 3-9 on page 6).

Move the tone arm and stop the stylus at a position about 10 cm
away from the disc center.

Remove the cabinet upward slowly.

Remove the auto mecha. guide. (See Top View on page 13)
Remove the wire from pin Q. (See Top View on page 13)
Take off the wire from the driving gear @.

8-2. Replacement of Pivot Assy ®

1 )
2)
3)
4)

5)

15

Perform the items 1), 2), 3) and 4) 8-1. Replacement of Mechan-
ism Assy first.

Loosen the hexagon socket head screw 63 to remove the tone arm
ass'y ED.

Perform the items 6), 7) and 8) 8-1. Replacement of Mechanism
Assy.

Remove two screws 6) fixing the pivot ass'y under the mechan-
ism chassis.

Take off the pivot assy from the mechanism assy.

Fiifi- l


Wire

Fig.8-2
5-0.1..7869999499ter Side>

8-3. Note on Parts Replacement

i)
2)

3)
4)

When replacing the shaft guide (B) (9, the warm gear assy (B) Q)
and the driving gear (9, remove under the mechanism chassis.
When installing the wire, wind round the drive gear and fit the pin
® as shown in Fig. 8-1.

Refer to Fig. 8-2, when wiring from cartridge (tone arm assy 6)).
Perform adjustments 3-1, 3-2, 3-3 and 3-6, when replacing a parts
of the mechanism ass'y.

Driving Gear

43)

Pin ®

5-0177

Color-Wires
am: 96,
/g;:cv%e E,F Sensor
éellow
ray
\ Pu rpie