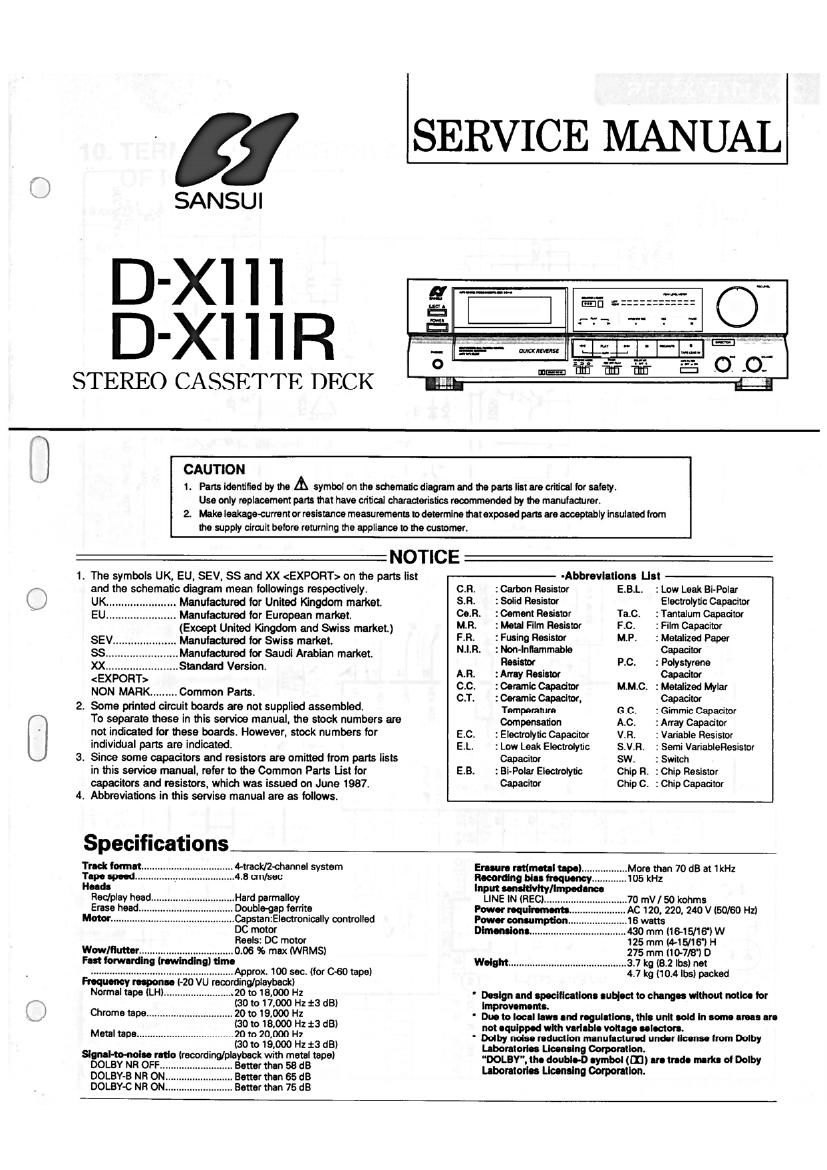
Sansui D X111 Service Manual

This is the 16 pages manual for Sansui D X111 Service Manual.
Read or download the pdf for free. If you want to contribute, please mail your pdfs to info@audioservicemanuals.com.

Page: 1 / 16
left right
Sansui D X111 Service Manual

Extracted text from Sansui D X111 Service Manual (Ocr-read)


Page 1

lSERVICE MANUAL

ll

SANSUI

D-Xl ll
D-Xl l l R

STEREO CASSETTE DECK

CAUTION

1. Parts identified by the A symbol on the schematic dlaor-rn and the part: list are critical tor safety.
Use only replacement pun: that have critic-l char-auburn recommended by the mammalian

z Melts lesksqemntor resistance measurements I: determlne mtexpoud parts to acceptably insulated from
the suppty oiraiit bolero warming the appliance I) Wroclaw.

NOTICE

-Abbrevlltlom lJot

1. The symbols UK, EU. SEV. SS and XX on the parts list
and the schematic diagram mean lollowings respectively. CR :Carbon Resistor E.B.L. :Low Leak Bi-Polar
Manutectured for United Kingdom market 5-8. 150 Hui? EWWC ("583mIDr
Manufactured for European market. COR. zeomertt Resins» Ta.c. :Yantllum Cspadtor
(Exam United Kingdom and Swiss mam, MR. :Mmi FiIn Resistor F.c. :Filrn cap-m:
Manufactured for Swiss market FR. :Fuslng Rosina MP. :Metaliz_ed Paper
Manuracmred for Saudi Arabian market. um. Mhmm 9
Standard Version. m" . -9 :M'V'
NON MARK......... Common Parts. g? :m: m: M'M'c' all: M"
2. Some printed circuit boards are not supplied assembled. ' Ternperlm ' cc. :Gimmic 08PM?
To separate these In this sum manual. the stock numbers are mmum A.C. ; May may,
not imitated for these boards. However, stock numbers for EC. ; Ebcmnc Capacitor v3 ; Variable Resisrnr
intividual pans are indicated. E.L. : Lew Leak Electrolytic S. V. R. : Semi Variabloflesistor
3. Since some capacitors and resistors are omitted from parts lists Capacity sw. : Switch
in this service manual, refer to the Common Parts List lor EB. :Bi-Potar Electrolytic Chip R. :0!» Raslstnr
capacitors and resistors. which was issued on June 1937. Capacitor Chip C. :cnip Capeanor
4. Abbreviations in this servise manual are as follows.

Specifications
luck tum-t ,Avgnck/Zvchannel system Erasur- mtmoul up)...
ope-d. .4. cmlsec bl
ope flowing on frequency


.Hard parmellw
. Double-gap ferrite

Input
LINE IN MEG)..."
Pm

.Capotaanlectmnicallv controlled Pow-9mm

DC motor

Heals: DC motor 125 mm (MS/18) H
WOW/Hull... .0. 06 96 max (Vi/HMS) 275 mm [10-7lB'l D
Fm loan-Ming twining] «Hi. want-.. ....3.7 kg (8.2 lbs) not

.. Approx. 100 sec (for C60 moo)
Frequency reopen-e i-ZO VU recordinglplmecki
Normal tnpe lLH)

4.7 kg (10.4 lbs) packed

......20m18000Hz Doolg nndnpnclfl lion studio Mug-unmanned

(30m 17,000 H223 as) immcmn a ' 'u c

Chroma rape 20 to 19.000 Hz - Duo u. w nu. ma regulations. this unit sold In Inm- Inn In
(30 to 13,000 I *3 63 not 0W with wort-bl. voltage eel-don.

Maul meow... ..... 20 to 204000 I - Dolby mu. reduction monuhctund unau m mm Dolby
30 ° 19- 00° H1 *3 53 uberuorho Licensing Carper-um.

Slan- mm mic «swim/alarm wnh mml we) --nost-, mm lymbot (m) no mo. rr-rh or Dolby

DOLBY NR OFF Better thin 58 :13 mo- Mn. mm

DOLBY-B NH ON. Better than 55 dB

DOLBY-C NH ON. Better then 75 dB

Page 3

-X111/ 111R

2- ADJUSTMENTS (See Fig.2-7 Parts location on Page 4)

2-1. Tape Speed Adjustment Fig. 2.1 "8- 11

Note: 1. Use Sansui Test Tape, SCT-SBK. assert: DECK enemy comma

(3kHz signals are recorded on the tape). L 11:? u Capstan Motor
2. Connections are shown in FigV2~1. our ,_T L, DDDD Small Screw Driver 6
STEP SUBJECT [33:21? smmc ADIUSTMENT AD|U5T son REMARKS
1. Tape Speed LINE OUT, Playback the TEST Turn semi-variable resistor 3000Hzi10Hz
Adi. Frequency TAPE SCT-S3K, as Fig.2-2.
counter

2-2. Playback Adjustment

Note: 1. Before this adustment, clean REC/PB. head suriace.
2. For this adiustment, use Sansui Test Tape, SCT-F10K

3. Set the Dolby NR switch to be OFF.
4. Remove the lid Ass'y.

and SCT-L400. 5. Connections are shown in Fig. 2-3.
Fig. 2.3 8- 1-4 Fig. 2-5
vrvu OSCILLOSCM cnl
CASSETTE 0th 0 L151 0M?
m "TIT" .. . Ii" . . on: K 7
m" '3 N 'y 0" FWD REV Ran Out.-O
7 Tm: an or (112 In
Azimuth saw
STEP suniccr 5" SETflNC AD|USTMENT ADIUST FOR REMARKS
OUTPUT
1. RB. Head LINE OUT, AC Playback the TEST Adjust the azimuth OMax. Output both Adjust A, B side of TEST TAPE After
Adj. Volt Meter and TAPE SCT-F10K adjusting screw in Fig.2-4. channels. this adiustment, lock the screw with
Scope FWD 5. REV OAdiust the left paint.
(Dual Trase) (D-X111R only) output in phase
with right output
(See Fig.2-5)
2. Playback LlNE OUT, AC Playback the TEST Adjust each vVR1 (L-CH SOOmVi1dB See Fig.2-7.
Level Ad; Volt Meter and TAPE scum and R-CH)(F-6304)
Scope
2-3. Bias Adjustment

Center click position.
Center click position,
Max.

Note: 1. BIAS control volum
2. BALANCE control volume,
3. REC LEVEL volume.....

4. DOLBY NR switch.
5. MPX FILTER switch

STKP SUBJECT 35??? SETTING ADIUSTMENT ADJUST FOR REMARKS
1, Bias Between Point 1. Load the TEST Turn the core of vL4l 105kHzi2kHz See Fig.2-7.
Frequency (9 or JP13 and TAPE SCT-MA (F6304)
Adj. GND 2. Push the REC
' AC Volt Meter and PLAY
and Frequency button.
counter.

Page 11

DAX111/D-X111R D-X111/D-X111R

7. OPERATION OF CASSE1TE MECHANISM
7-1. D-X111
A. Torque Transportion Flowchart

63'
my Arm. @r


Copllon Mmor

I. Front View of Mechanism Chassis

n-n- new. sun- Mil-u
My my

C. Rear View 0' Mechanism Chlssis

7-2. D-X111R
A. Torque Iramporlion Flowchart

G)
le Arm, Q

Chum sud- Plan


Hush Roller F
All'y
'"I WIN-"9" "M m mm a nu. ma mile! F
and mm- am. my I: much: into Ann 1- WI!!! Imu
nmluvl comm will! 91m mm mm
w «mm mm n m cam-n mm L.


BA From View of Mechanism Chassis