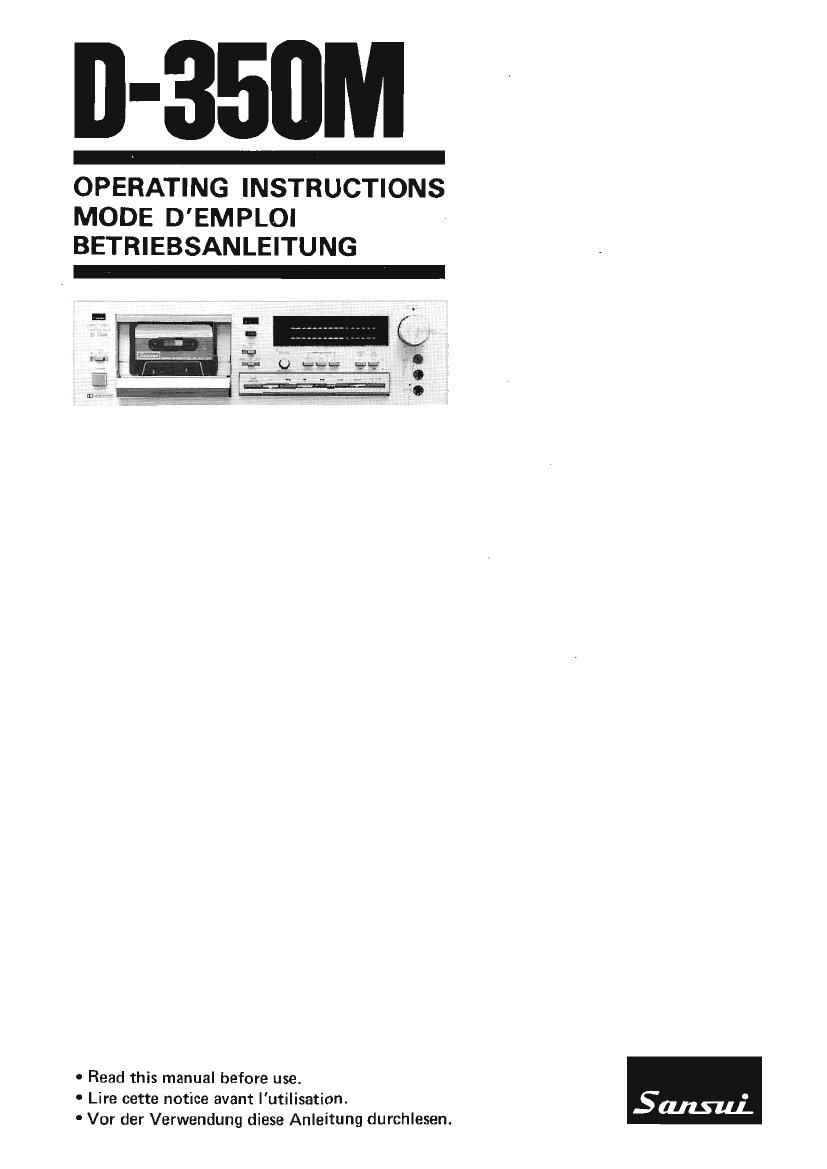
Sansui D 350M Owners Manual

This is the 20 pages manual for Sansui D 350M Owners Manual.
Read or download the pdf for free. If you want to contribute, please mail your pdfs to info@audioservicemanuals.com.

Page: 1 / 20
left right
Sansui D 350M Owners Manual

Extracted text from Sansui D 350M Owners Manual (Ocr-read)


Page 1

-
OPERATING INSTRUCTIONS

MODE D'EMPLOI
BETRIEBSANLEITUNG

0 Read this manual before use.
0 Lire cette notice avant lutilisation.
' Vor der Verwendung diese Anleitung durchlesen.

Page 2

nmlmm-Mmmmmmmrmmmm-Imm-

WARNlNG: To prevent fire or shock hazard, do not
expose this appliance to rain or moisture.

0 The Model No. and Serial No. of your unit are shown on its back
paneL

I Do not lose the Warranty Card that carries your unit's Model No.
and Serial No.

ATTENTION: Pour éviter les dangers délectrocution

ou dincendie, ne pas exposer cet appareil a la pluie

ou a lhumidité.

0 Le numélo du models et le numéro d9 série de l'appareil sont inscrits
sur son pannaau arriere.

0 Na perdez pas la cone do garantie of: est indiquéa le numéro du
models at is numéro dans la séria du type do l'apperail.

nmlmmmnmm.--sa--------

WARNUNG: Setzen Sie dieses Gerét zur Verhu'tung
von Feuer- und Stromschlaggefahr weder Regen noch
Feuchtigkeit aus.

0 Die Modell- und die Seriennummer lhres Gerfites sind auf der Ger»
ateriicksaite angegeben.

I Varlieren Sie bitte nicht den Garantieschein, auf dem die Modali-
und die Seriennummer dieser Einheit angogeben sind.

n-mmmmmmmmmmmmm--\-m-\l

For the United Kingdom only l

Important

The wires in this mains lead are coloured in accordance with the
following code:

Blue: Neutral

Brown: Live
It the colours of the wires in the mains lead of this equipment
should not correspond to the coloured markings identifying the
terminals in your plug, proceed as follows:

The wire which is coloured blue must be connected to the terminal
which is marked with the letter N' or coloured black.

The wire which is coloured brown must be connected to the termi-
nal which is marked with the letter 'L' or coloured red.

Ensure that your equipment is connected correctly. If you are in
any doubt, consult a qualified electrician.

For equipment purchased outside the UK with 3 EUROPEAN"
two-pin mains plug, the plug should be removed and connections
made In accordance with the above instructions. Ensure also that
the equipment is properly adjusted to 240 volts operation. It you
are in any doubt, consult a qualified electrician, or our Service

Agent in the UK.

We are grateiul for your choice of this fine Sensui high fidelity product.
Before you operate it, we sUQgest that you read this booklet Once through
carefully, familiarizing yourself with the important precautions, Oprl ,.
tional procedures and every one of the products many features, it w. I
help to ensure that you Will avoid possible damage and that tho product's
superb performance will be yours to enjoy for many years to come.

fl.
Contents
Precautions 2
About rack mounting adaptors ........... 4
Connections ....................... 5
Panel information . 6
Operating procedures . 10
Some useful hints . 16
Conditions mistaken for breakdowns . 18
Specifications ............... . 18
PrecautIons
Bear in mind the following points.
\ Power plug
Whend rI meeting the power ord I' IIIIIVverOIII'et,

I , 3 do nm ll so the cord itsell but tIu pit .. Never connect or
LJ , disconncrct the power plug with wet . I I since you may
give yourself an electric shock.

DIsconnect the power plug iron: :I I.- outlet when you do not intend
to use the unit for along time.

lnside the unit
it a hairpin, coin or any other metal ohject finds ltway in-
V\\ . sind the unit or it WZItIzr is splashed over the unit, dis-

éfi \ connect the power plug (rpm the outlet immediately and
7 7 consult your dealer or SANSUl Service Station. Continued
use may result in trouble or electric shock.
i' 7 1m Do not remove the case or bottom panel
1/ Making inspections or adjustments inside the unit is the

/C~ cause of trouble and electric shocks Do not, under any
6 1% circumstances, poke about inside the unit.
/

Installation precautions

Do not install the unit in the types of location given below

since the unit's performance may deteriorate or trouble

may be caused.

I Locations near heating appliances or other heat-radian

ing products, or locations exposed to direct sunlight.

0 Locations susceptible to humidity or moisture

0 Poorly ventilated or dusty locations,

0 Locations susceptible to vibration or locations on a slope which are
unstable.

0 Keep the unit away from devices which emit magnetism (such as TV
sets, motors, transformers, etc.)

Do not use thinners for cleaning

Wipe the panels and case from time to time with a soft dry
cloth. Using thinners, alcohol or other volatile liquids can
spoil the surfacing or cause blotching on the exterior or
partial erasing of characters, and so they should never be
used, Also remember to keep insecticide sprays away from the unit.

Page 11

Procédés de réglage

Ne pas toucher directement avec les doigts Ia surface de la bands
magnetioue. Des salissures ou ooussiéres sur la bande ne teront que
maculer les tétes, et diminuer la qualité de reproduction.

En cas de reléchement de la bande, i| conviendra de I'éliminer a l'aide
d'un crayon ou obiet similaire comme illustré. Si l'on utilise Ia cassette
dans un tel état, Ia bande détendue risque de se méler é Iintérieur et
detre endommagée irrémédiablement.

Etant donne que la bande a l'intérieur d'une cassette C420 est tres
fine, de grandes precautions sont a prendre avec 0e type de cassette.
La bande peut se déformer ou sal longer ce qui résulte en distorsion et
autres manifestations indesirables. C'ast la raison pour Iaquelle les
cassettesdu type 0120 sent deconseillées.

Avant de commencer I enregistrement
Régler Ie commutateur de réducteur de bruit (DOLBY NRIa Ia posi-
tion ON" Iorsque le son a enregistrer don passer par le circuit reduc-
teur de bruit Dolby.
Dans Ie cas contraire, laisser cette commande a la position OFF.
Placer le commutateur de filtre multiplex (MPX FILTER) a la posi-
tion ON" pour l'enregistrement dune emission FM stereo via le
dispositif réducteur de bruit Dolby. En dautres temps, Iaisser cette
commande a la position OFF".
Se reporter au tableau et entoncer le oommutateur sélecteur de bande
(TAPE SELECTOR) correspondent au type de bande utilisé.
Placer Ia commande de reglage fin de polarisation (BIAS FINE) a 58
position centrale a déclic ou a celle qui convient le mieux a la bande
utilisée (se reporter au tableau).
Placer les commutaleurs de minuterie (TIMER), dutilisation auto«
matique (AUTO) et de rnémorisation (MEMORY) a leur position
"OFF.

Procedures pour Ienregistrement

(1) Enfoncer l'interrupteur POWER pour placer Iappareil sous tension.

(2) Mettre en place d'une cassette.

Se souvenir qu'il est impossible denregistrer sur une cassette dont
les taouets protecteurs d'effaoement accidental Ont été brisés. (Se re
porter a la page 17.)

(3) Appuver sur le commutateur TAPE LEAD-IN, ce qui enroule rapide-
ment I'amorce qui ne peut etre enregistrée et amene le when a larrét
a 3% section magnetique. Il est inutile dactionner le commutateur
TAPE LEAD-IN si Ienregistrement commence en un point autre que
Ie début du ruban.

(4)Appuyer sur la commutateur PAUSE, ce qui allume le témoin 3 Vin-
terieur de cette touche pour signaler que I'appareil se trouve place
an mode dattente.

(5) Appuyer simultanément sur les commutateur REC et de lecture ( P )2
leur témoin respectif sallume pour indiquer que I'appareil se trouve
place en mode d'enregistrement.

(6) Manipuler les oommandes REC LEVEL pour ajuster celui»ci.

(7)Appuyer sur la commutateur PAUSE pour écouter le programme 3
enregistrer par les haut-parleurs ou Ie casque ou pour régler avec pre-
cision le moment de misa en marche de lenregistrement.

Le témoin s'eteint et Ienregistrement commence aussitot.

(8) A la fin de I'enregistrement, appuyer sur le commutateur STOP. Pour
arréter momentanément ledéfilementdu ruban magnétioue, utiliser la
commutateur PAUSE.

Commutateur TAPE SELECTOR et commando BIAS
F IN E

A I'enregistrement ou a la lecture, enfoncer Ie commutateur TAPE
SELECTOR correspondant 30 type de bands utilise.

Lorsque la oommande BIAS FINE est placee a sa position centrale a
declic, on obtient le oourant de polarisation standard; remarquer toutee
fois que le courant de polarisation optimal differe légerement en fonction
des marques de bande. Se reporter au tableau ci-apres et régler Ia com»
mande a la position appropriee.

En réduisant le courant de polarisation, on peut élargir la réoonse de fre-
quence dans la plage élevée; par contra, en l'accentuant, la plage élevée
n'est pas élargie, mais le niveau d'enregistrement maximal est accru.

Bedienungsverfahren

" Berfihren Sie die Tonbanderflache nicht mit den Fingern. Jeglicher
Schmutz oder Staub aut dem Tonband fiihrt zu Verschmutzung der
Tonkopfe und verschlechtet Wiedergabe.

* Wenn das Tonband locker ist, so straffen Sie es wie gaeigt mit einem
Bleistitt ofa. Wenn Sie solch eine Kassette verwenden, ohne zuerst das
Band zu straffen ist, es méglich, daB das Band sich verwiokelt und
dauerhaft beschédlgt wird.

* Da das Tonband in einer (>120 Kassette éulSerst diinn ist, sollten Sie
die Kassette sehr sorgféltig ha nd haben, da Verformung oder Lockeru ng
des Tonbandes zu Verzerrung und anderen unerwiinschten Ergebnissen
fijhren kann. Aus diesem Grund wird die C-|20 Kassette nicht fur
allgemeine Verwendung empfohlen.

Vor der Aufnahme
Wenn die Autnahme mil Dolby- System gemacht werden soll den
Dolby NFI- Schalter (DOLBV NR)aut ON stellen. Sansi soIIIe dieser
Schalter aut"OFFstehen.

* Bei Aufnahem einer UKW-Stereosendung mit DolbyrSystem den
Multiplex-Filterschelter (MPX FILTER) aui "ON" stellen. Auch
dieser SchalIer sollte andernfalls aut "OFF" srehen.

Den Bandwahlschalter (TAPE SELECTOR) auf die verwendete
Bandsorte eInstellen, Einzelheiten findet man in der Tabelle.

Den Vormagnetisierungs»EinsIel|knopf (BIAS FINE) entweder auf
seine Mittenrastung oder bei Feinemstellung auf die am besten for die
verwendete Bendsorte passende Stellung einstellen,

(Siehe Tabelle.)

* Zeituhrschalier (TIMER), Automatikschalter (AUTO) und Speicherr
schalter (MEMORY) auf "OFF" stellen.

Aufnahme

(1) Das Gerat am POWER Schalter einschalten.

(2) Kassette einlegen.

Darauf achten, dals die Sicherheitszungen auf der Kassetlenriickseite
nicht herausgebrochen slnd, da sons! keine Aufnahme méglich ist.
(Slehe Seite 17.)

(3) Den TAPE LEAD-IN Schalter drucken. Dadurch wird das Kassettenr
band schnell iiber das unbeschichtete Vorlaufband hinweg zurn Beginn
des beschichteten Bandes gespult. Wenn die Aufnahme an einer
anderen Bandstelle beginnen soll, dart der TAPE LEAD-IN Schalter
nicht gedrfickt werden,

(4) PAUSE Taste driicken, Die Anzeige im Tasteninnern leuchtet auf und
gibt an,daf3 sich das Gerat nun in SIandby-Funktion befindet.

(5) Die REC Taste und Wiedergabeiaste I b ) zusammen niederdriicken.
Die Tastenanzeigen Ieuchten auf und geben an, Gal?) sich das Gerat
nun in der Aufnahme-Betriebsart befIndet.

(6) Den Aufnahmepegel mit HIIfe der REC LEVEL Regler einstellen.

(7) Die PAUSE Taste driicken, um die Programmquelle fiber Lautsprecher
oder Kopfhfirer mitzuhéren bzw_ den Aufnahmaeinsatz genau abzu-
passen,

Die Anzeige erlischt und der Aufnahmevorgang beginnt.

(8) Nach Beendigung der Aufnahme die STOP Taste drficken. Urn die

Aufnahme vorfibergehend zu unterbrechen, die PAUSE Taste driJcken.

TAPE SELECTOR Schalter und BIAS FINE Regler

Bei Aufnahme und Wiedergabe den TAPE SELECTOR driicken, der der
yen/vendeten Bandsorte entspricht.

Wenn sich der BIAS FINE Regler in seiner Mittenrastung befindet.
erreicht man auf diese Weise die Standardeinstellung der Vormagnetisier-
ung fiir dlese Bandsorte. Tatsachlich jedoch kann die optimale Vormag-
netisierung von dieser Einstellung je nach Band mehr oder minder
abweichen.

MiI Hilfe der nachstehenden Tabella den optimalen Vormagnetisierungs-
strom einstellen,

Grundsétzlich wird der obere Frequenzbereich betont, wenn man den
Vormagnetsierungsstrom senkt. Erhohr man ihn, wird nicht der obere
Frequenzbereich betont, sondern der maximale Aufnahmepegel erhéht.

II