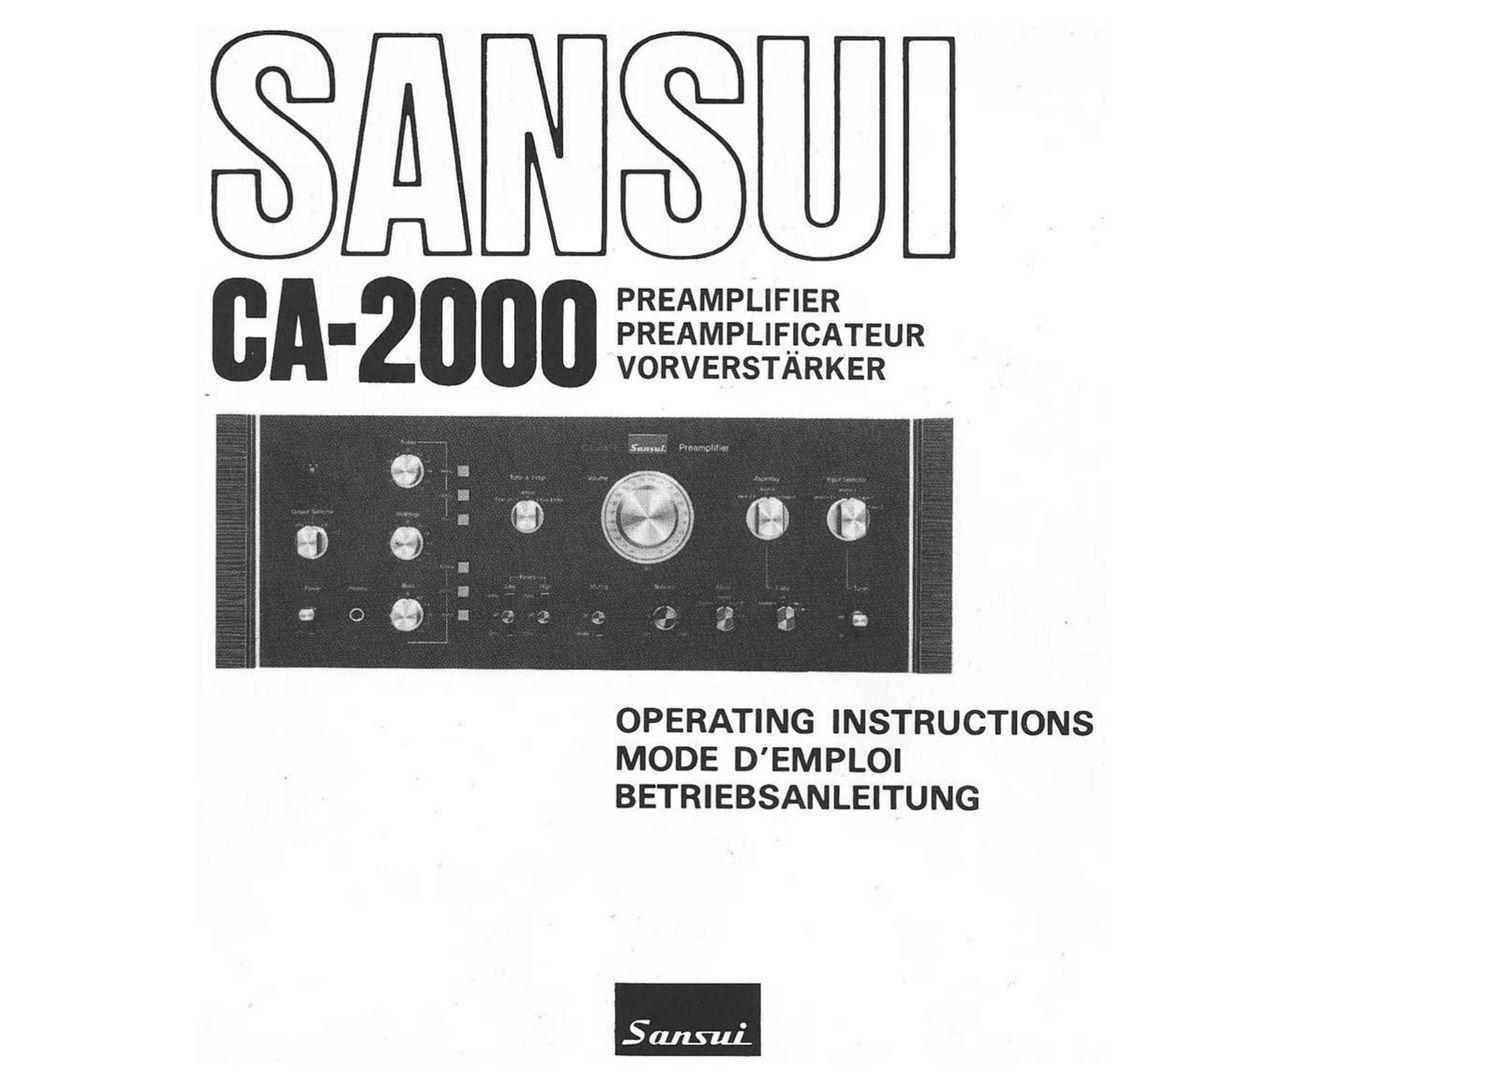
Sansui CA 2000 Owners Manual

This is the 34 pages manual for Sansui CA 2000 Owners Manual.
Read or download the pdf for free. If you want to contribute, please mail your pdfs to info@audioservicemanuals.com.

Page: 1 / 34
left right
Sansui CA 2000 Owners Manual

Extracted text from Sansui CA 2000 Owners Manual (Ocr-read)


Page 1

SANS!

PREAMPLIFIER
I PREAMPLIE!CATEUR
VORVERSTARKER

OPERATING INSTRUCTIONS
MODE D'EMPLOI
BETRIEBSANLEITUNG

Page 2

WARNING: To prevent fire or shock hazard,
do not expose this appliance to rain or
moisture.

ATTENTION: Pour éviter les dangers délec-
trocution ou d'incendie, ne pas exposer cet
appareil a la pluie ou a l'humidité.

WARNUNG: Setzen Sie dieses Gerat zur
Verhiitung von Feuer und Stromschlaggefahr
weder Regen noch Feuchtigkeit aus.

We are grateful for your choice of the Sansui preamplifier CA-2000.
Before you begin operating your unit, we suggest that you read this
booklet of operating instructions once carefully. You will then be able
to connect and operate it correctly, and enjoy its superb performance
for years.

as»:

IMPORTANT PRECAUTIONS . .................... 2

CONNECTION ................................ 6
PANEL INFORMATION .......................... 9
OPERATING PROCEDURES ........ . .............. 16
SOME USEFUL HINTS .......................... 22
SPECIFICATIONS ............................. 28

Page 22

20

o Shift MODE switch to position of stereo (either NORMAL or

REVERSE); when recording is required.

Ouand vous désirez procéder a un enregistrement, mettre le com-

mutateur de MODE sur la position stéréo (soit NORMAL ou
REVERSE).

Den Betriebsartenwahler auf Position STEREO (Normal oder Rfick-
warts) stellen, wenn Aufnahmen durchgefiihrt werden sollen.

-/-~-~.n..~. ;. vgm...

You can record disc records or radio broadcasts on one or two

connected tape decks at the same time. Recording level adjustments

should be made with the tape decks.

1. Prepare a program source (records or radio broadcasts) you want to
record.

2. Set the TAPE COPY switch to the SOURCE position.

3. Operate the tape deck(s) on which you are going to make a
recording.

4. If you want to monitor the sound as you record it, simply follow

exactly the same instructions as for tape playback (described

above). Also operate the tape deck(s) for monitoring. Monitoring is

possible with a tape deck with indpendint heads for record and play.

If your tape deck has a combined head for record and play,

however, you cannot monitor; set the TAPE PLAY switch to the

SOURCE position and listen to the sound before it is recorded.

1. Adjust the TAPE COPY switch to one of its two positions: 1>2 or
2>1 depending on which tape deck you wish to use for playback
and which tape deck for recording.

2. Operate the tape decks, one for playback and the other for
recording.

3. If you wish to monitor the sound as you record it, follow the same
instructions as for tape playback.

0 To hear the sound before it is dubbed, turn the TAPE PLAY switch
to the circuit (TAPE-1 or TAPE-2) to which the deck in playback
mode is connected. To monitor the sound after it is dubbed, turn
the switch to the circuit to which the deck in record mode is

connected.

Page 29

mains des symptomes qui semblent indiquer une panne de I appareiI
am produites par un mauvais réglage ou de I'appareil ou des autres
mm oonnectés. Vérifier toutes Ies connexions et la mode de
@399 encore une fois. S'assurer de couper I'alimentation ou de réduire
Esobme en premier Iieu.

o Controler Ies connexions pour sassurer que:

1

7

3-

Aucun cable ne sest déconnecté des terminaux dentrée ou de
Sixties.

Aucun céble de haut-parleur ne sest déconnecté de votre
amplificateur de puissance.

La prise de courant est bien branchée.

O Controler Ies procédures de mise en marche pour s'assurer que:

1-

2-

Le commutateur de mise sous tension est sur ON, et que le com-
mutateur de votre amplificateur de puissance est également sur
la position ON.

Tourner Ie controle de niveau du son pour le mettre sur une
position moyenne.

Le sélecteur d'entrée INPUT SELECTOR est mis sur Ia position
correcte en fonction de la source que vous voulez entendre; Con-
trélez aussi Ia position du commutateur TUNER.

Le commutateur TAPE PLAY est sur la position correcte.

Le commutateur OUTPUT SELECTOR est sur la position corre-
cte.

Votre magnétophone, tuner, tourne-disque ou Ies autres sources
de programme, et votre amplificateur de puissance .fonctionnent
normalement.

Einige der Symptome, die eine Beschédigung des Gera'tes anzuzeigen
scheinen, werden durch falsche Bedienung des Gerates oder anderer
angeschlossener Komponenten verursacht. Uberpriifen Sie die An-
schliisse und lhr Bedienungsverfahren noch einmal. Schalten Sie vorher
das Gerét aus oder verringern Sie die Lautstérkeeinstellung.
O AnschIiisse fiberprijfen, um sicherzustellen, dais:
1. Kein Kabel von den Eingangso oder Ausgangsklemmen gelost
wurde.
2. Kein Leutsprecherkabel von Ihrem Leistungsverstérker gelost
wurde.
3. Der Netzstecker richtig an eine Wandsteckdose angeschlossen ist.
0 Die Betriebsvorgénge iiberpriifen, damit sichergestellt wird: dais:
1. Der POWER Schalter dieses Gerétes auf Position ON und auch
der Netzschalter Ihres Verstérkers eingeschaltet ist. 2.

2. Der VOLUME Regler auf einen geméBigten Lautstérkepegel ein-
gestellt ist.

3. Der INPUT SELECTOR Schalter auf die richtige Position fiir die

gewiinschte Programmquelle eingestellt ist. Auch die TUNER

Schalterstellung iiberpriifen.

Der TAPE PLAY Schalter richtig eingestellt ist.

Der OUTPUT SELECTOR Schalter richtig eingestellt ist.

lhr Tonbandgerét, Tuner, Plattenspieler oder andere Programm-

quelle und lhr Leistungsverstérker richtig arbeiten.

99".

27