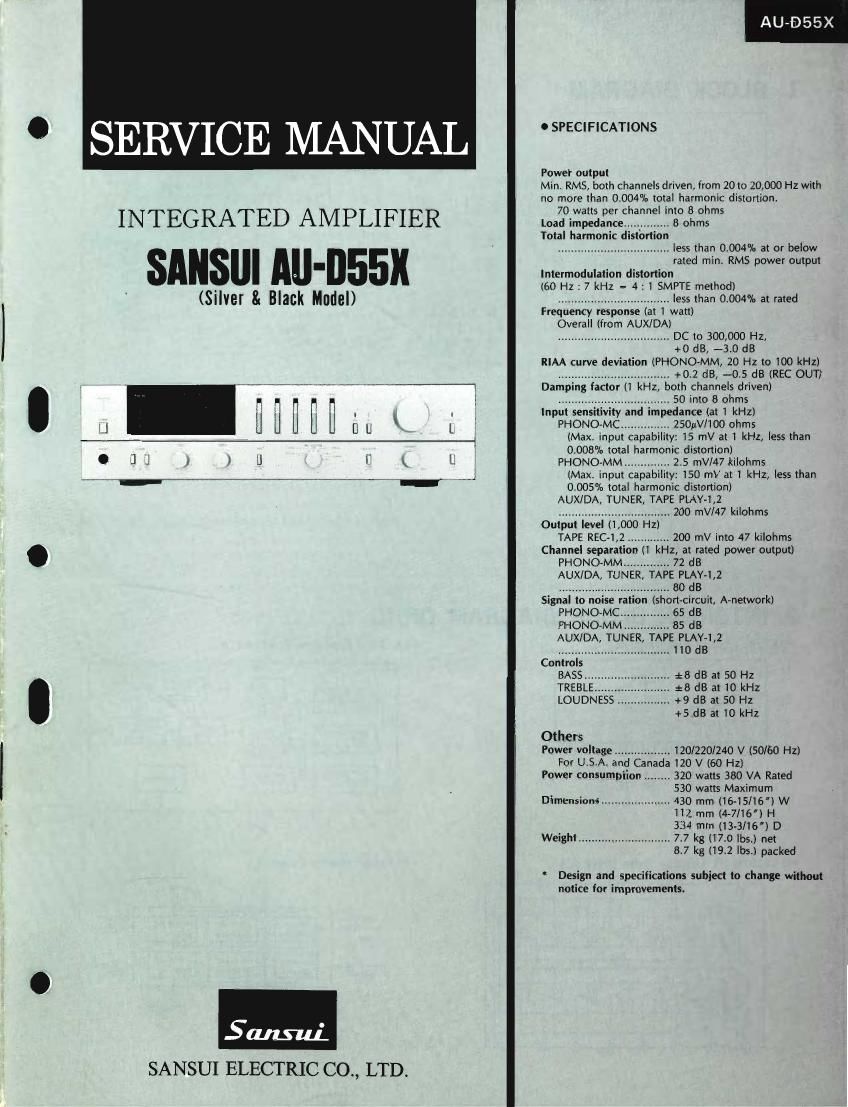
Sansui AUD 55 X Service Manual

This is the 9 pages manual for Sansui AUD 55 X Service Manual.
Read or download the pdf for free. If you want to contribute, please mail your pdfs to info@audioservicemanuals.com.

Page: 1 / 9
left right
Sansui AUD 55 X Service Manual

Extracted text from Sansui AUD 55 X Service Manual (Ocr-read)


Page 2

1. BLOCK DIAGRAM 3. ADJUSTMENT (See Top View on page 9)


. . 3-1. Driver Circuit Adjustment
9"" mm W Note: 1) Master Volume Minimum
_ 2) Room Temperature 18°C-28°C (65°F~83°F)
WM 3) Before turning ON power switch, set kVRl on F-3975 to
INPUT SELECIOR MUVIMG was» as" svsrsm center position
3 .
WW C559, +3 .5 Cl 1 fig]? 5" ° 5" +26" 4) Before turning ON power switch, set kVRZ on F-3975
"C 2 \ I I am4 fully counterclockwise.
a e a e ; .- * semi: 7
e e A g -= g . ¢ K _ STEP SUBJECT MEASURE OUTPUT ADJUST ADIUST FOR REAMRKS
» any: mule , SVSIEM 9 . _ . e . .fi
W © M. m, as Ell"?CN 1. DC ov Adi. L-CH Speaker Terminal (L-ch) kVRi, L-ch DC OViS mV
aux C c . am__i . ,7 i7 (F3975)
D m. "5" ' 2. DC ov Adj. R»CH Speaker Terminal (R-ch) kVRi, R-ch DC (Wis mV
1' (F6975)
as? C +W "
r-mvc T L-fl 3. Bias Current Adj. Between emitters of power kVRZ, L-ch DC 3.0 mV i Before adjustment, the
o W L-CH transistors (k 15 & kQIS) (F-3975) at 1 minute temperature of the
in windy
"530 K C? watt . (Across kR39L) after turning the transistors and the
[Pg (27 , ° ritzconmm ""D "m power ON. radiator must be same as
LPLAv@-.-hwm * ' room temperature.
4. Bias Current Adj. Between emitters of power kVRZ, R-ch DC 3.0 mV I
R-CH transistors leiS & kQ16) (F-3975) at 1 minute
(Across kR39R) after turning the
power 0N.
3-2. PEAK POWER Indicator Level Adjustment
Note: Turn nVRl on conductor side of F-3977 fully counterclockwise
. . STEP SUBIECT SETI'INC ADIUSTMENT
1. PEAK POWER Indicator LConnect volt-meter at speaker terminal. 1.Confirme that the PEAK POWER Indicator light at
4 Level Adj. L-CH 2. Feed 1 kHz Sine-wave signal from audio oscillator all point.
to input terminals, L»ch and R-ch of the unit. 2.Adiust nVRIL, then confirme that the +2 dB point
2' INTERIOR BLOCK DIAGRAM 0F lc 3.Turn the master volume to show 237 V on volt- on the indicator turn off.
. t t o-I d d. 3.Aft h' (It MUTING k I), i" th tth
-M5220L (Audio Pre Amp. IC) °TA7317P (Speaker Protector IC) "9 a " ° 6 p051: fififj we") 40 daggmg?:dgg1:.s;y f.
B 9
2. PEAK POWER Indicator Same as above 1. Confirms that the PEAK POWER Indicator lights at
fig?" Level Adj. R-CH all point.
smegma. cm" 2.Ad;ust nVRIR, then confirme that the +2 dB oint
P
cm" on the indicator turn off.
5mm" Relay 3.After pushing the MUTING knob, confirme that the
8::e'csignnen J 83ch _. CW -~ cl'zfir. 5 point of -40 dB to ~20 dB on the indicator stay on.
LI] Ill Ill Ill IiILJ Ill Ifl cm '
: : e: g a: 2 E 8
g a 22 t 22 a a 3 533:3? gumm- 5W
3 5 g5 g: 5 g cm. "m"
0 > >
z z .
' - I r 44
DHA12010 (FL Display Tube Drive IC) 0TA7318P (Meter Drive IC)
1 2 t 5 6 7 ' a V9 HOLD
éu)
<3)
Lm !- I
w' A L '"PUL Dolecu _ 1/4 Pam Hold a DC OUOJPUT L
T" " " " ' ' 6ND Circuil q: compressor Amp
53 c I r .1 i 4
Detects # 1/4 Paw _ Hold a Dc 0
. 7 i . CENTS Cimm Compressor Amp; ofipw R
e . . . . . . 9953*; O O
E r- - - - .
.-= .55 ?
x = :0 5
53% 580 V 7%
to is 4 i: I 11 la 5